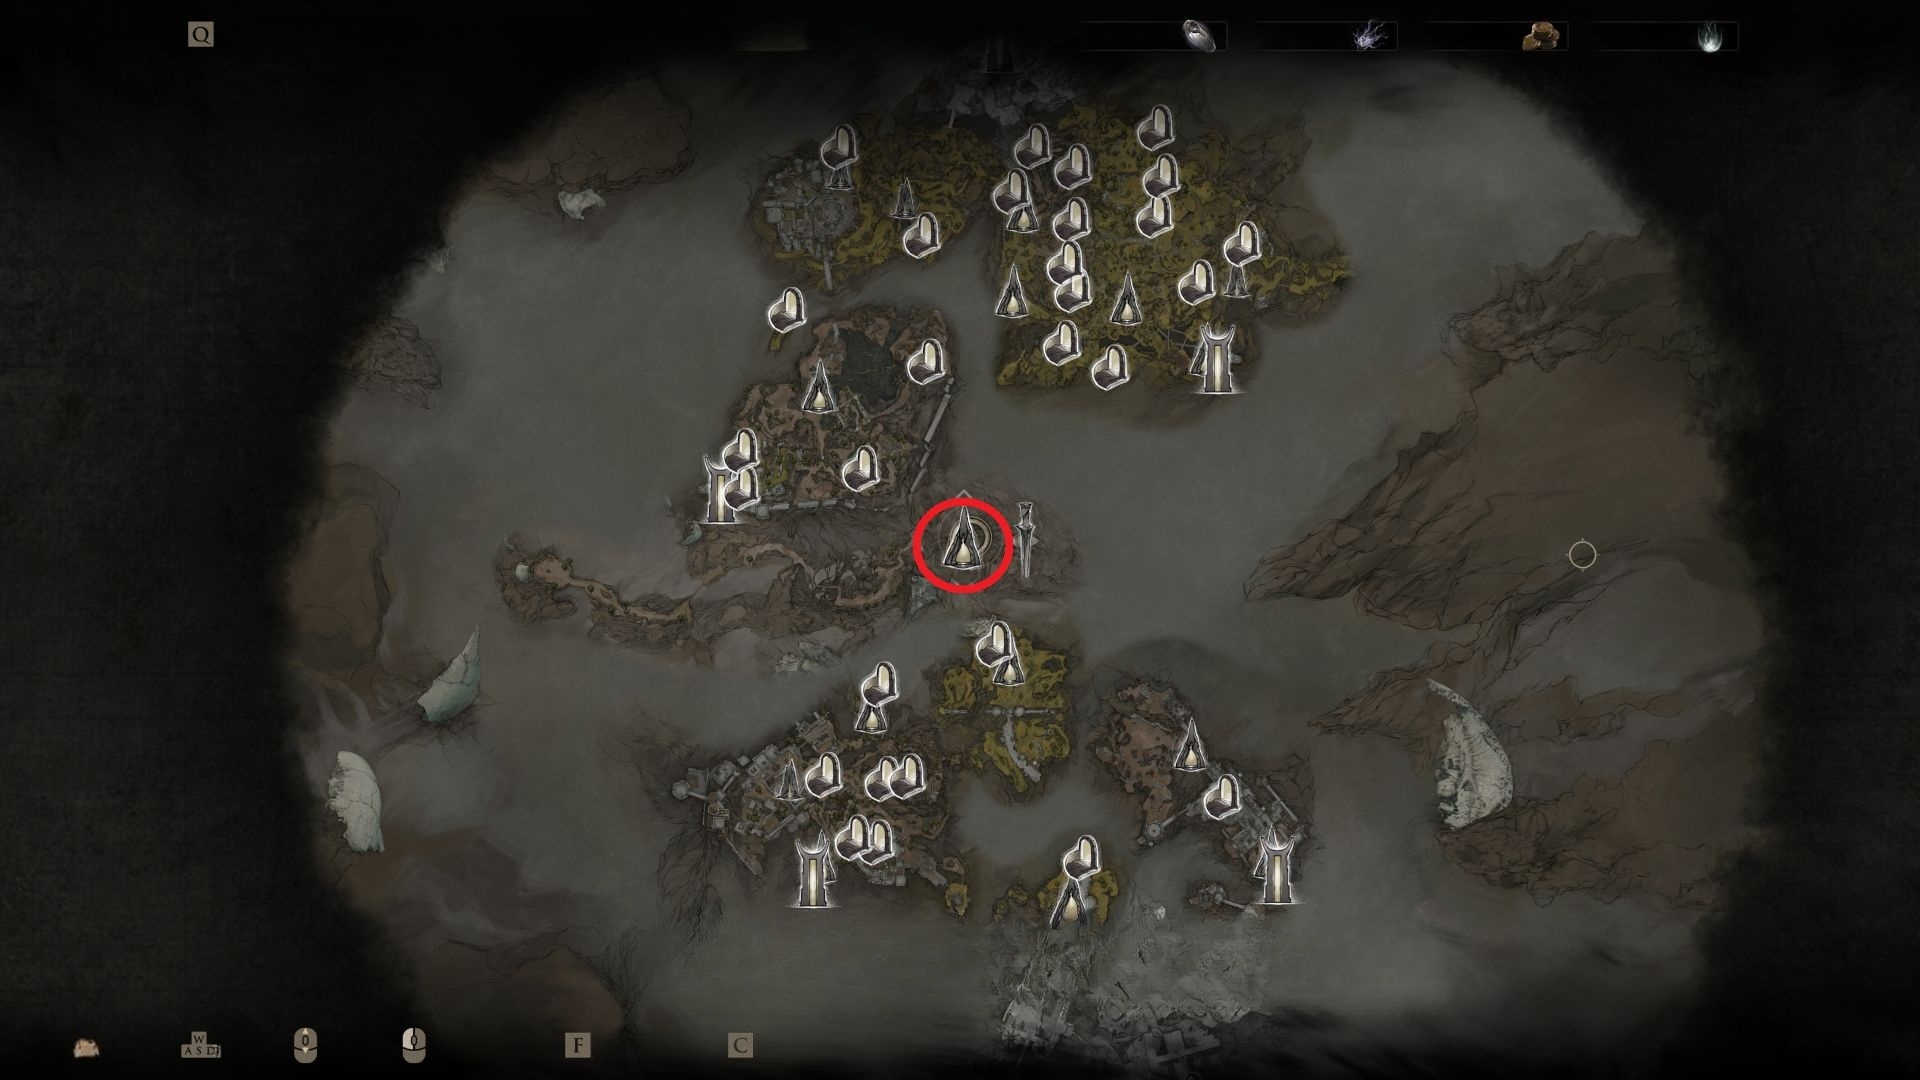
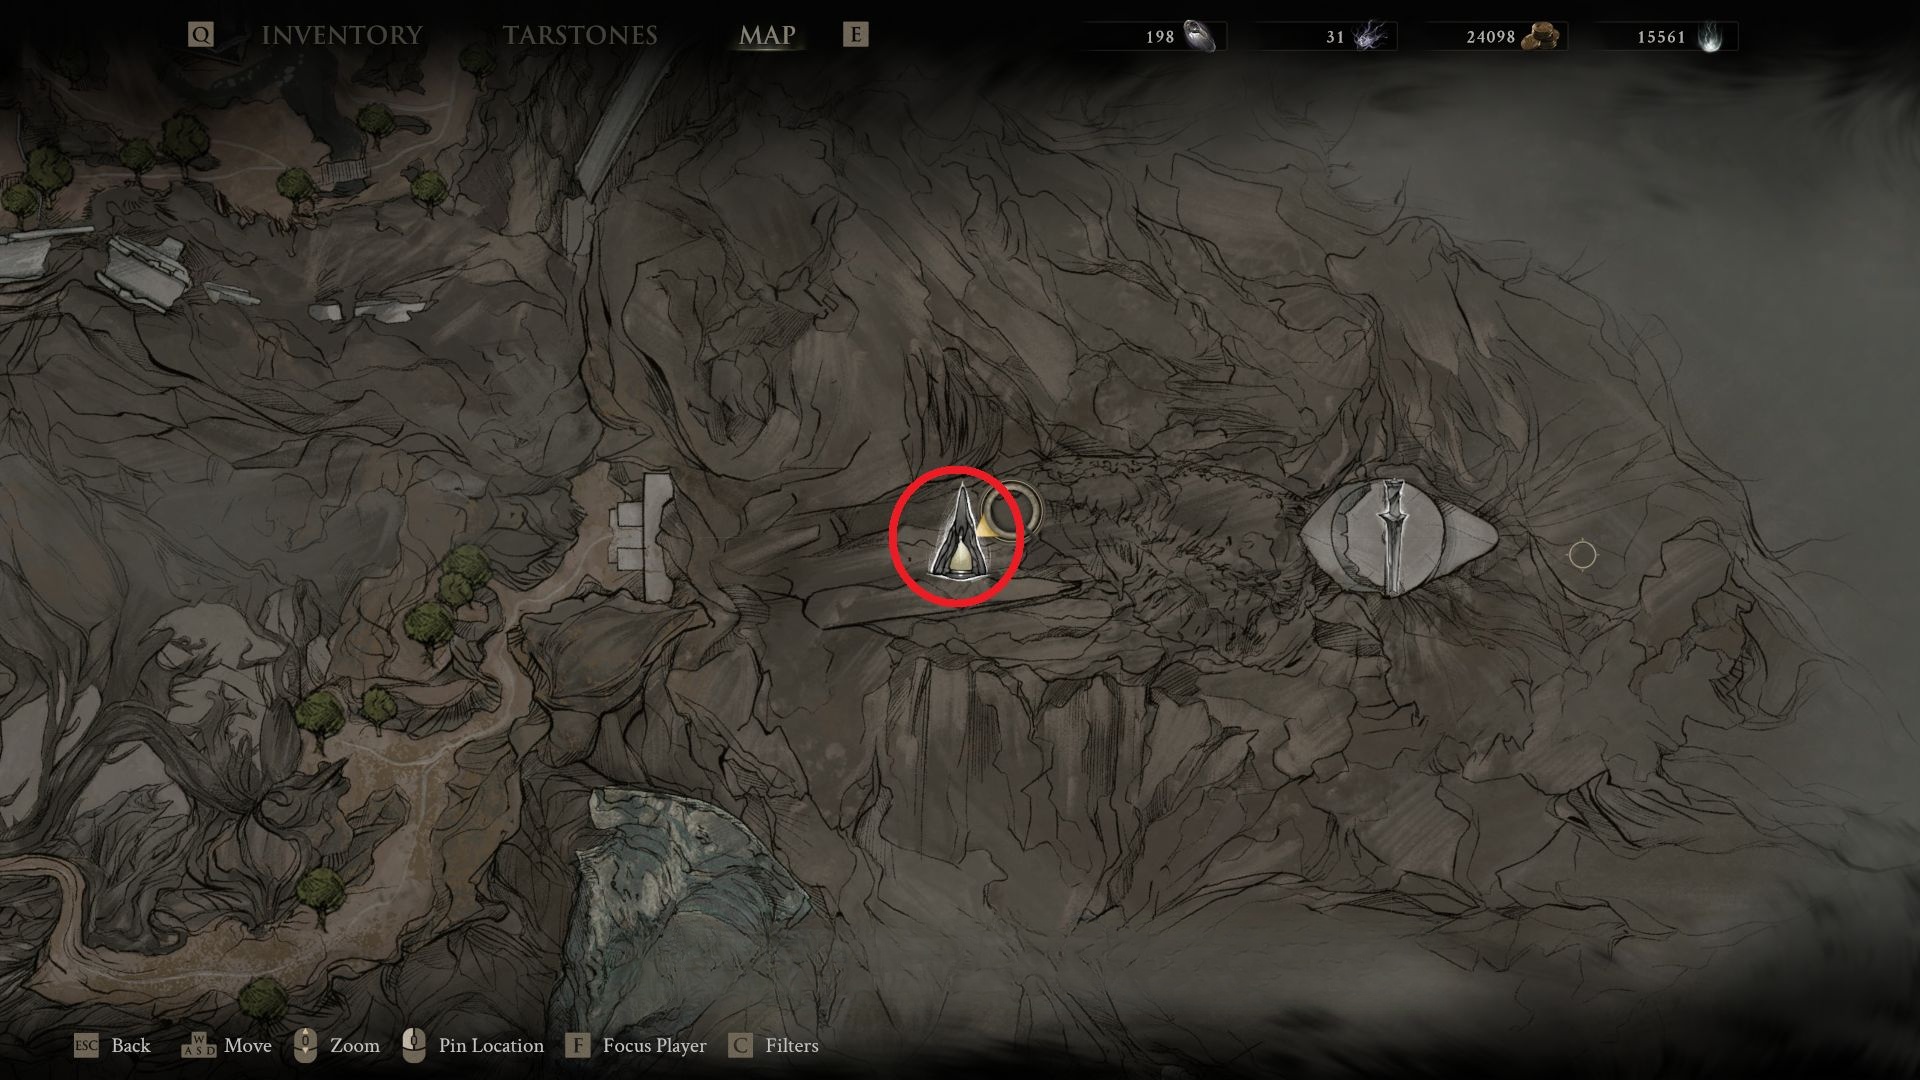
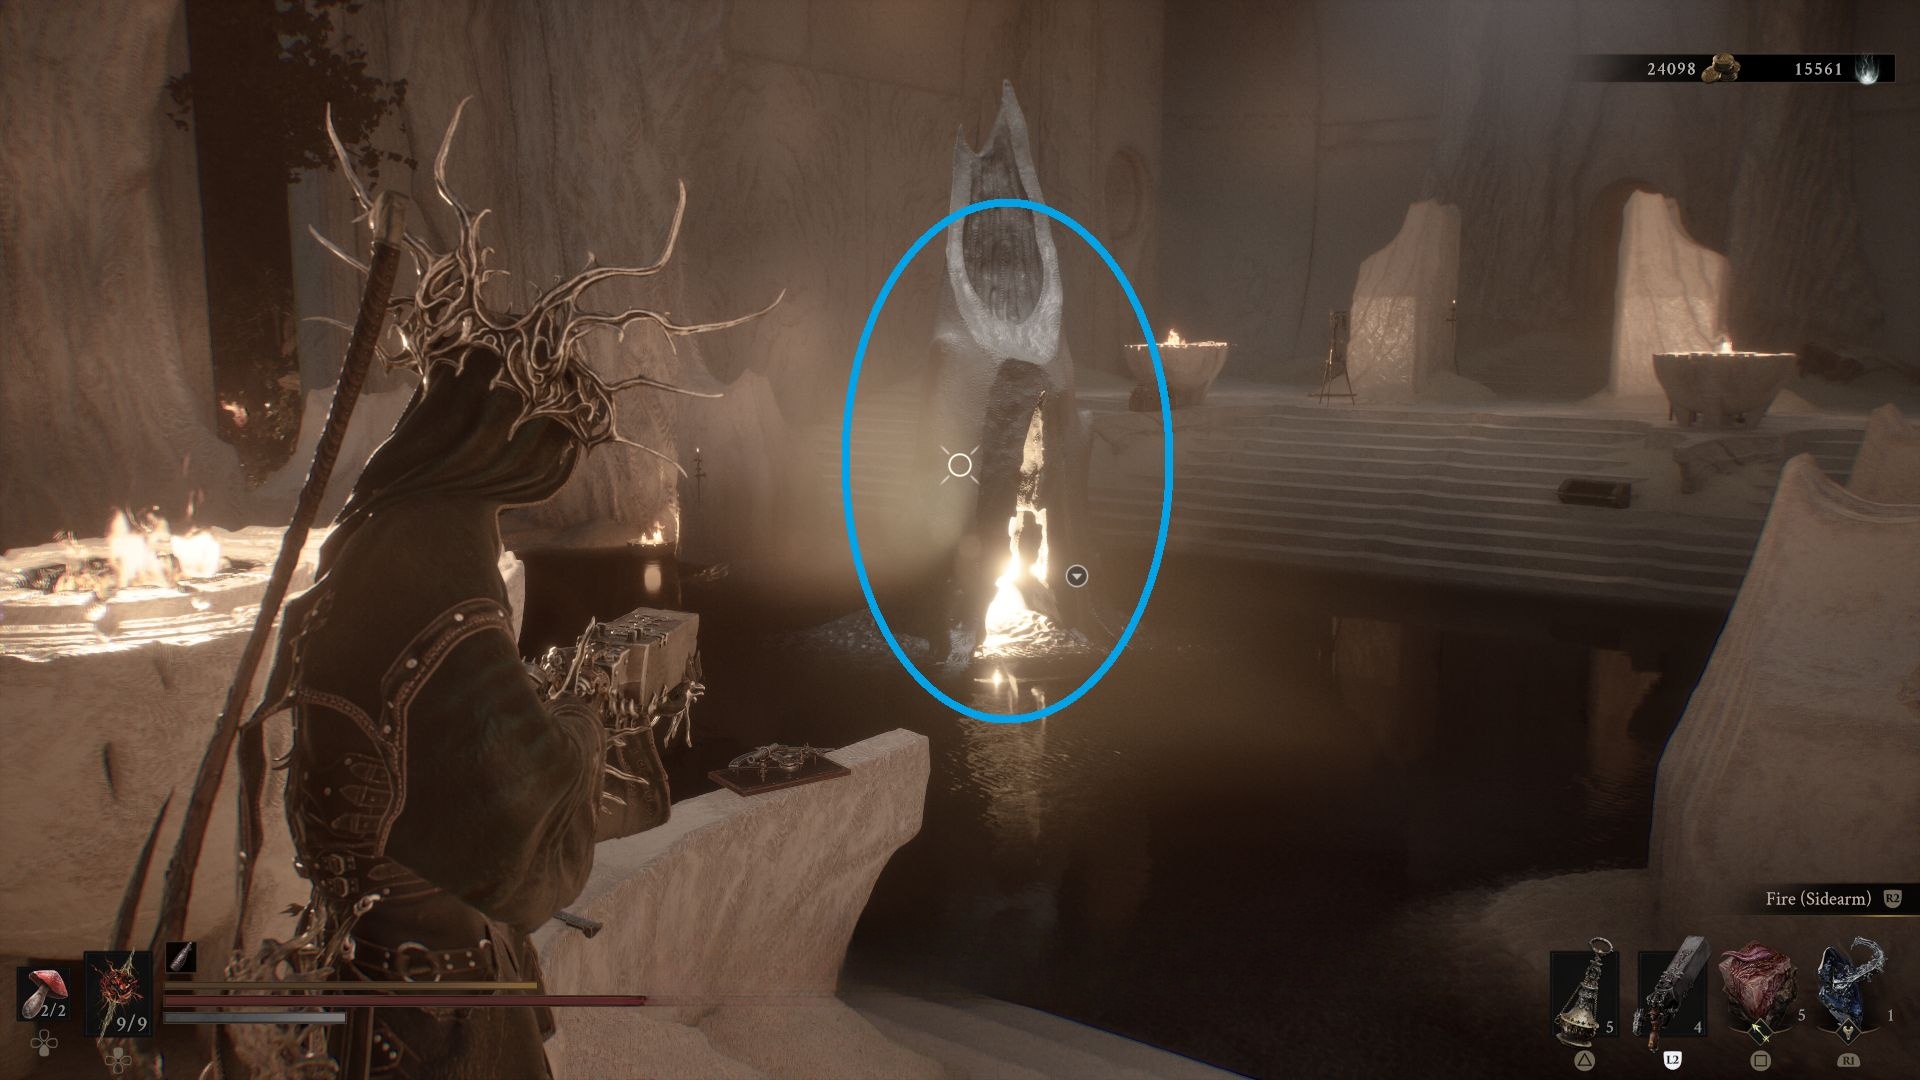
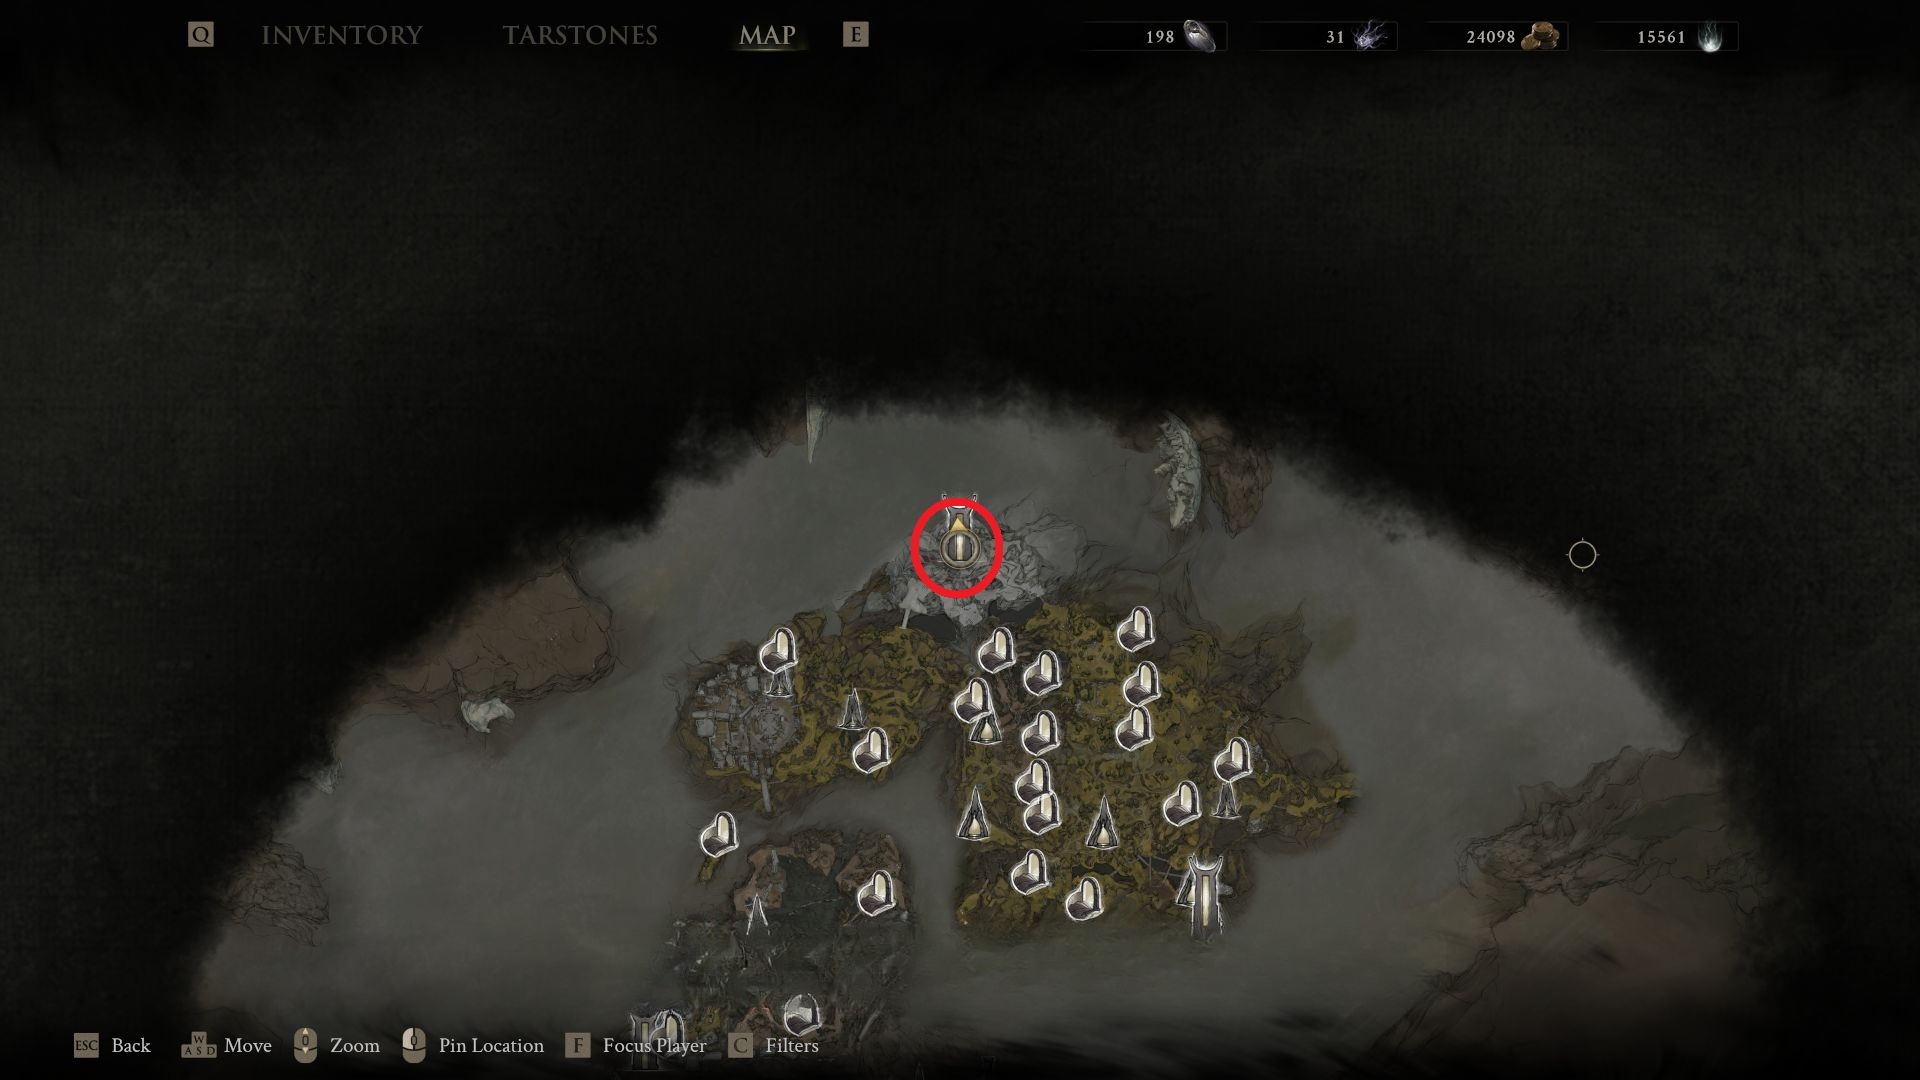
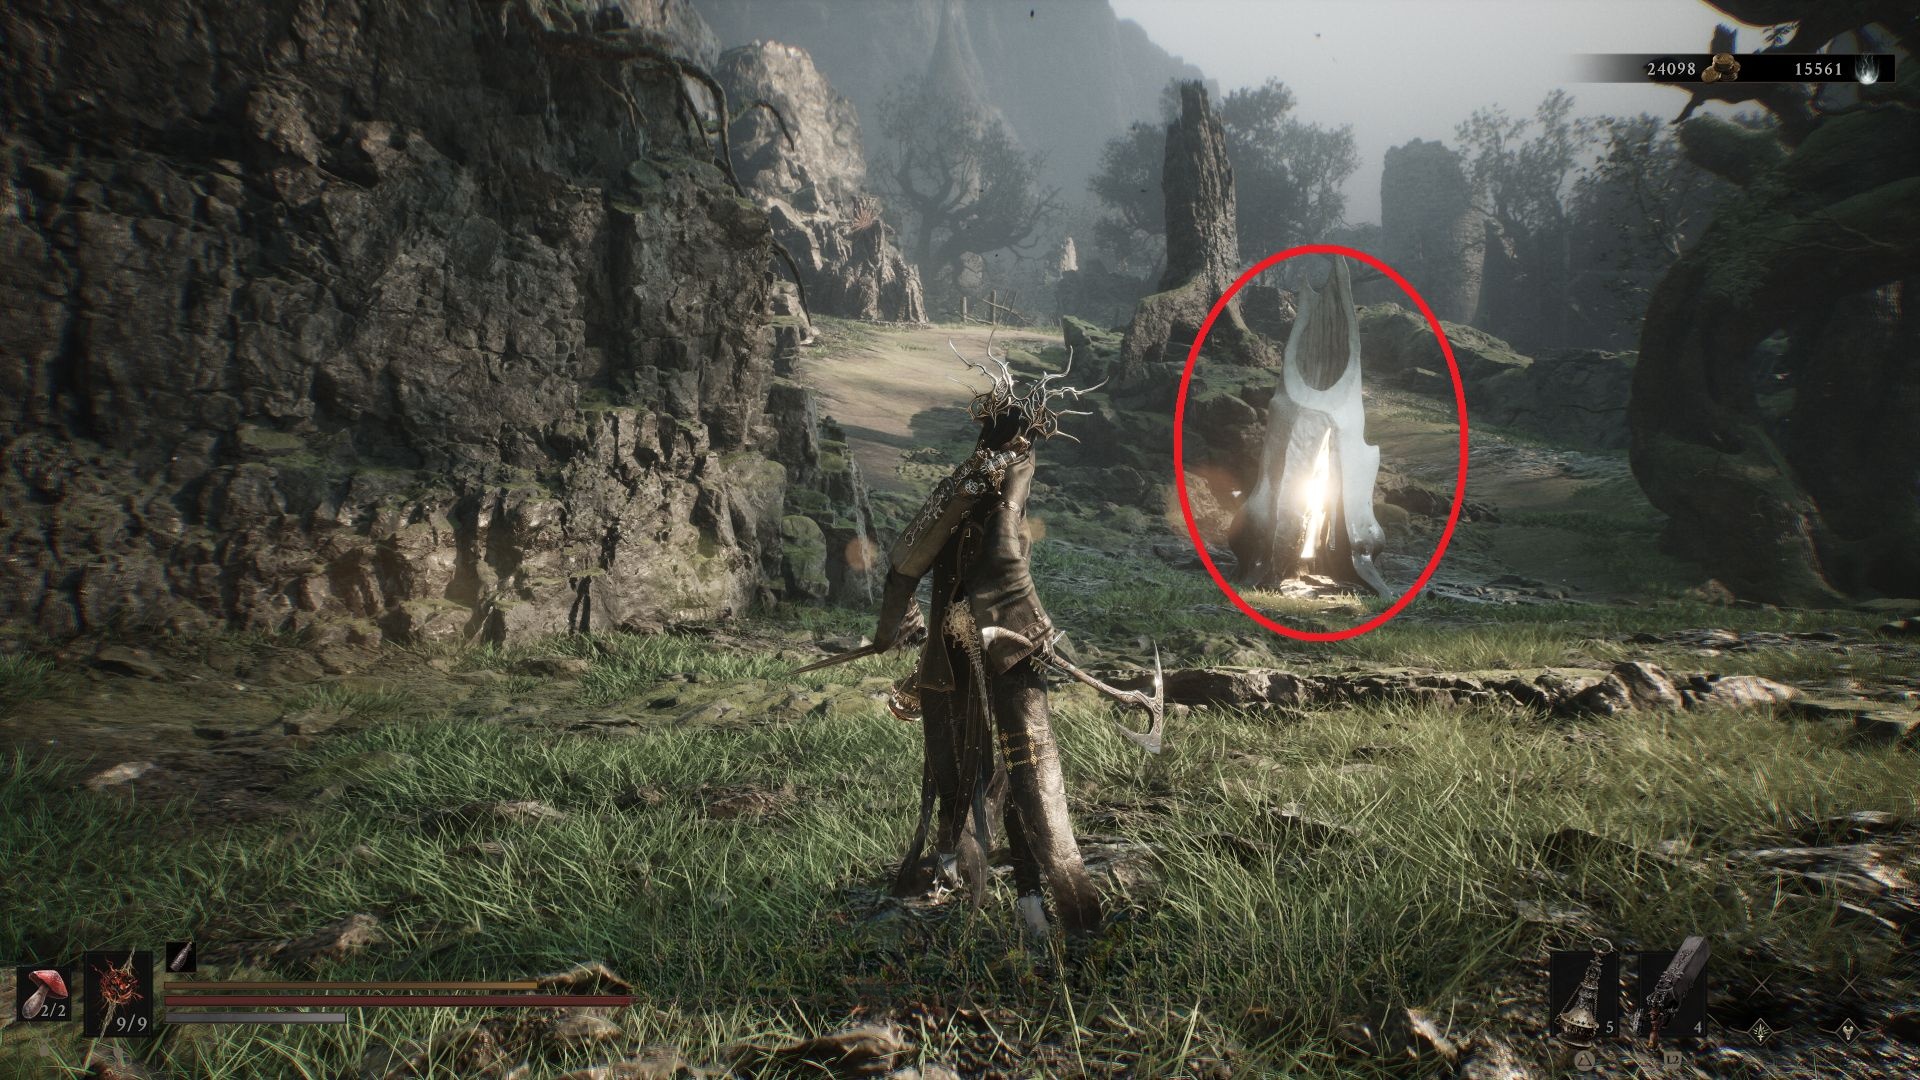
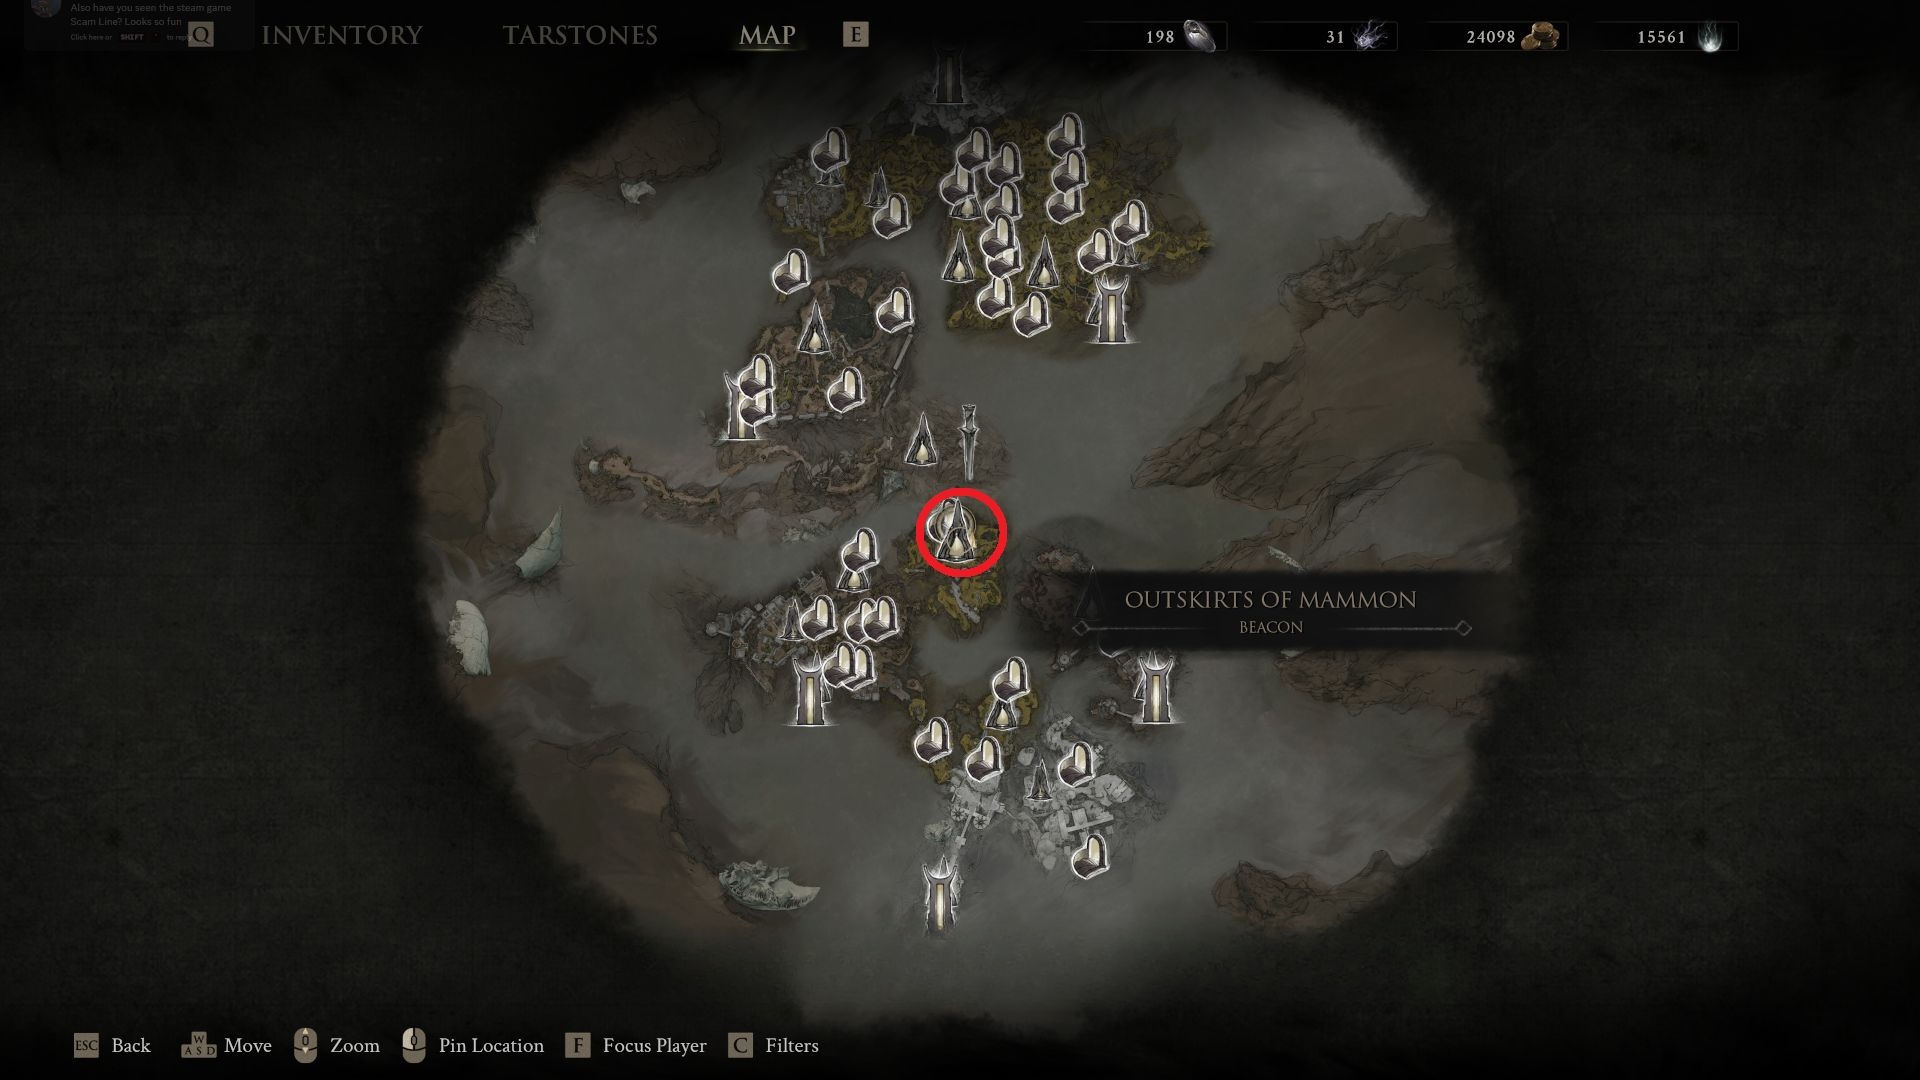
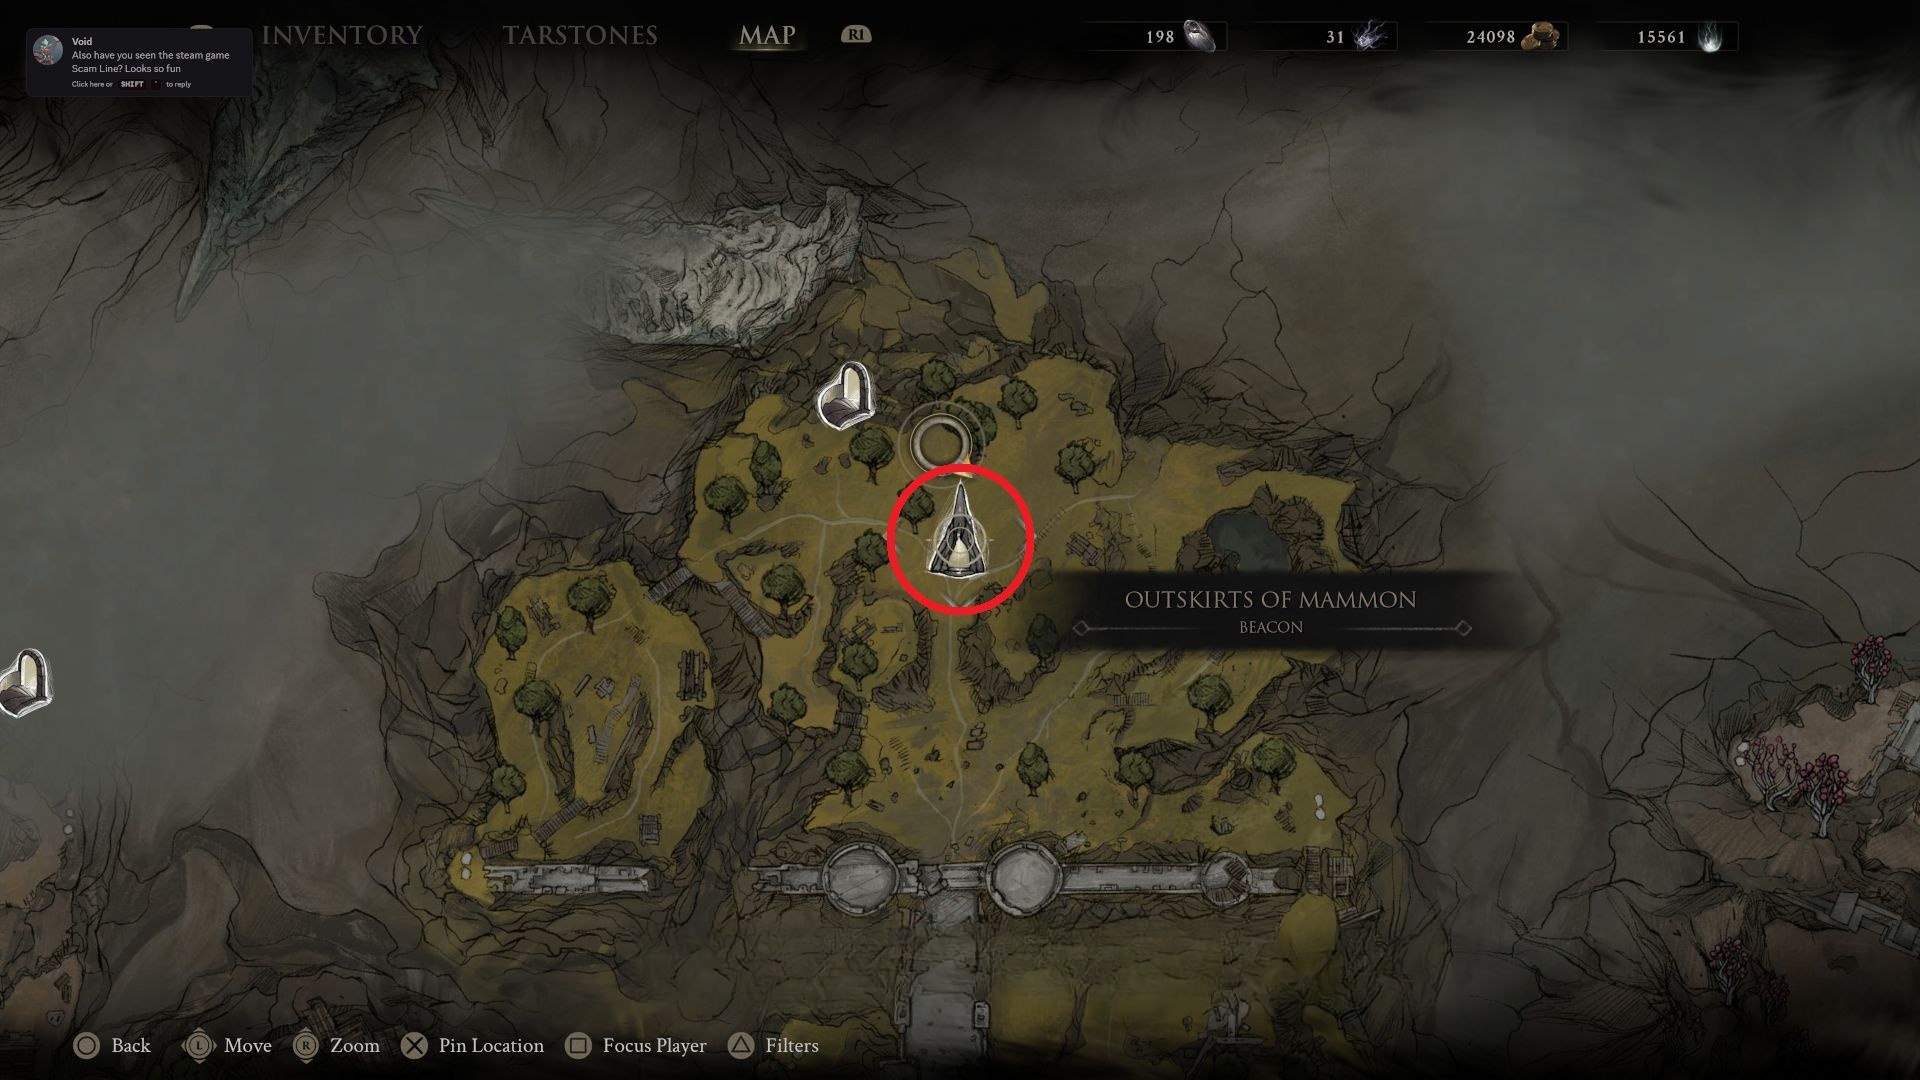
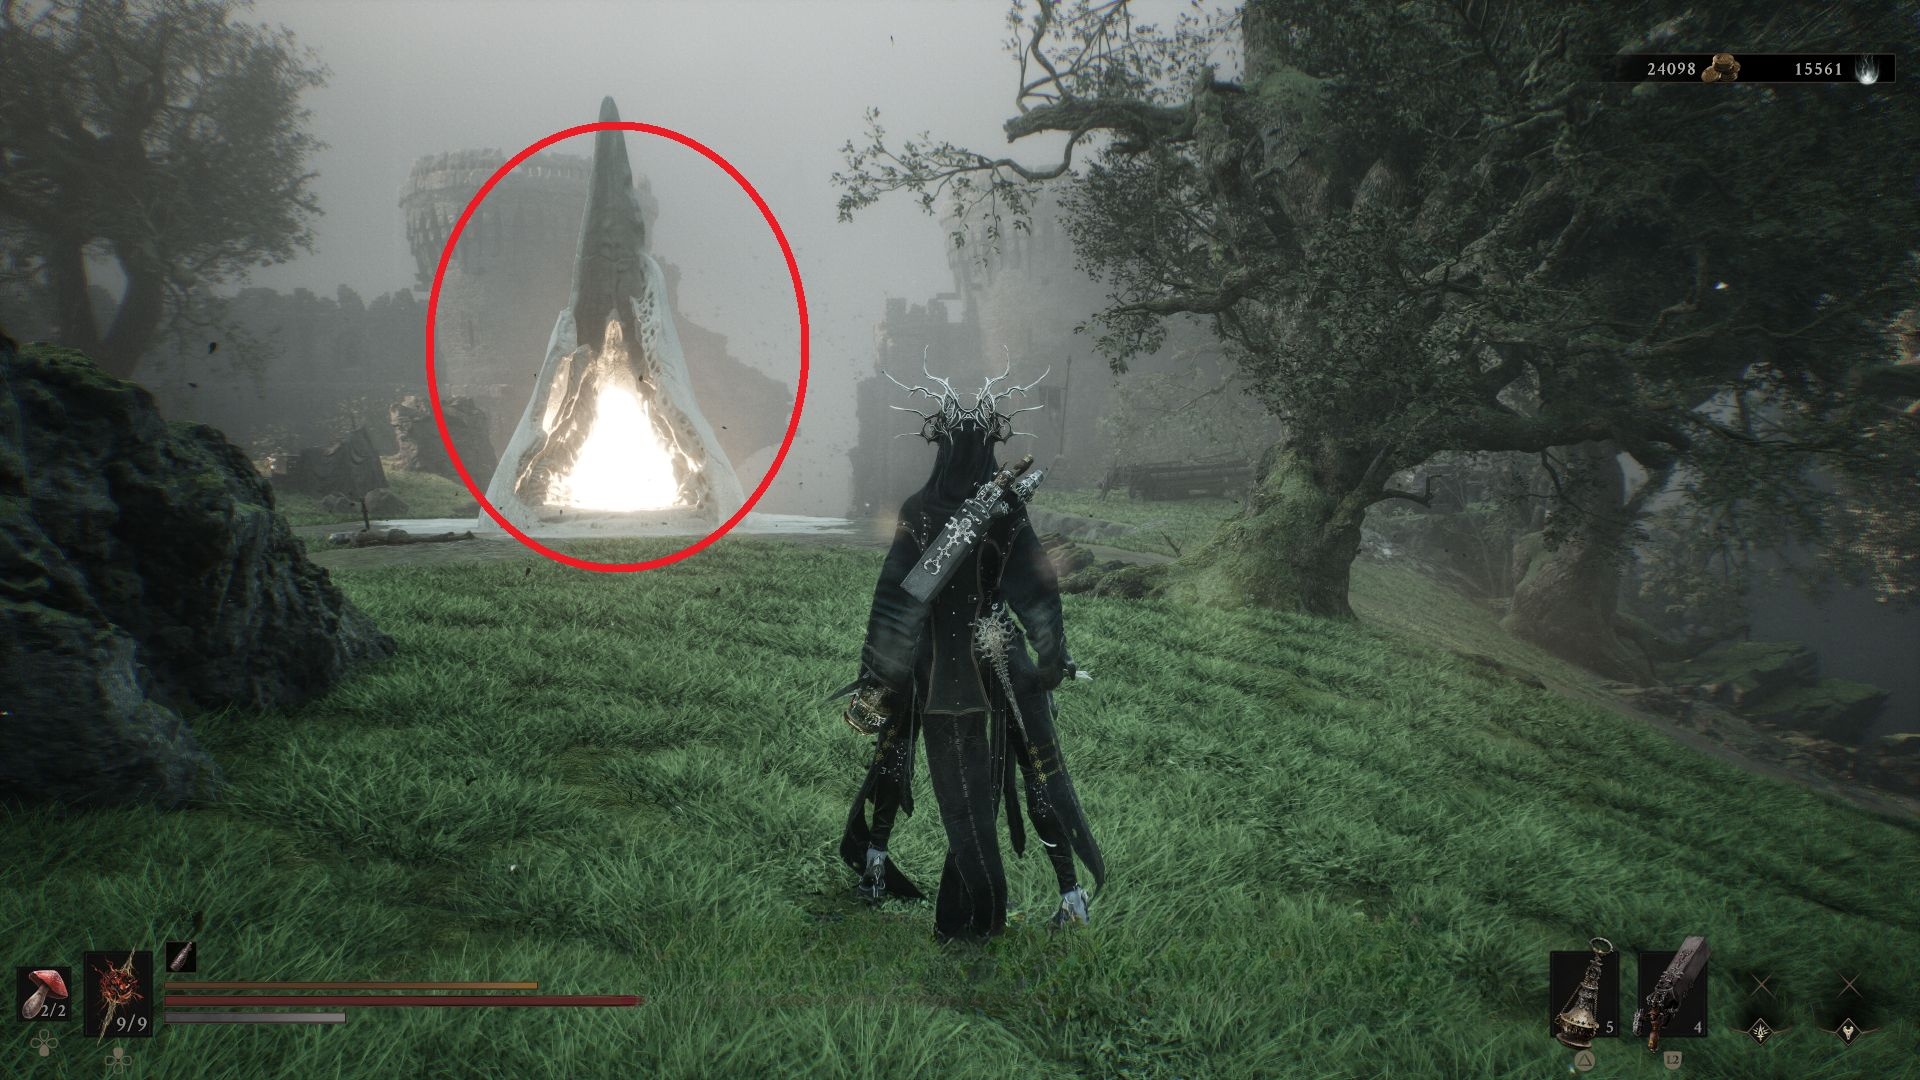
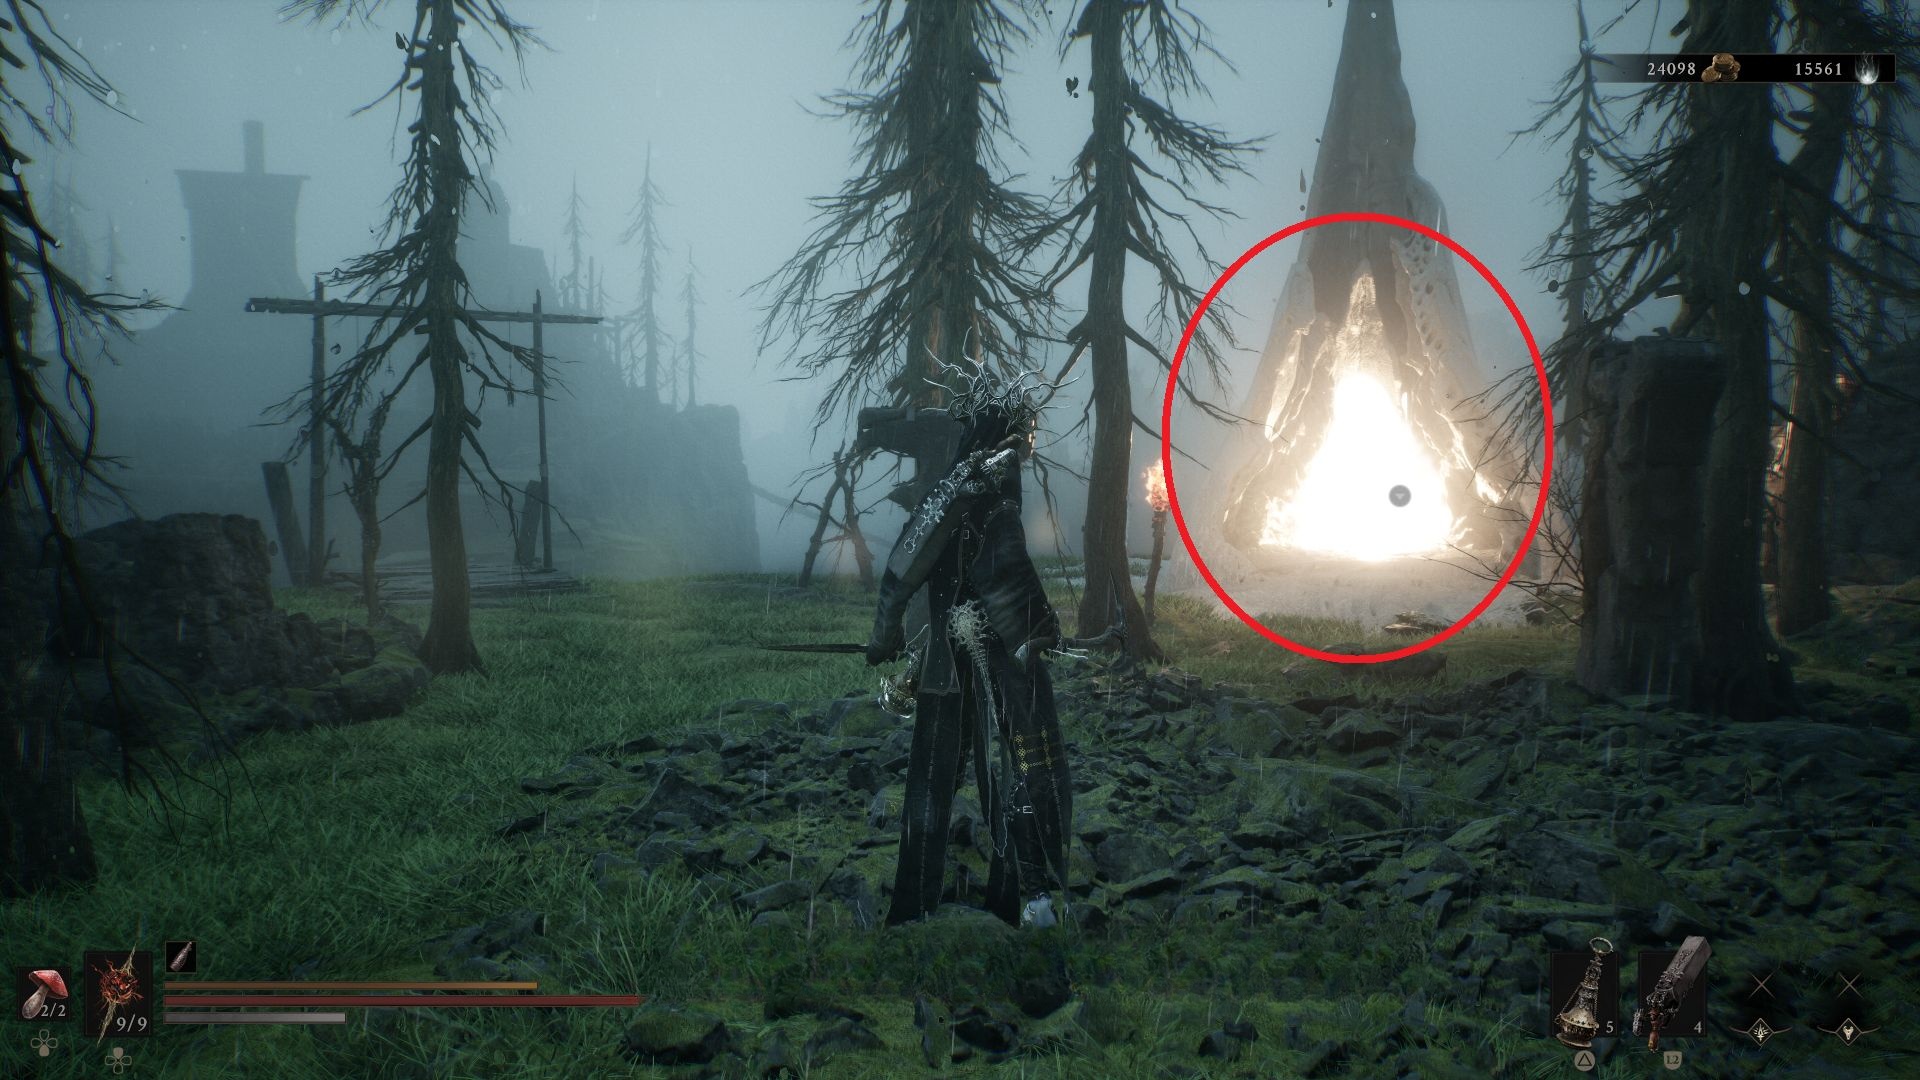
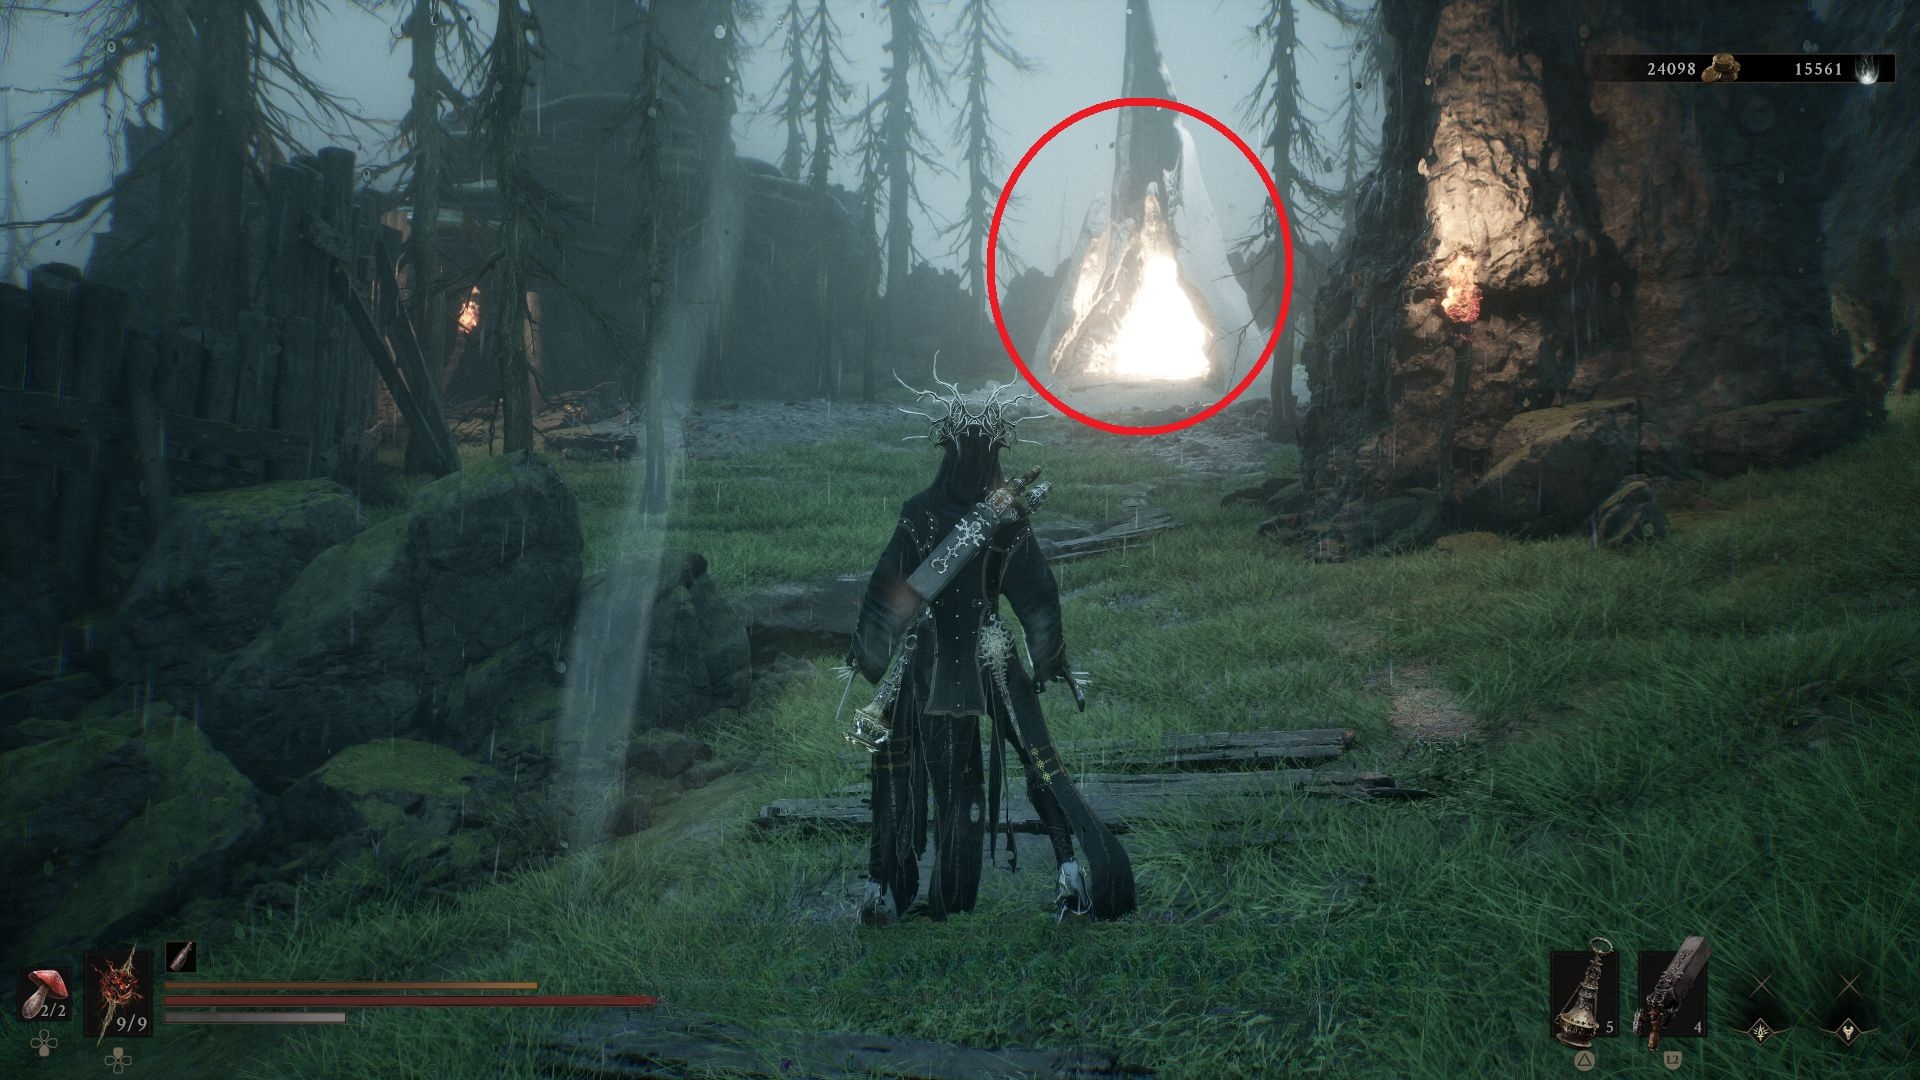
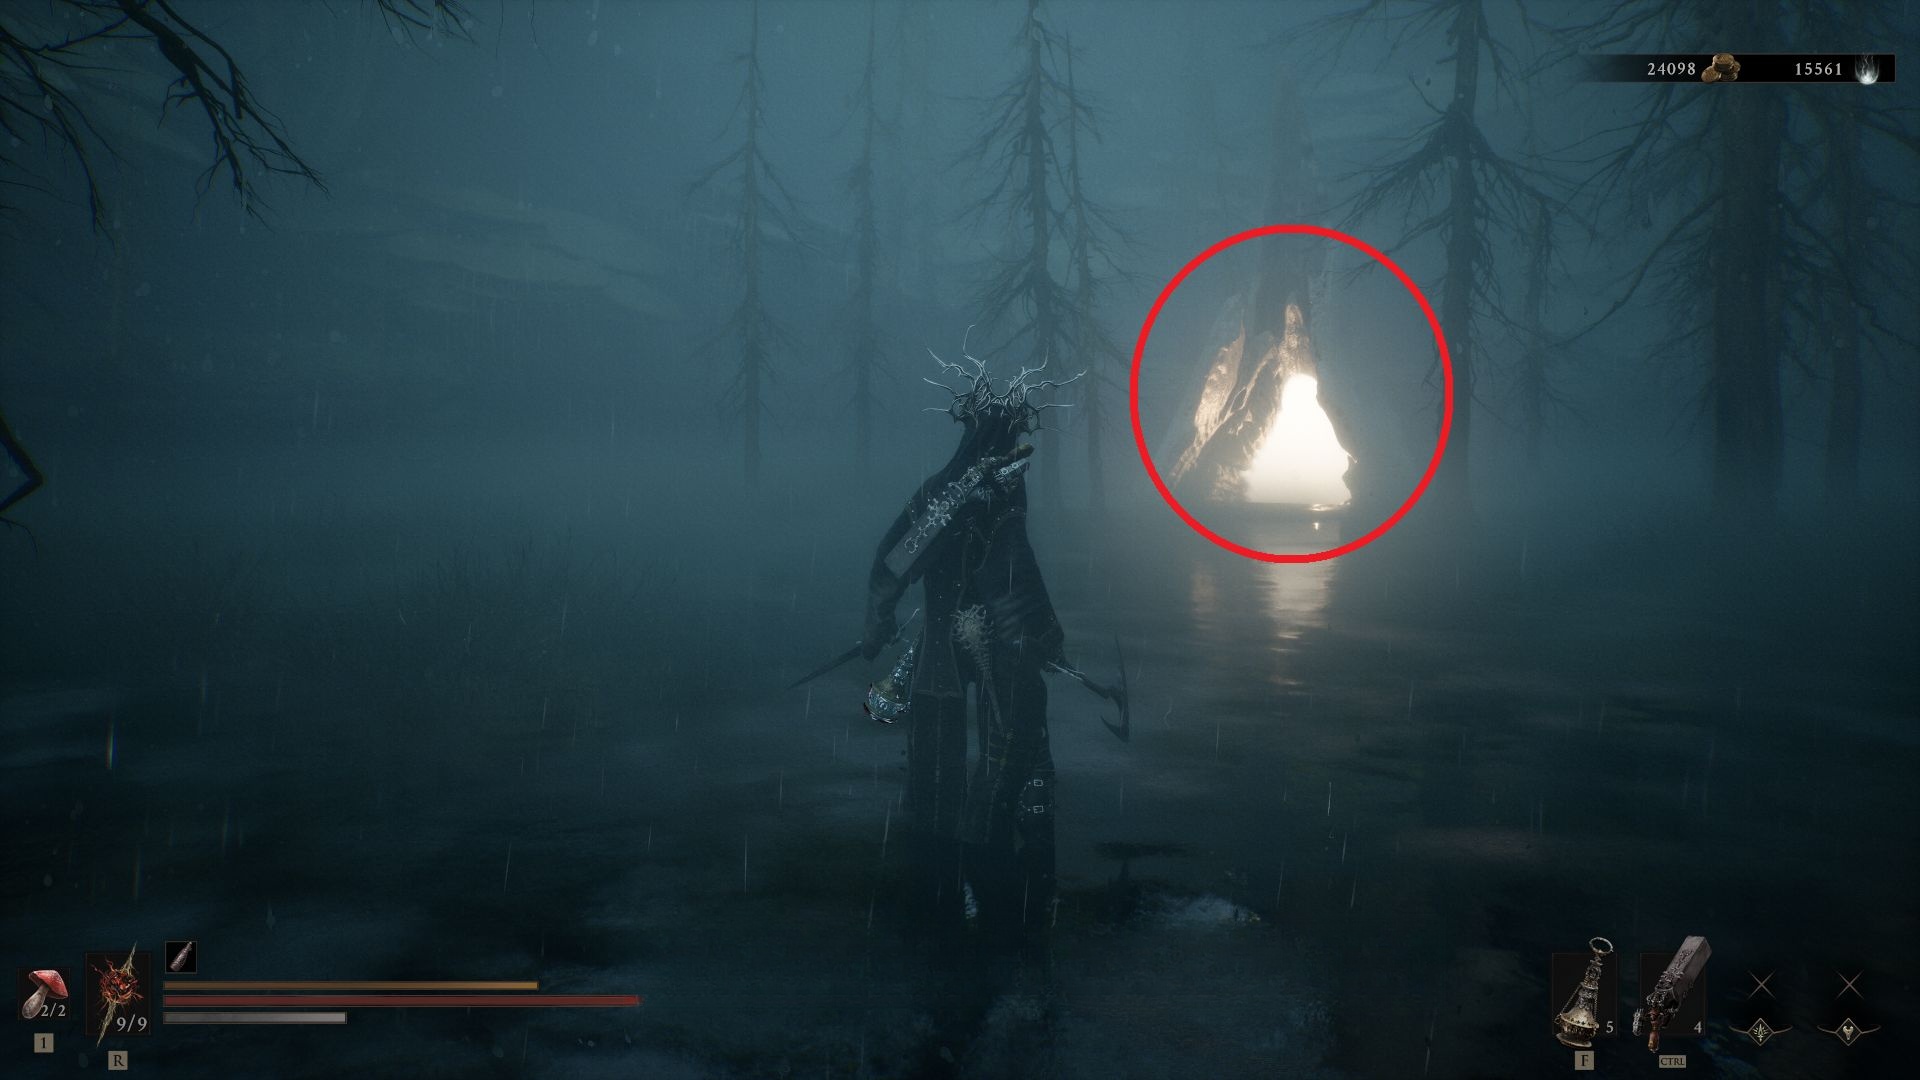
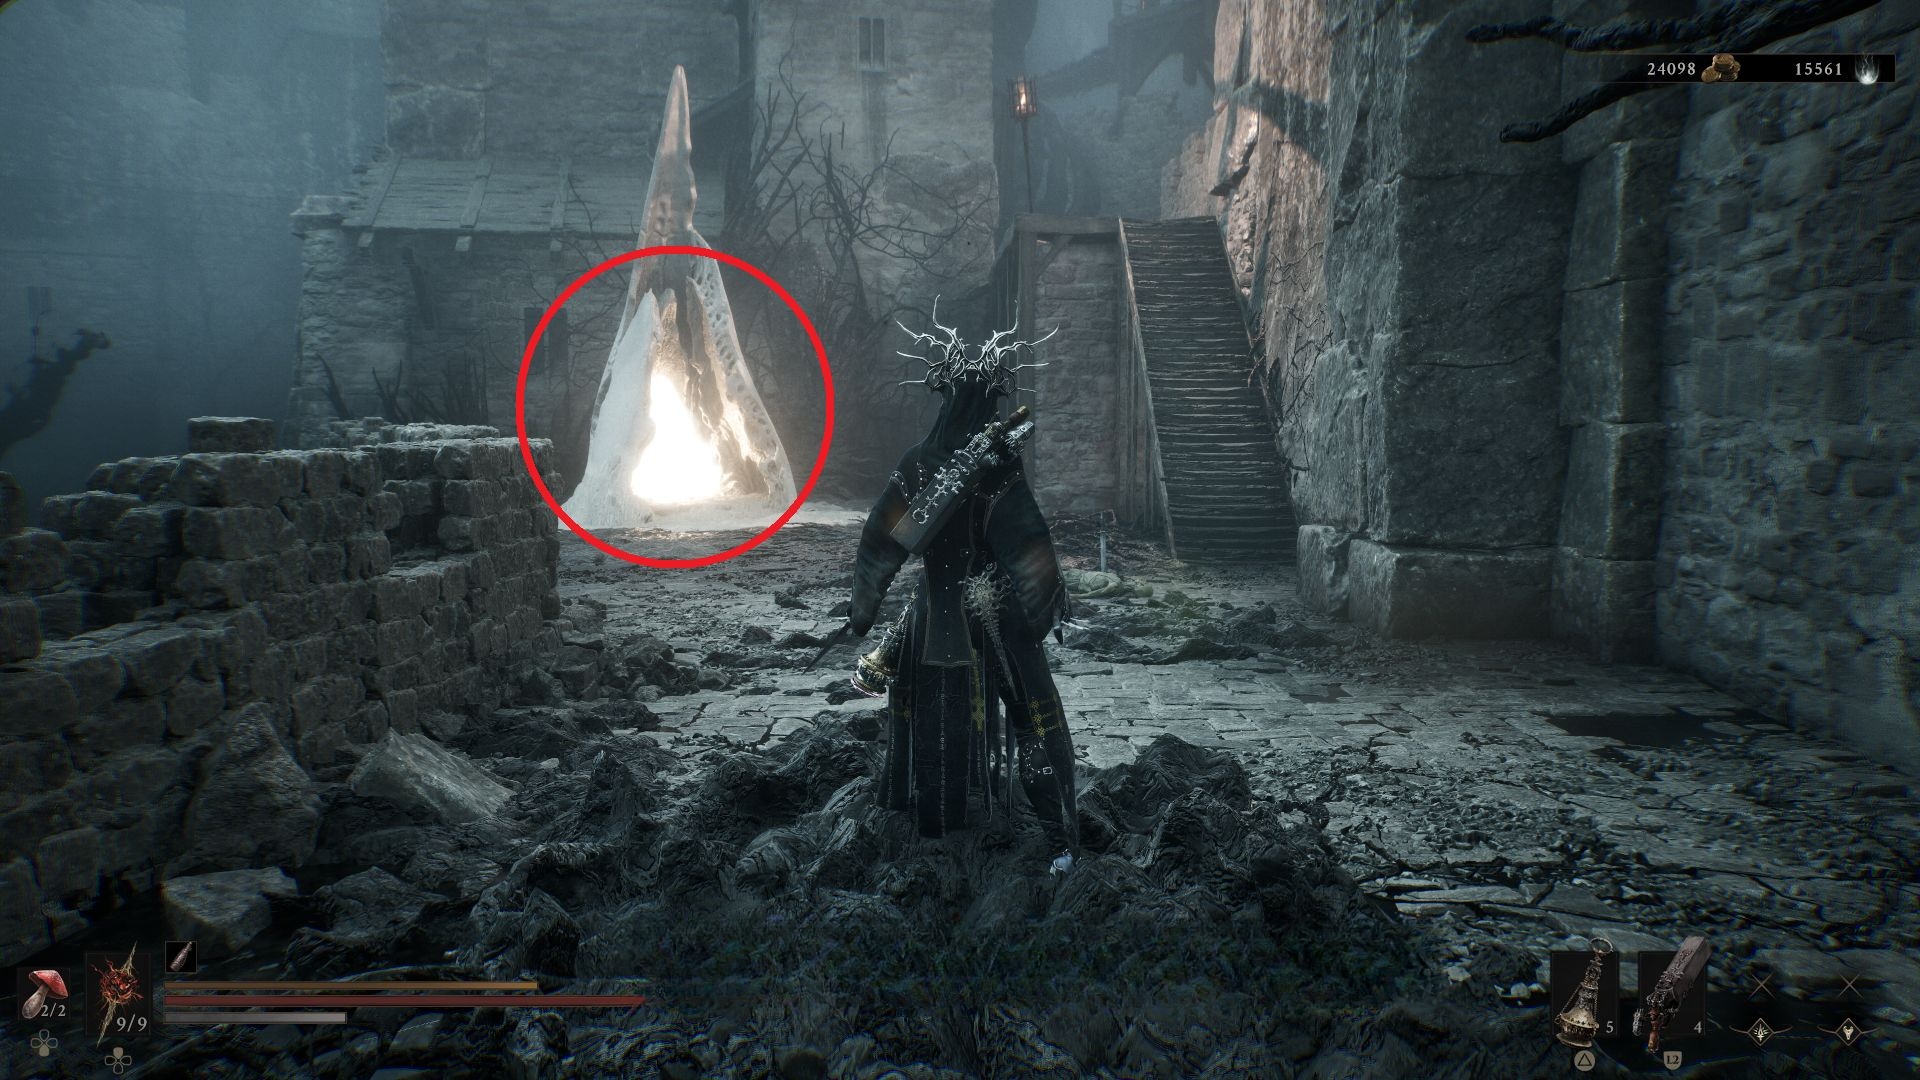
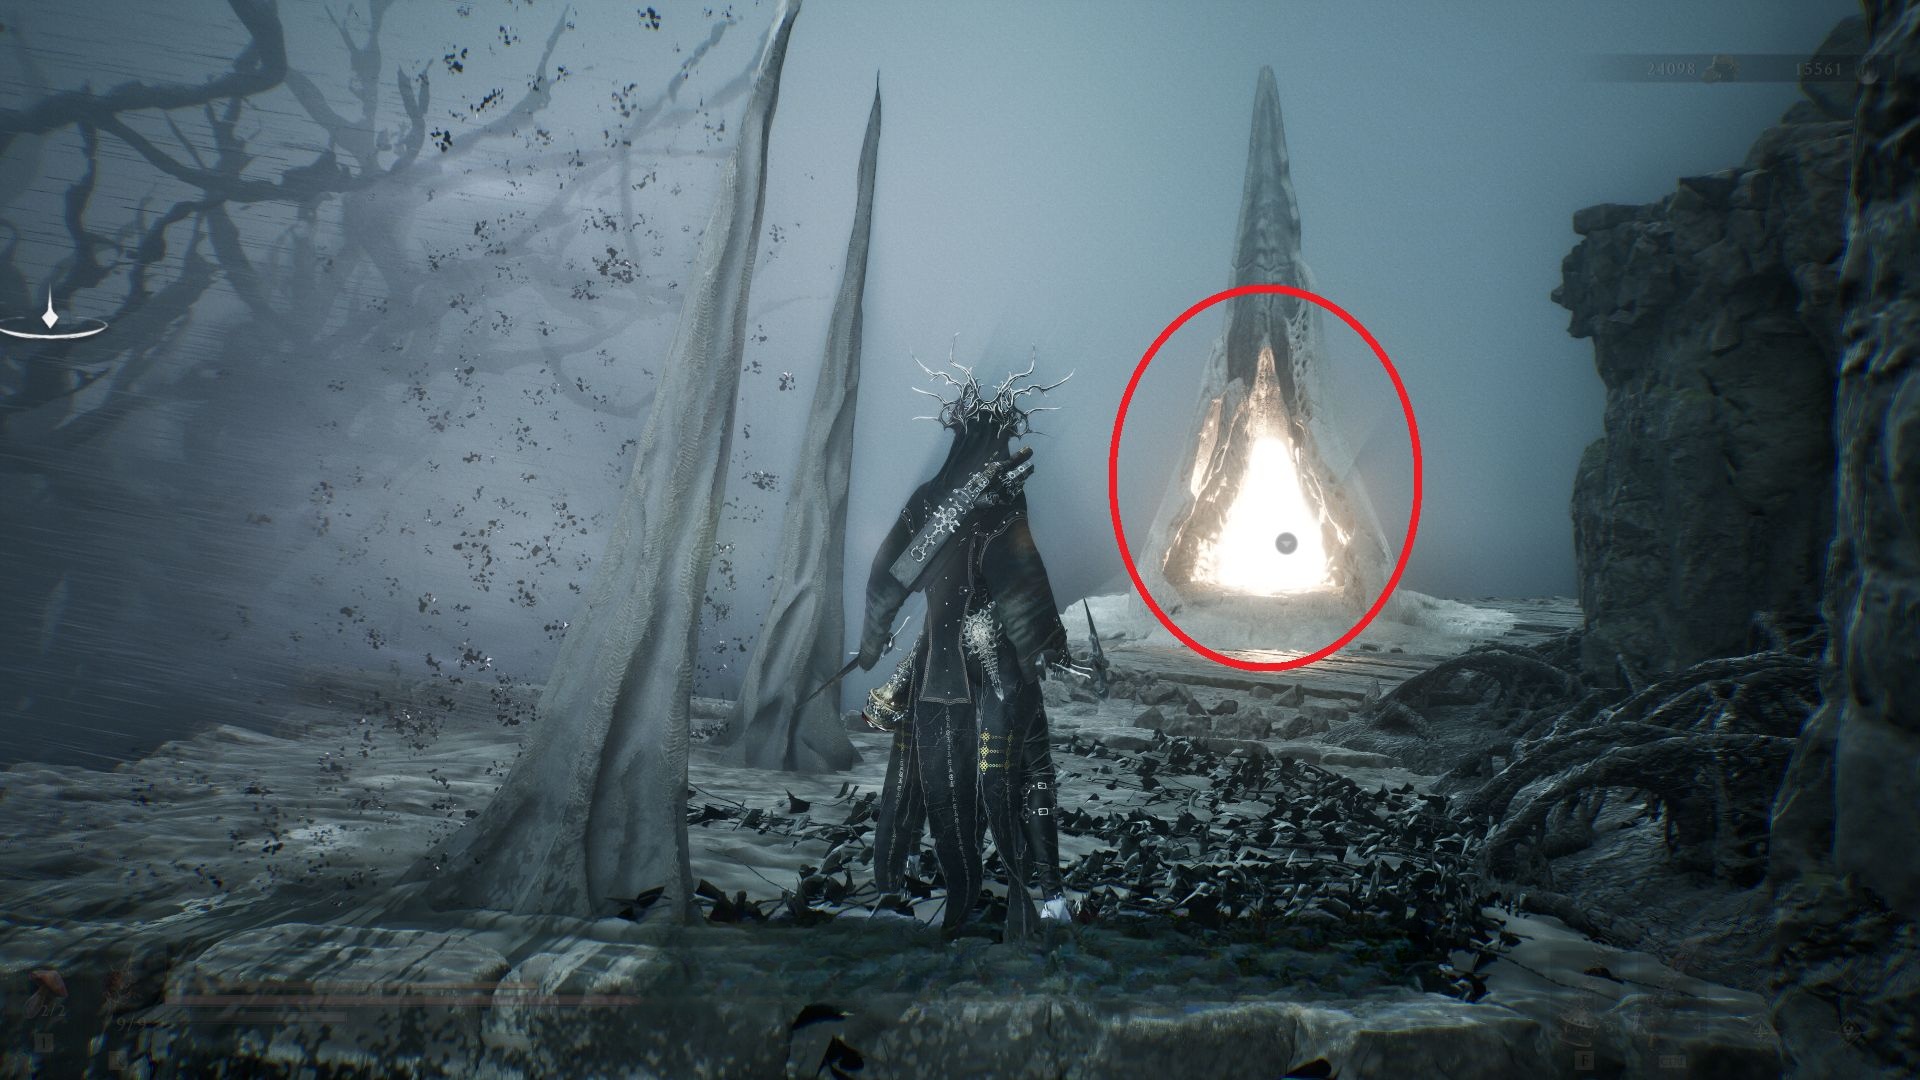
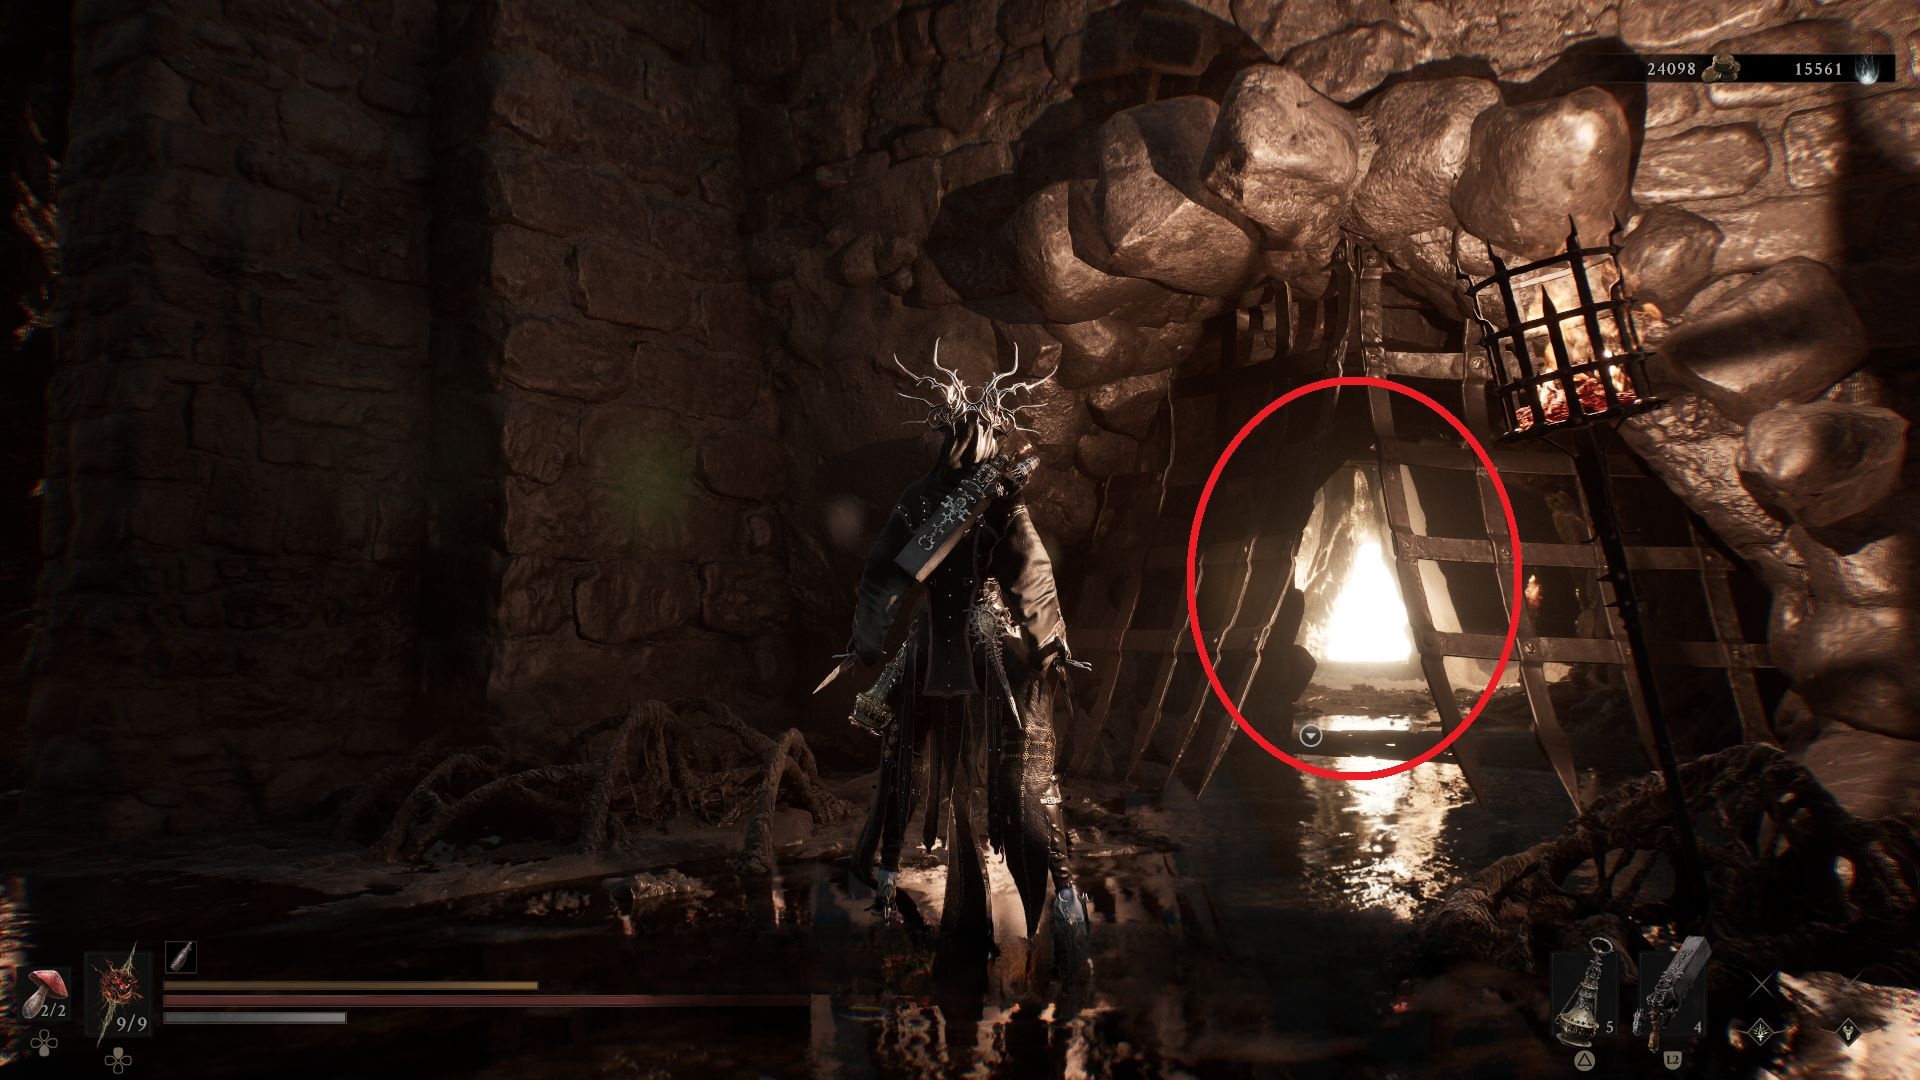
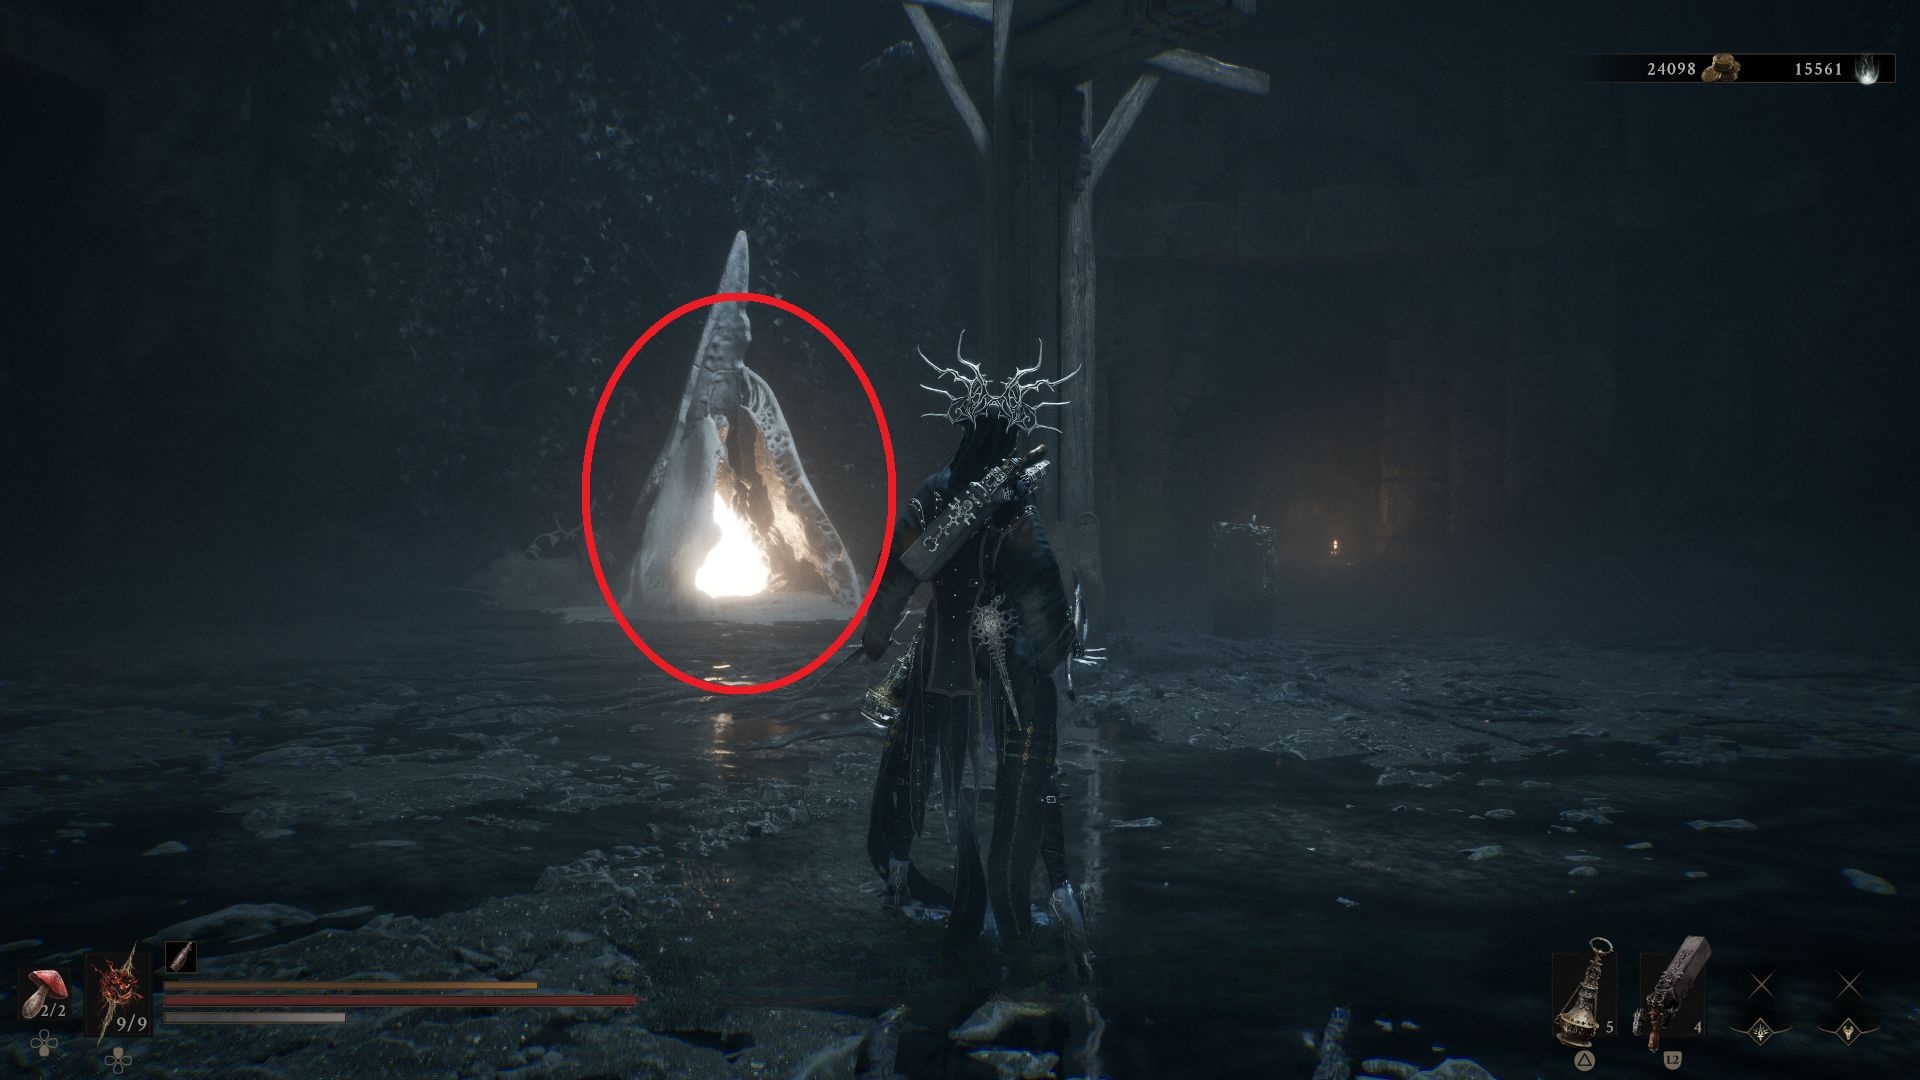
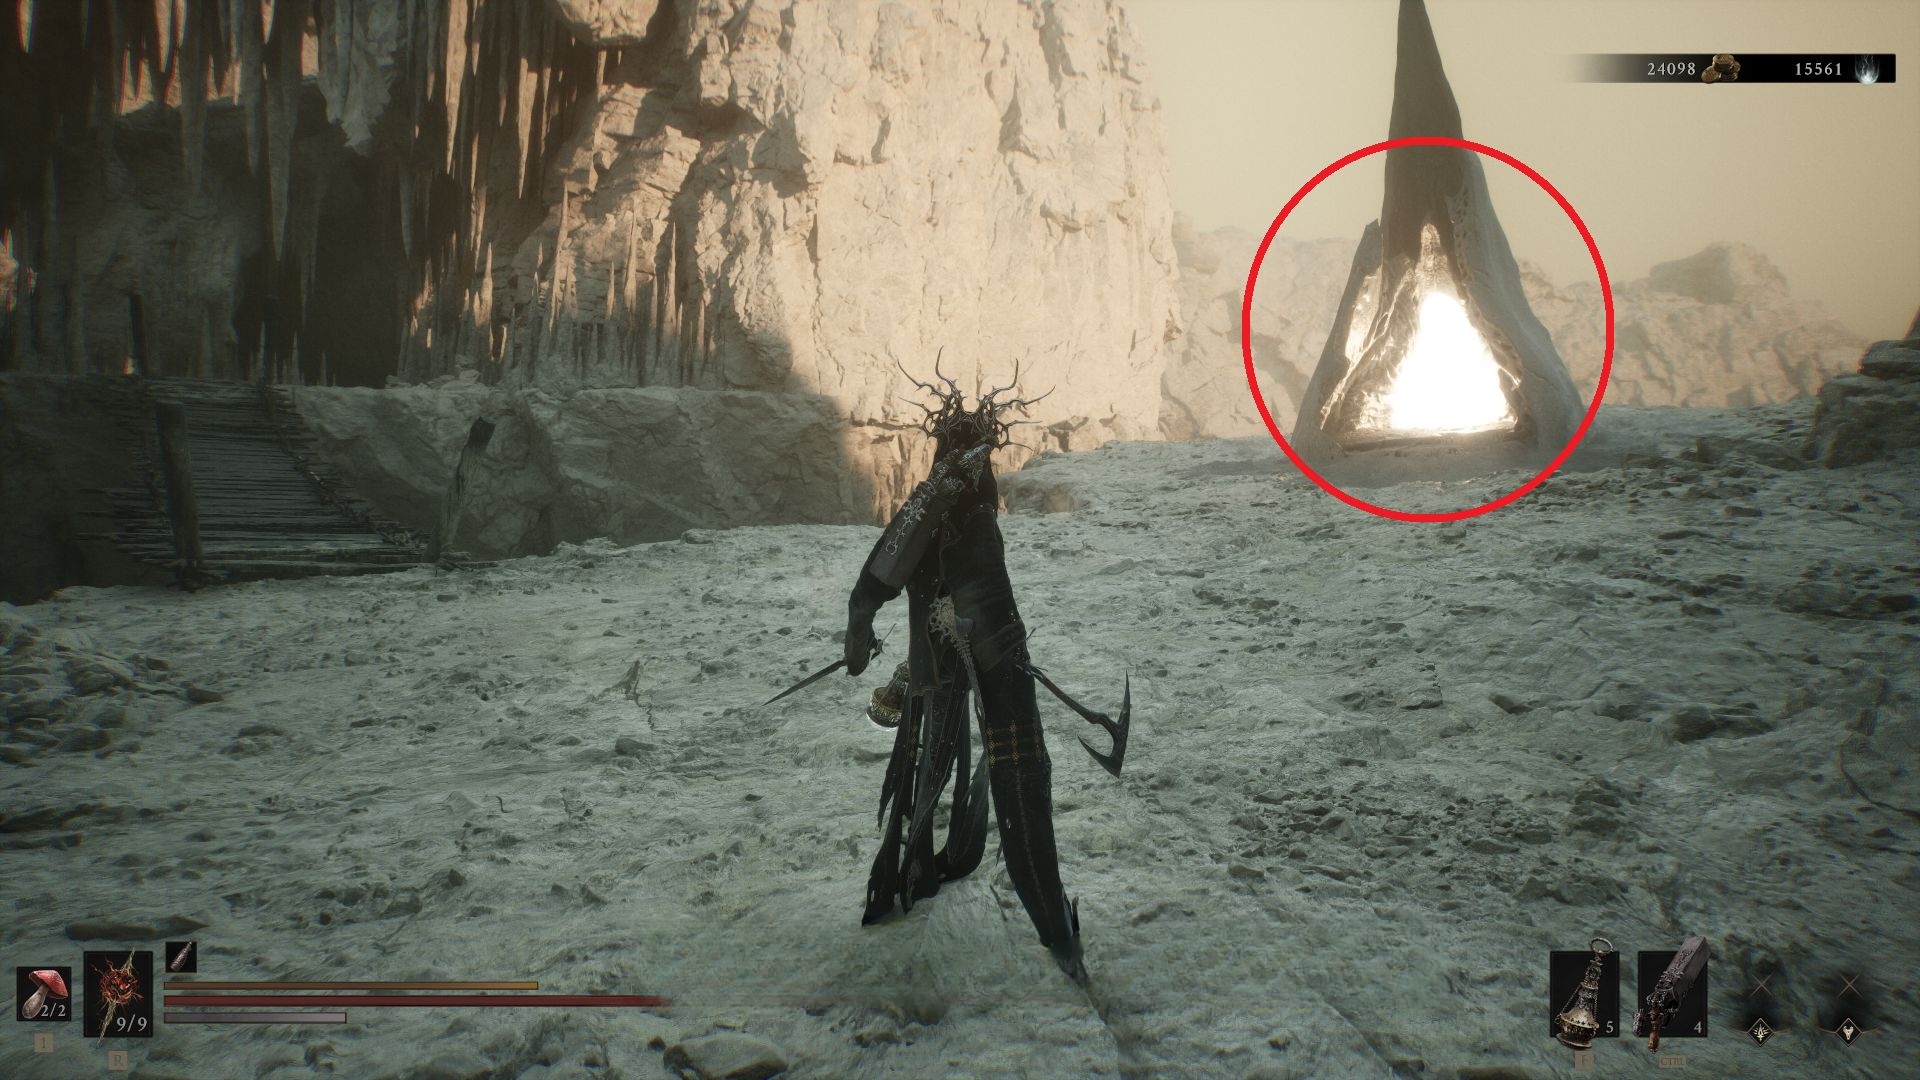
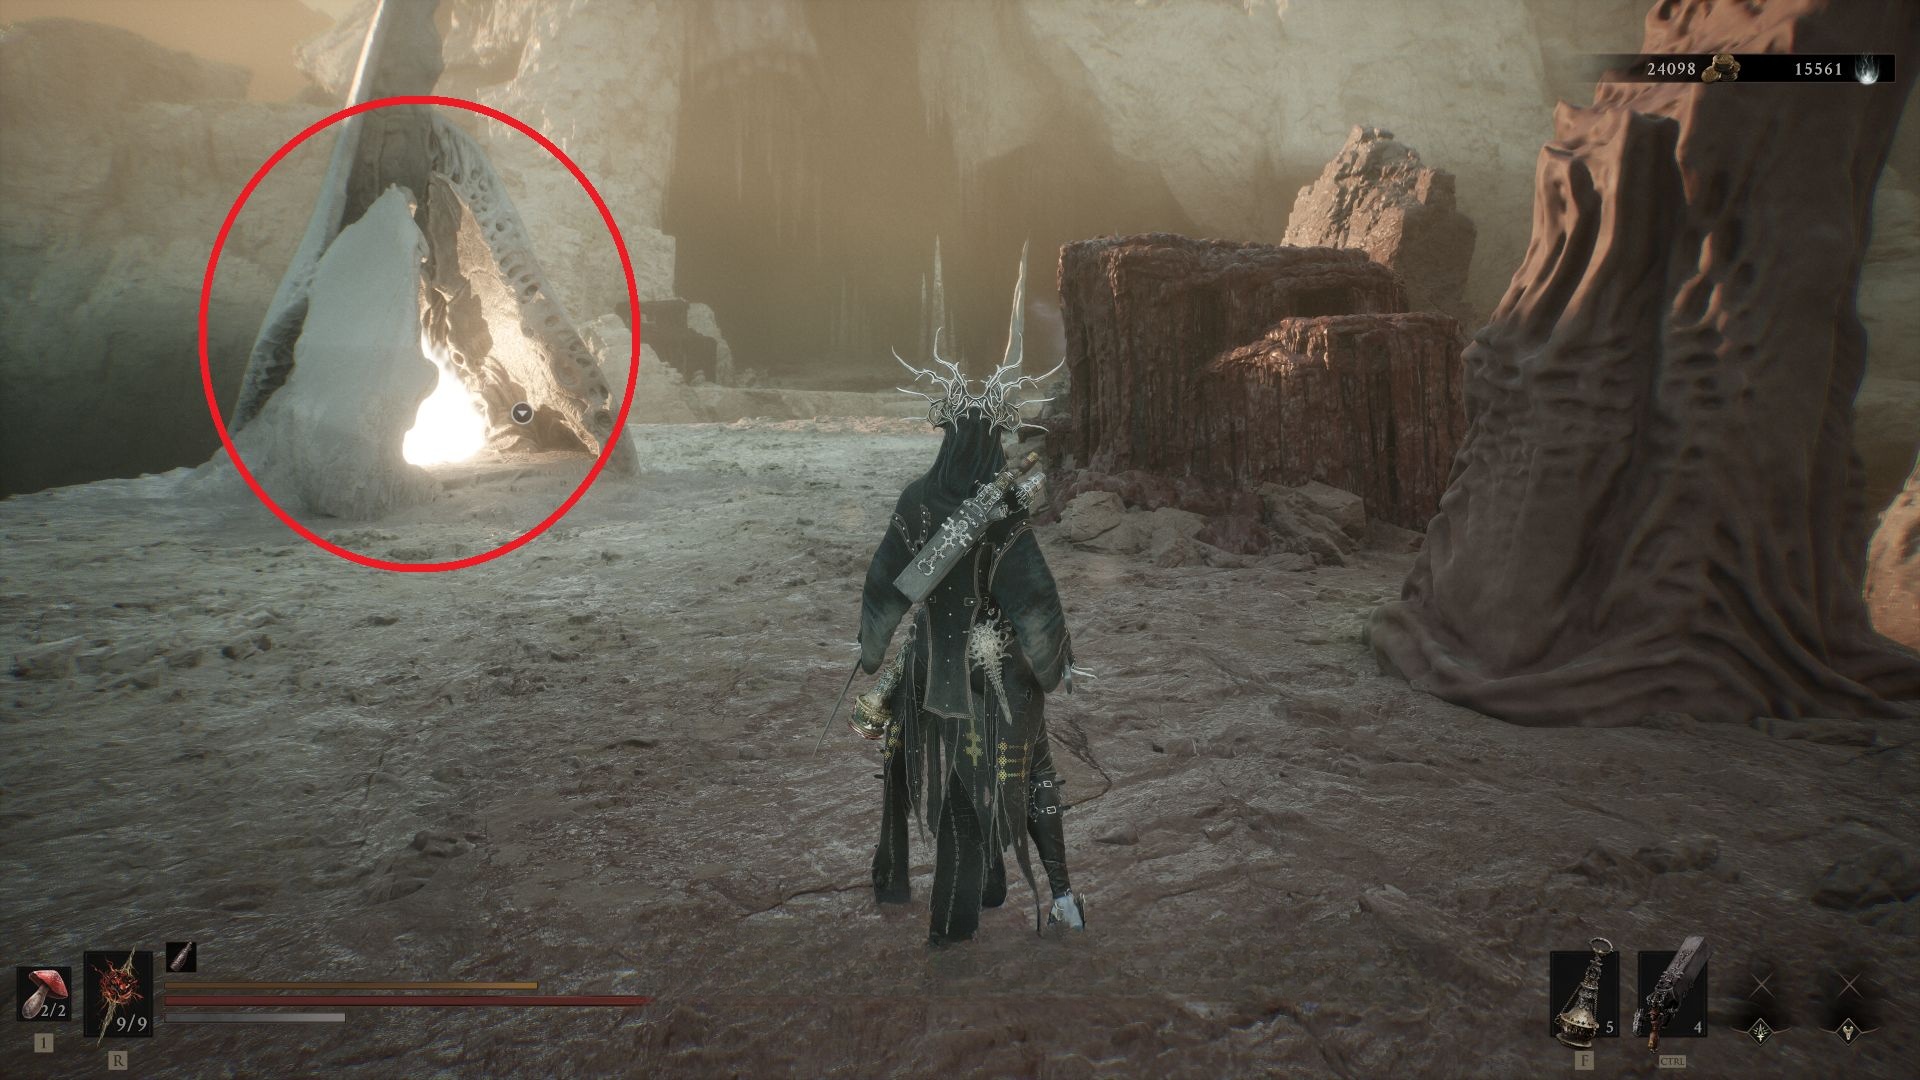
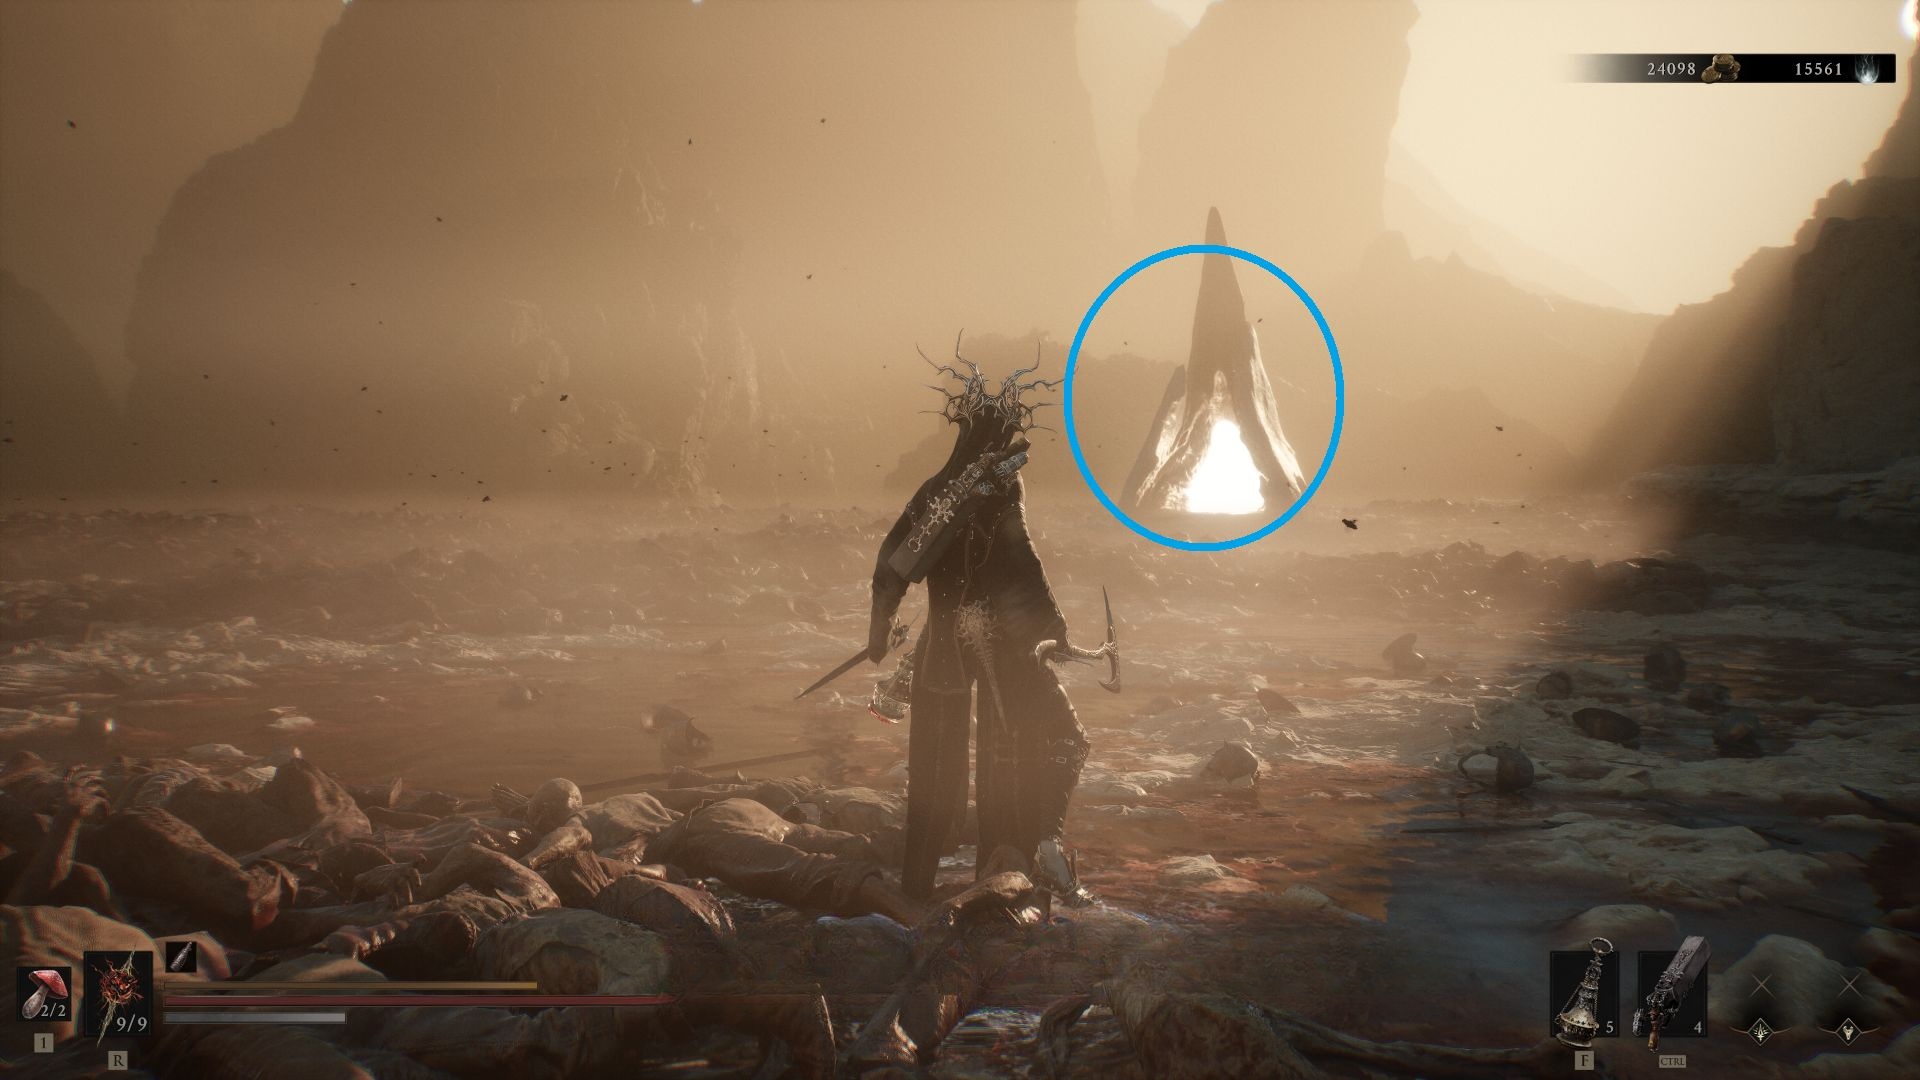
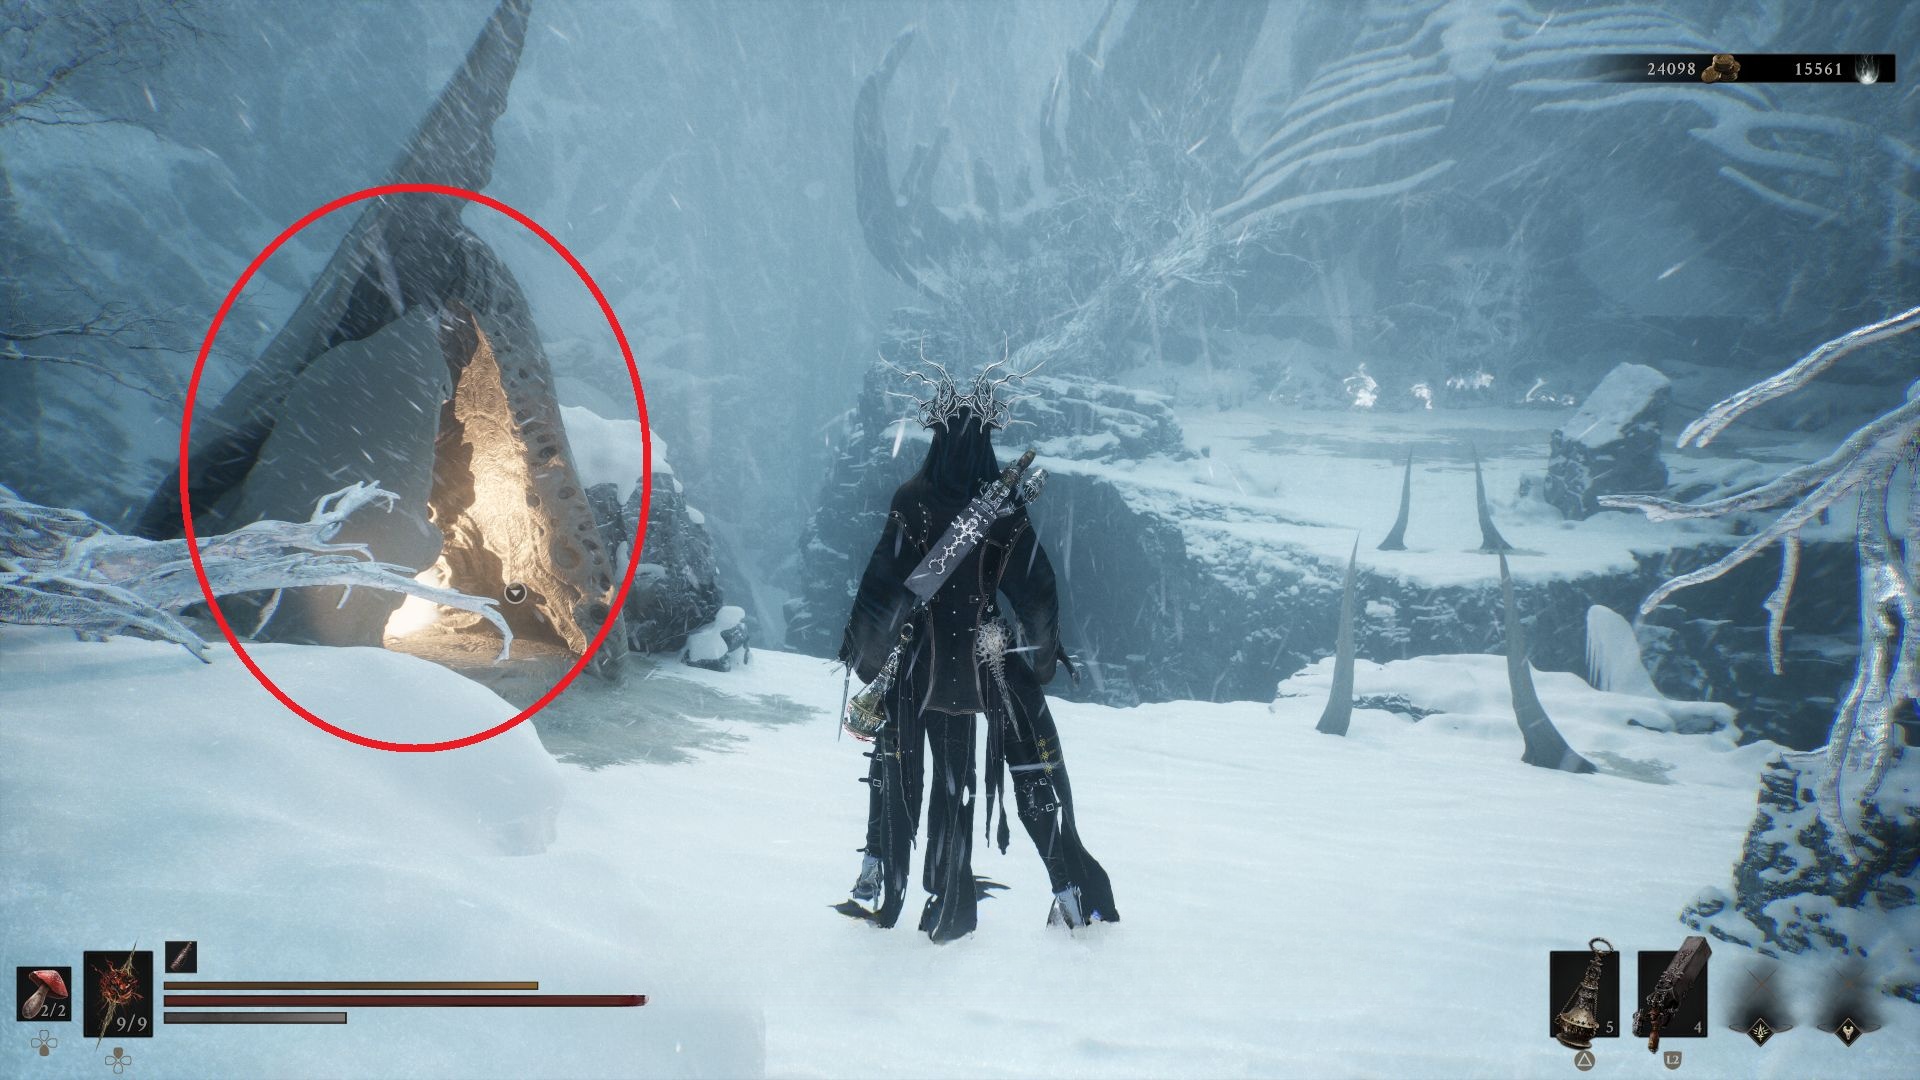
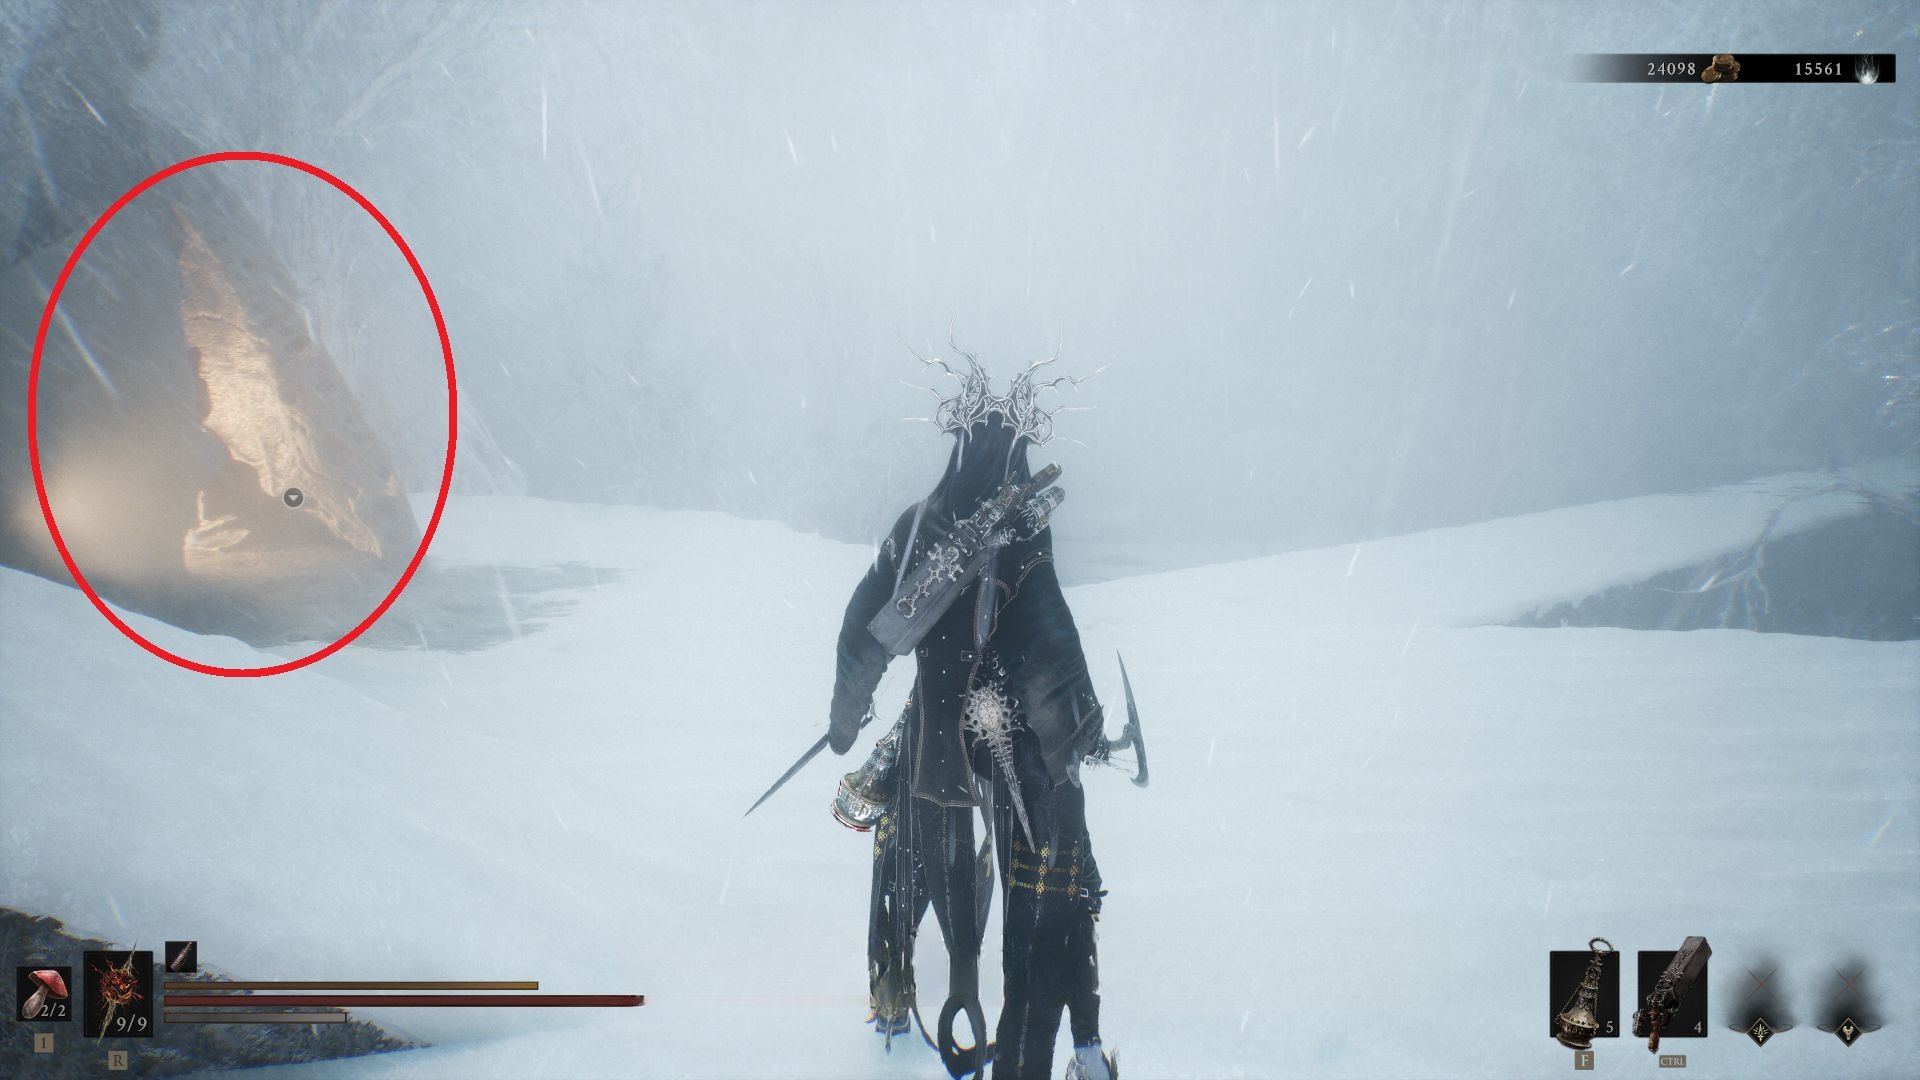
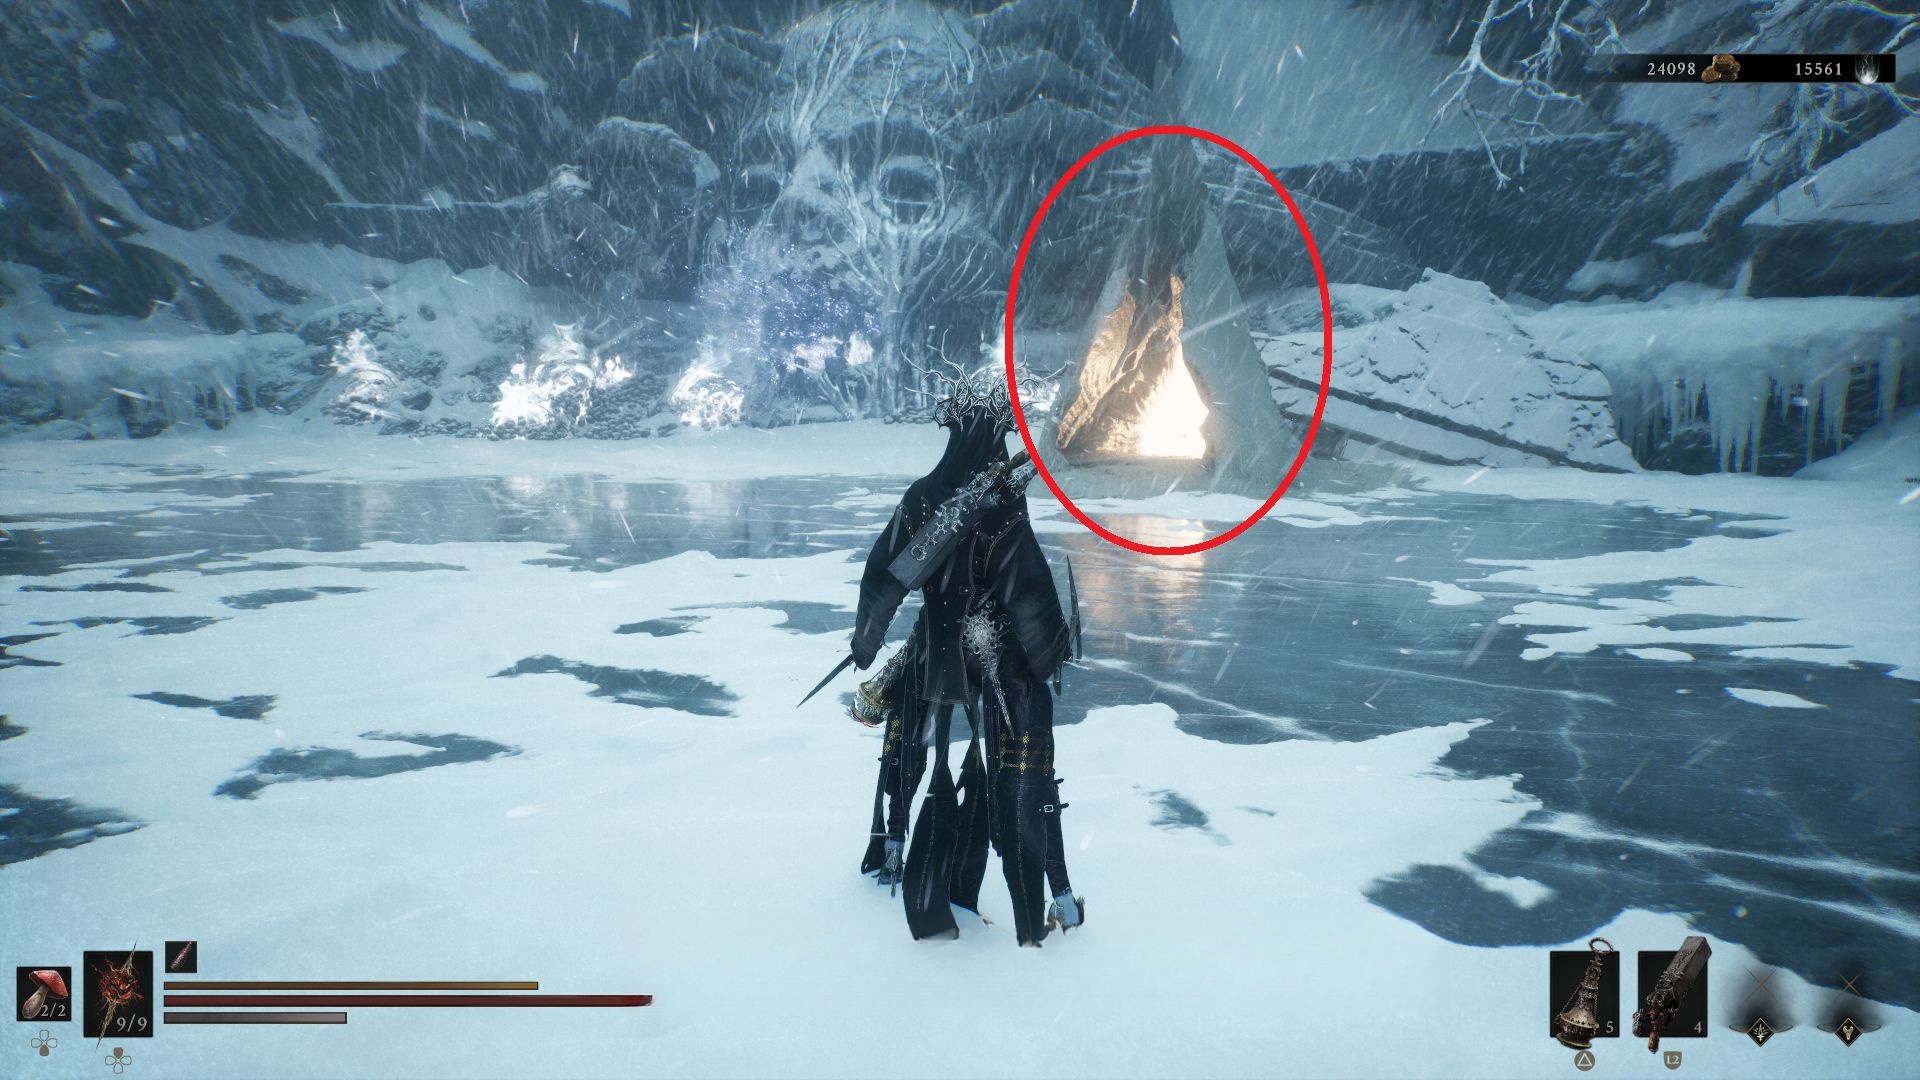
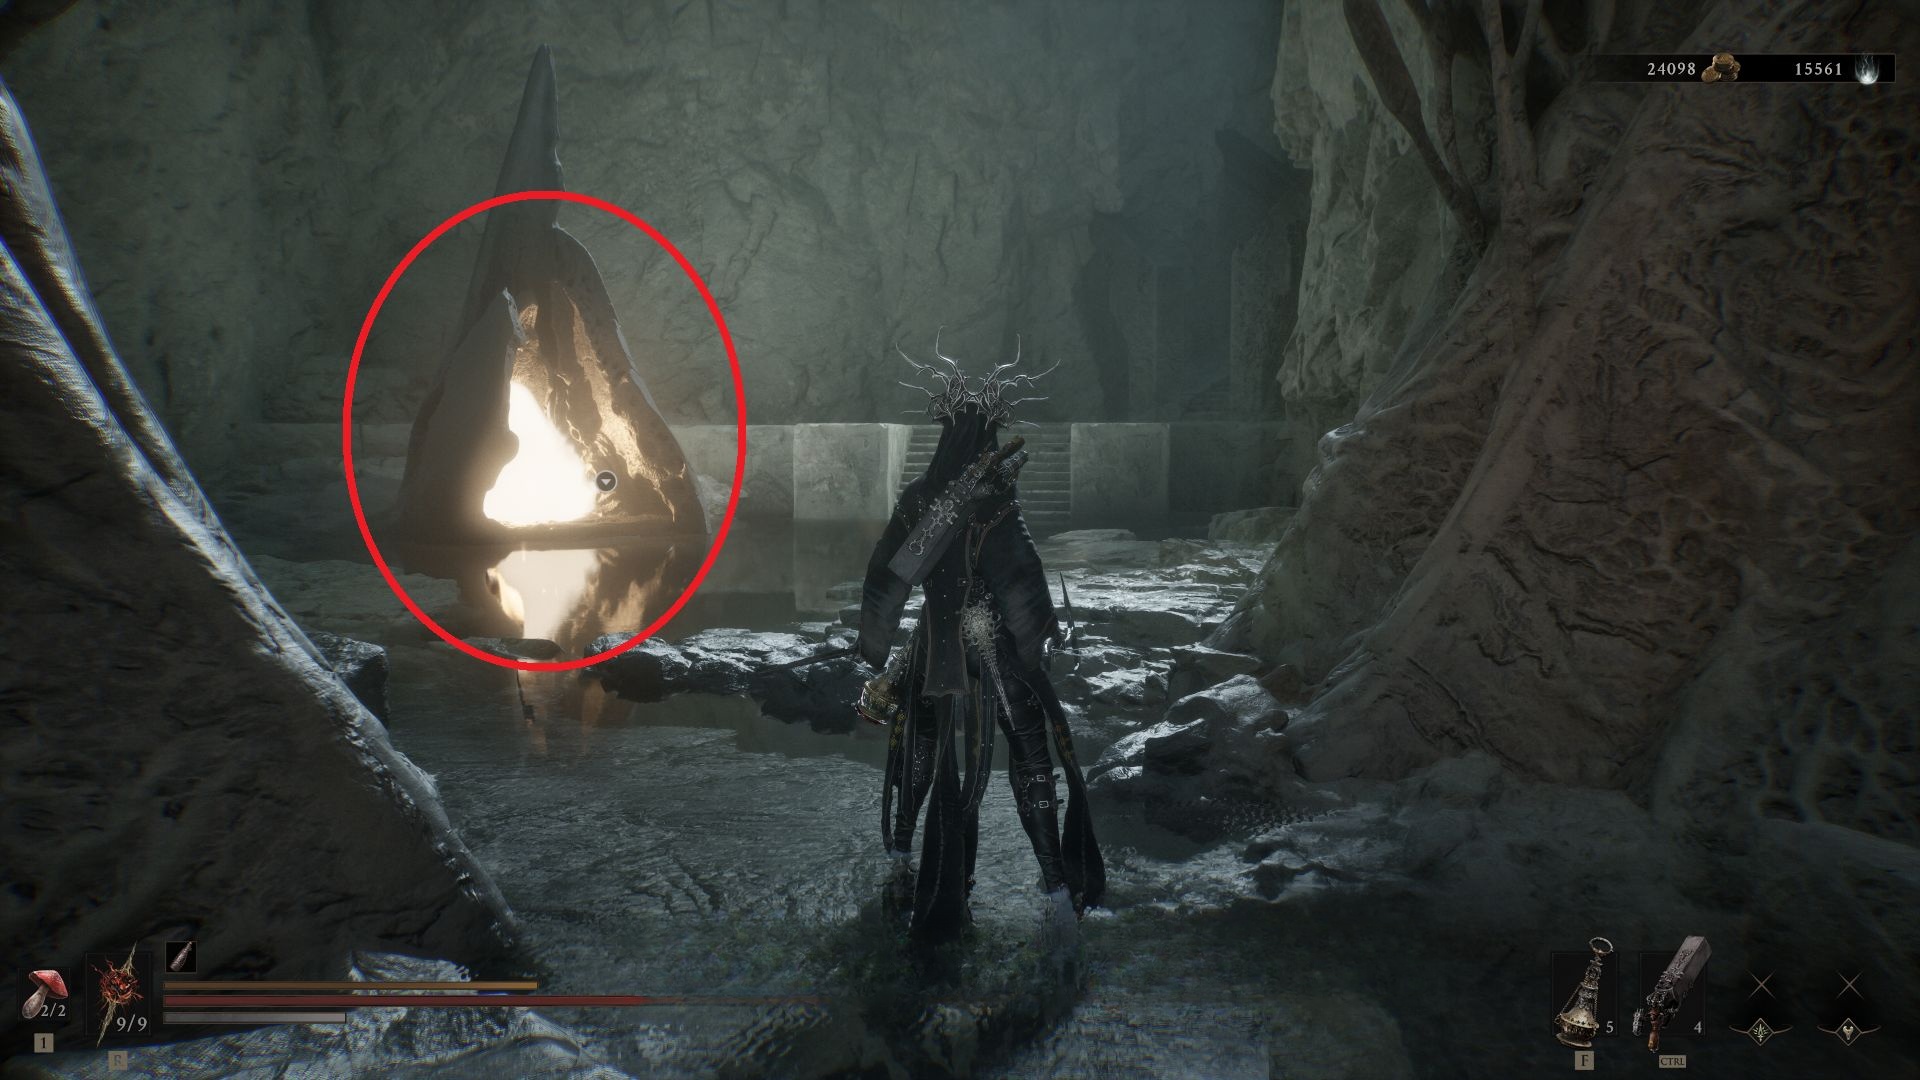
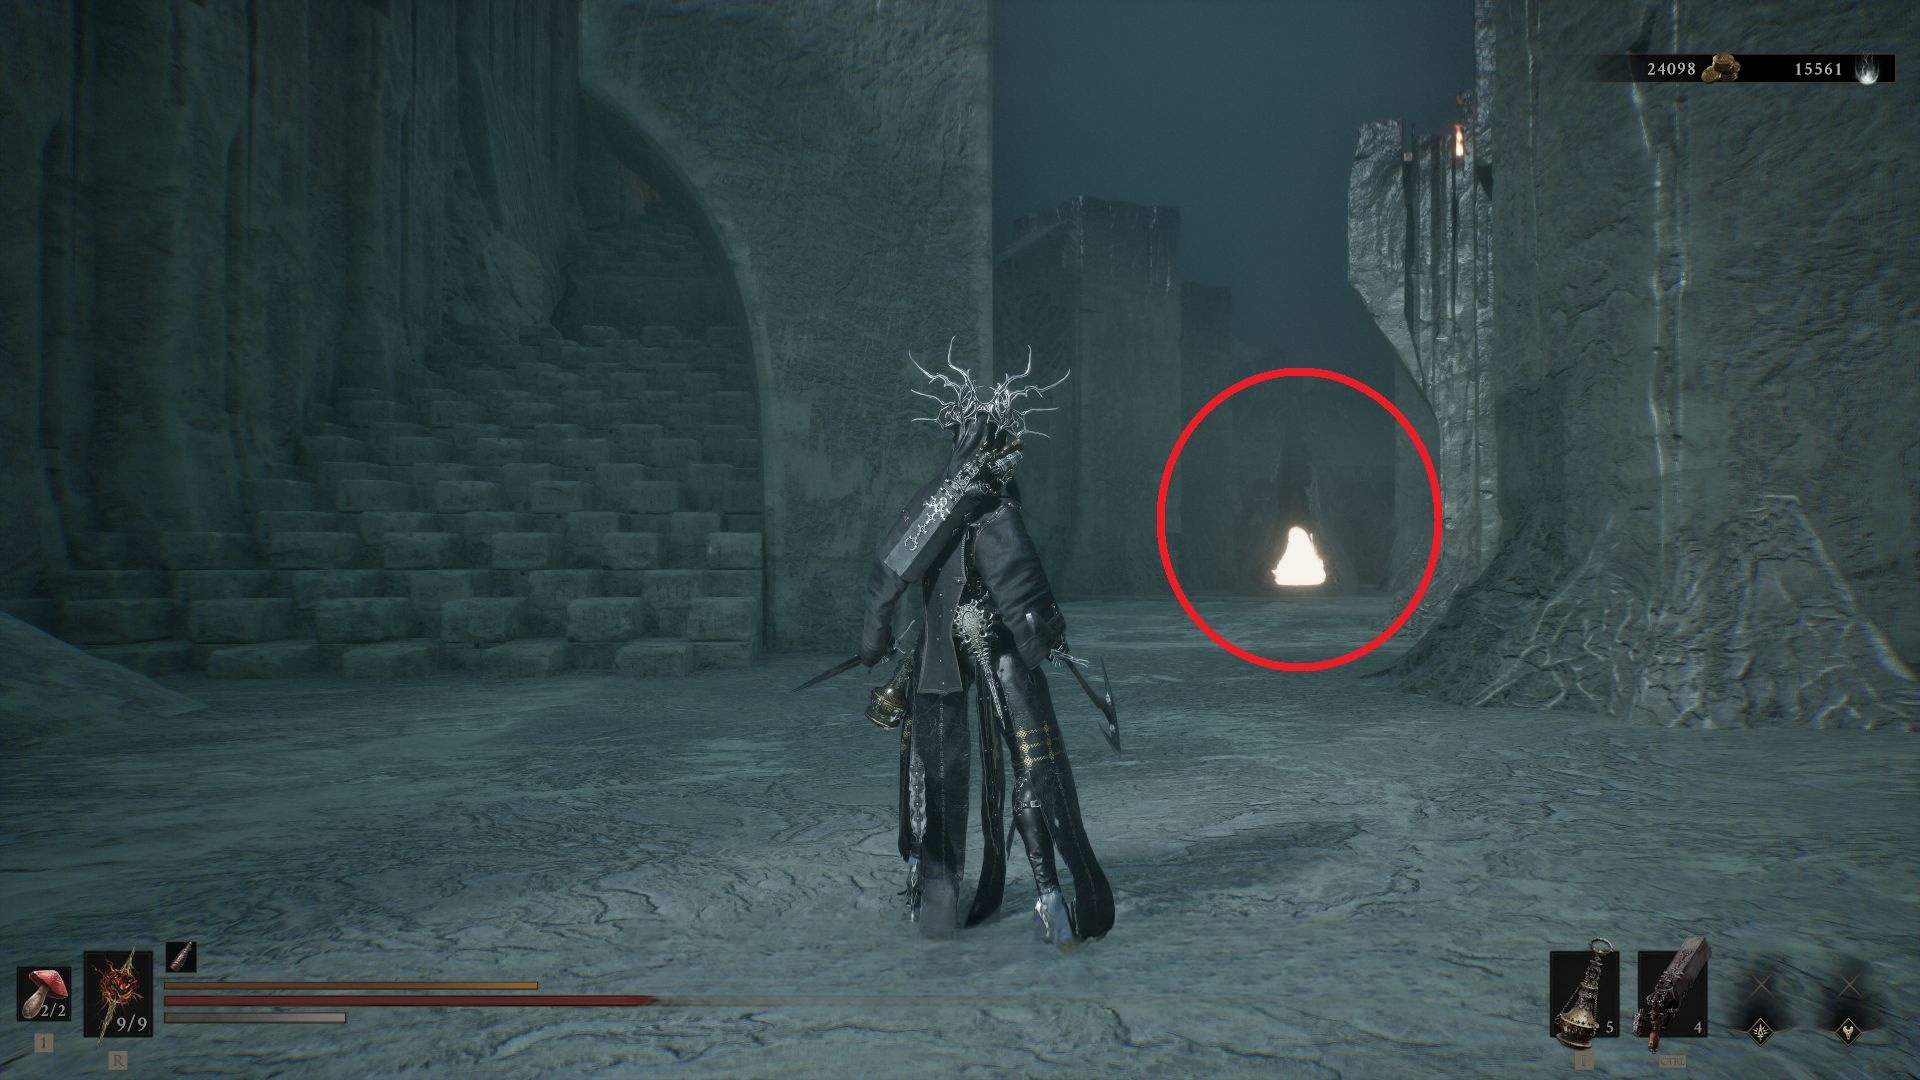
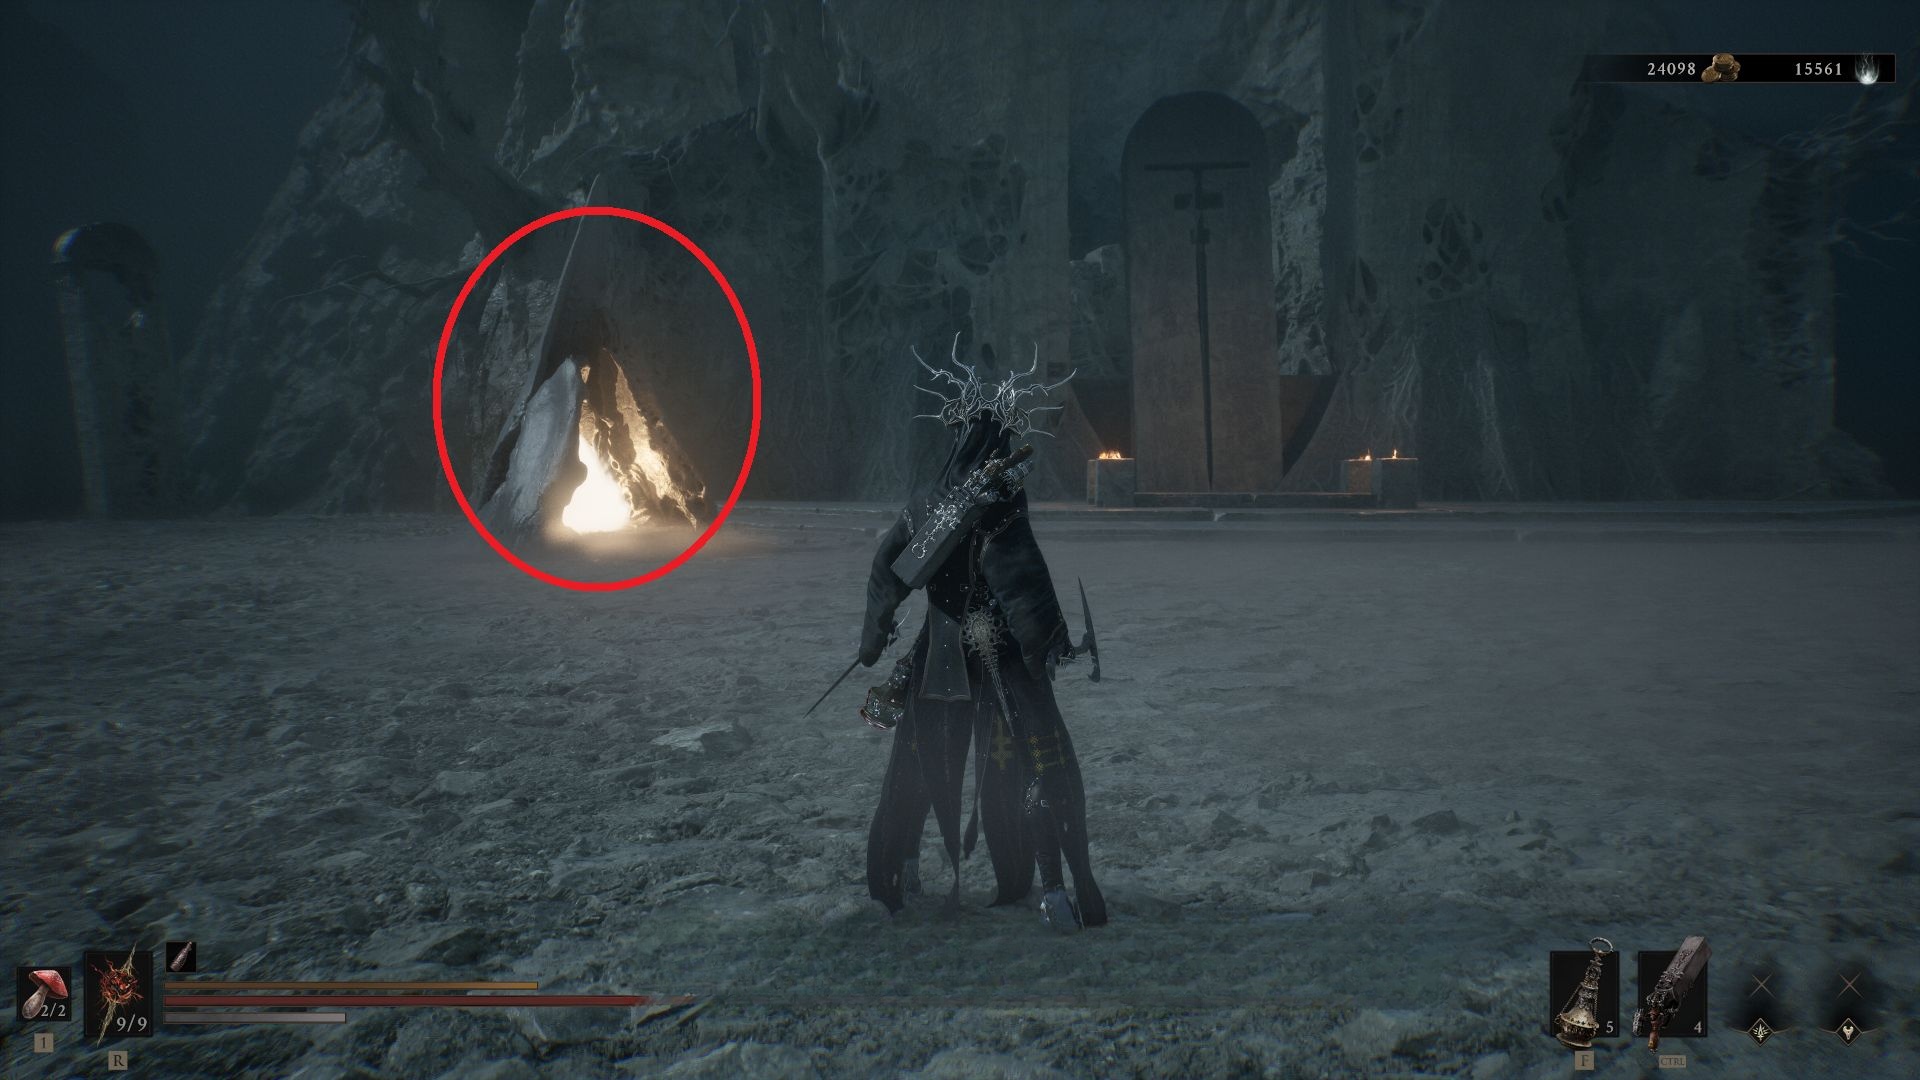
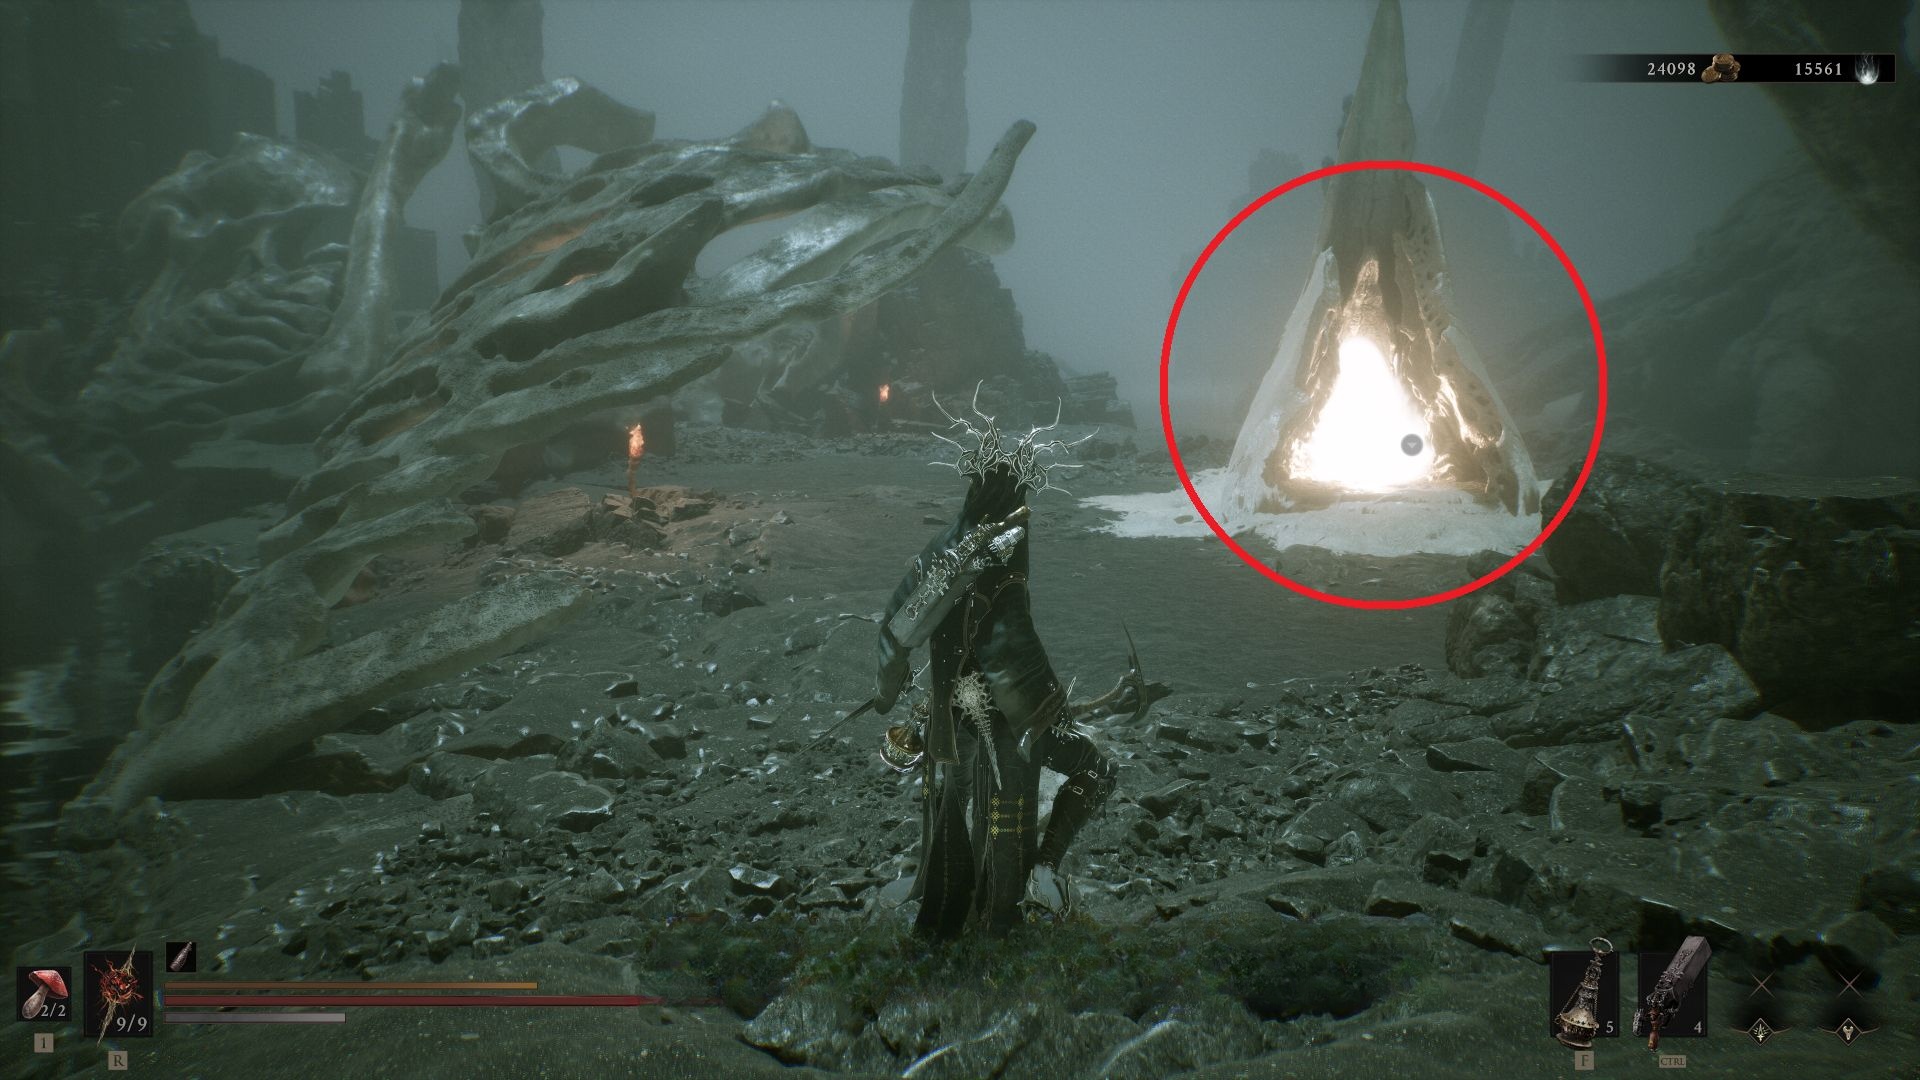
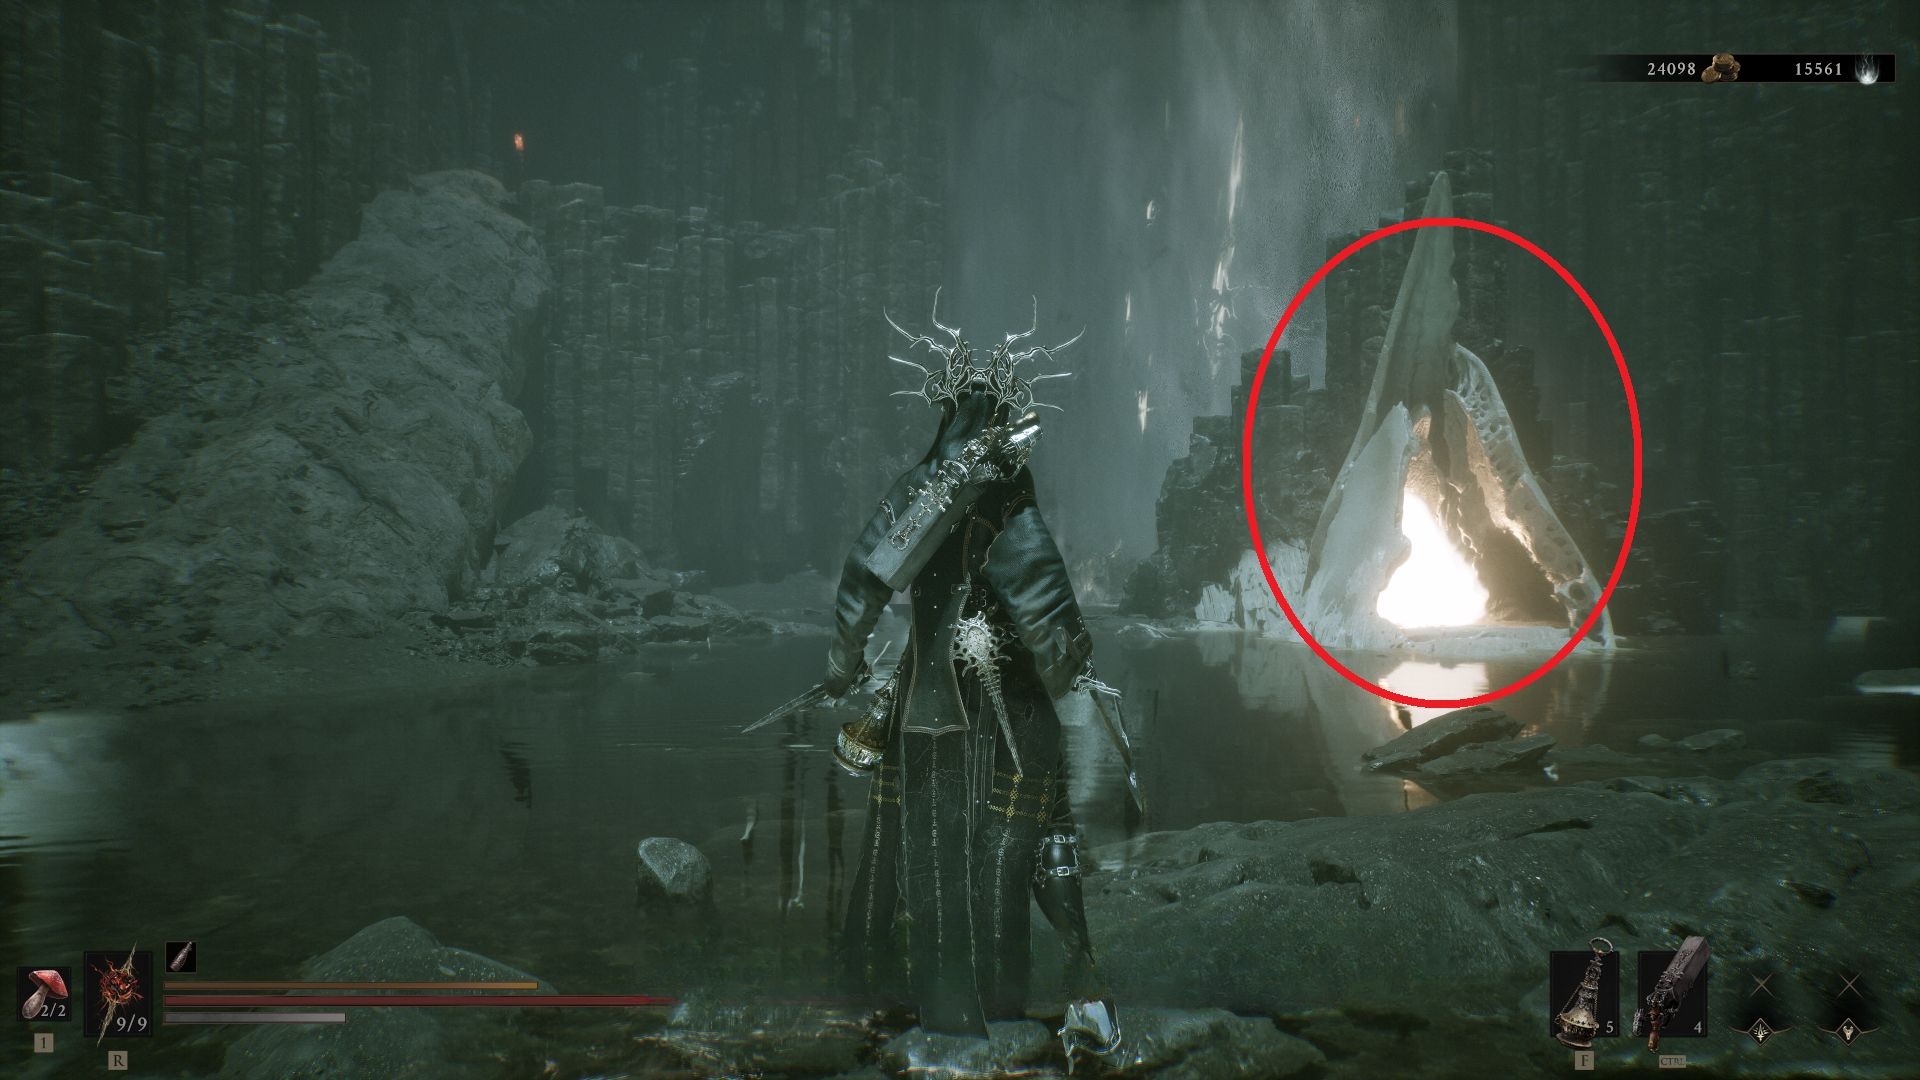
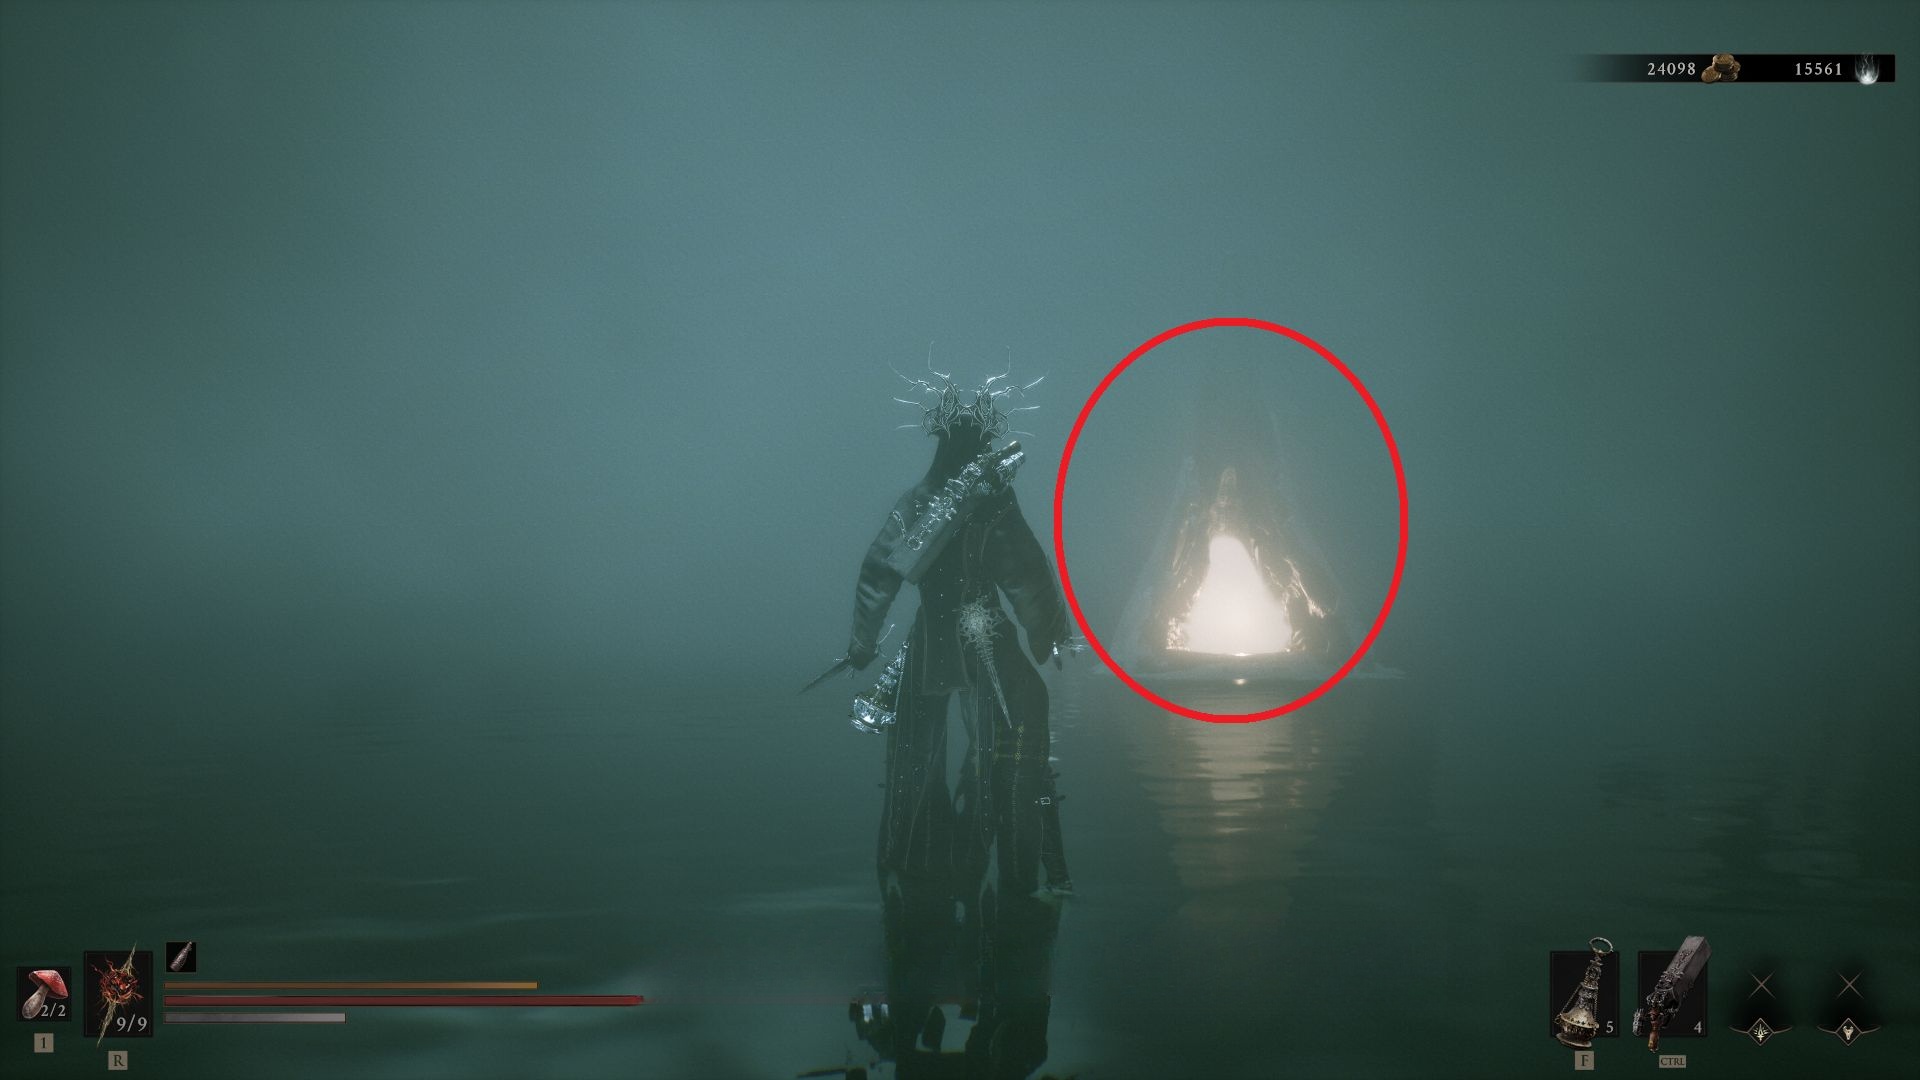
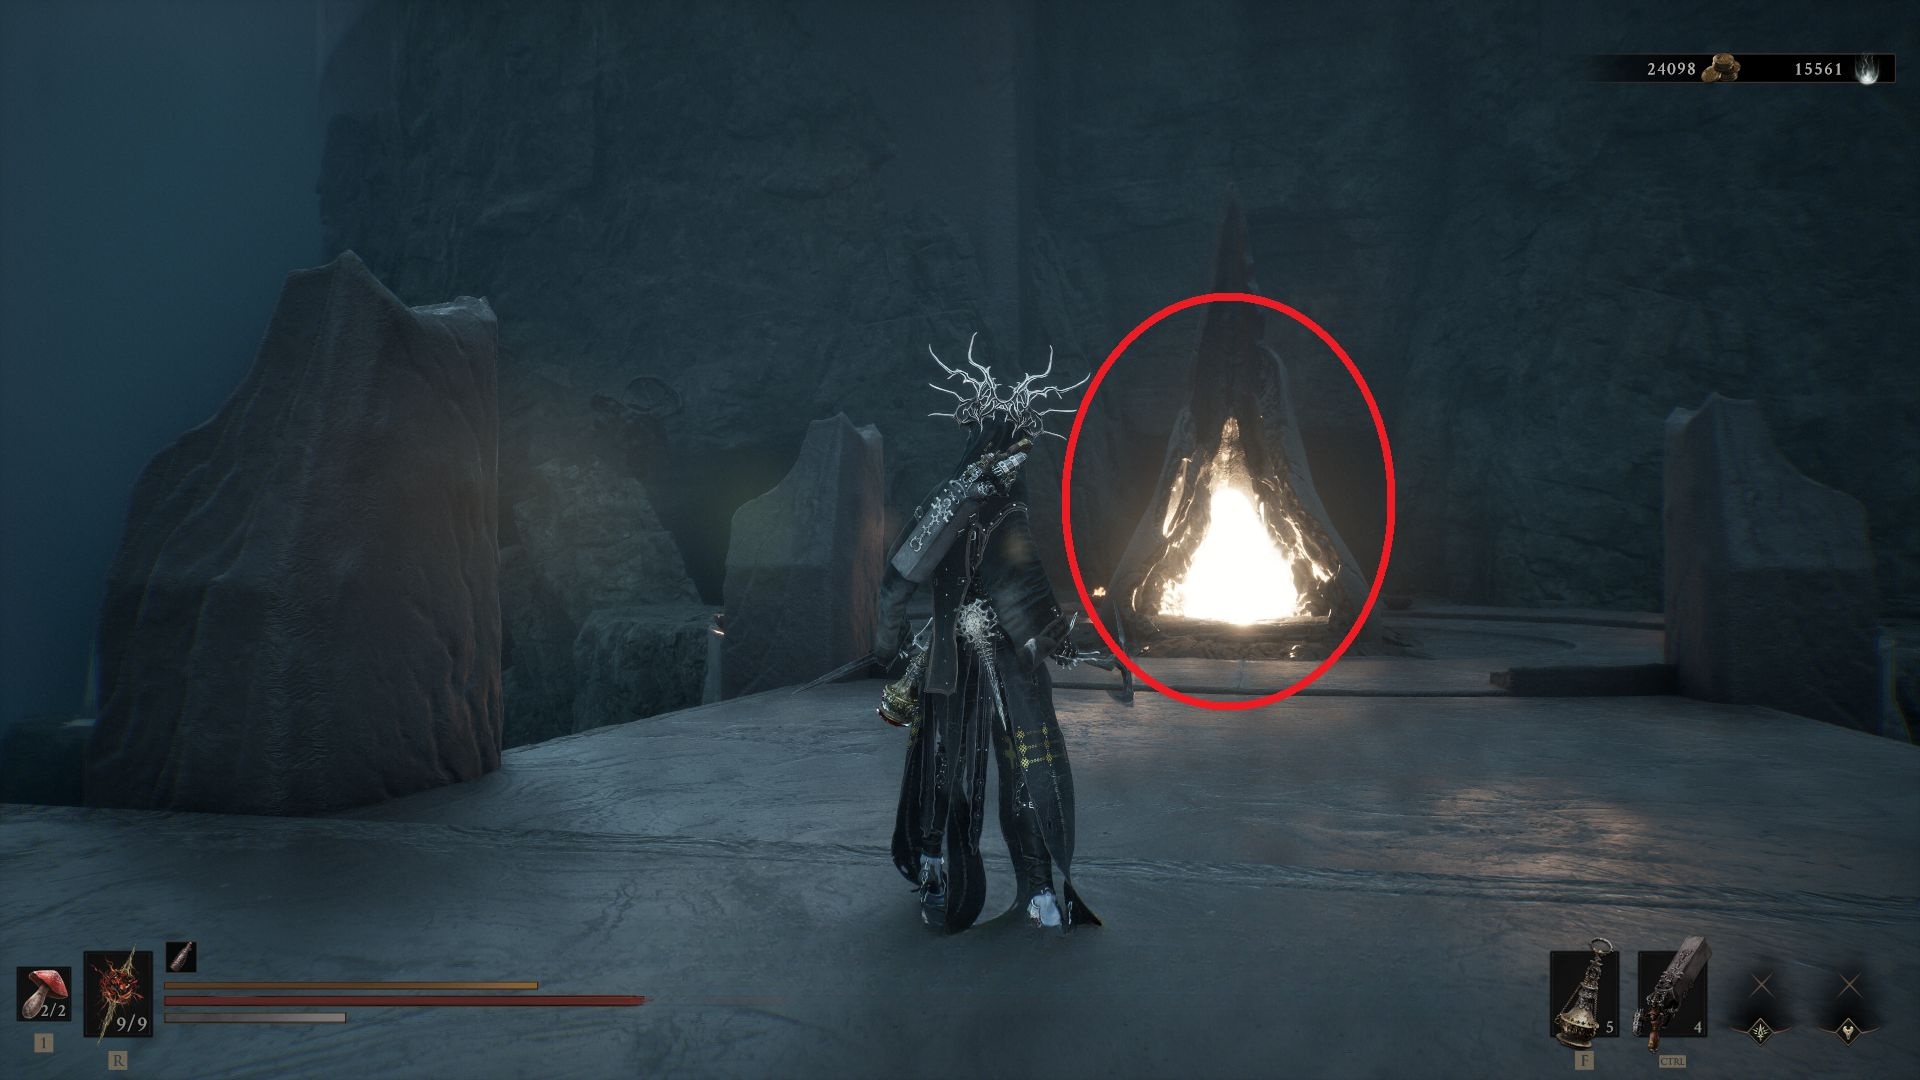
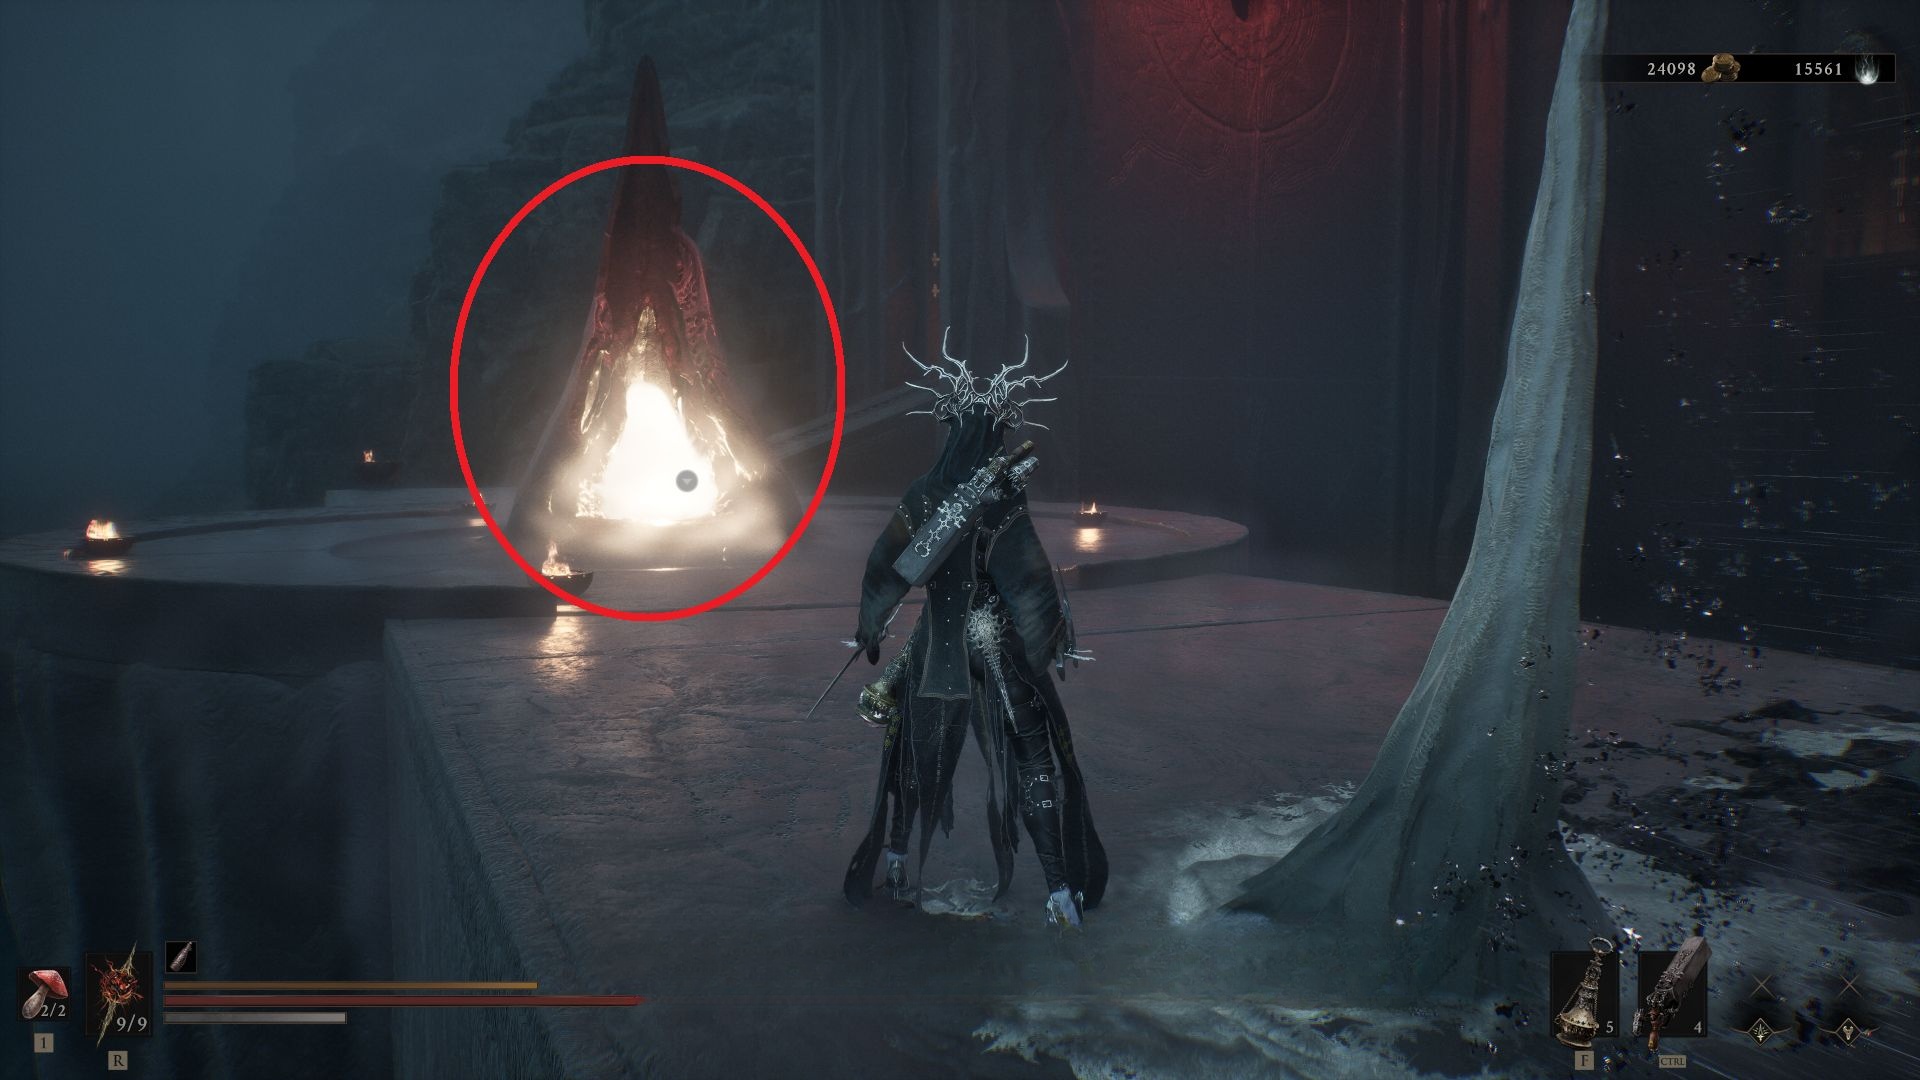
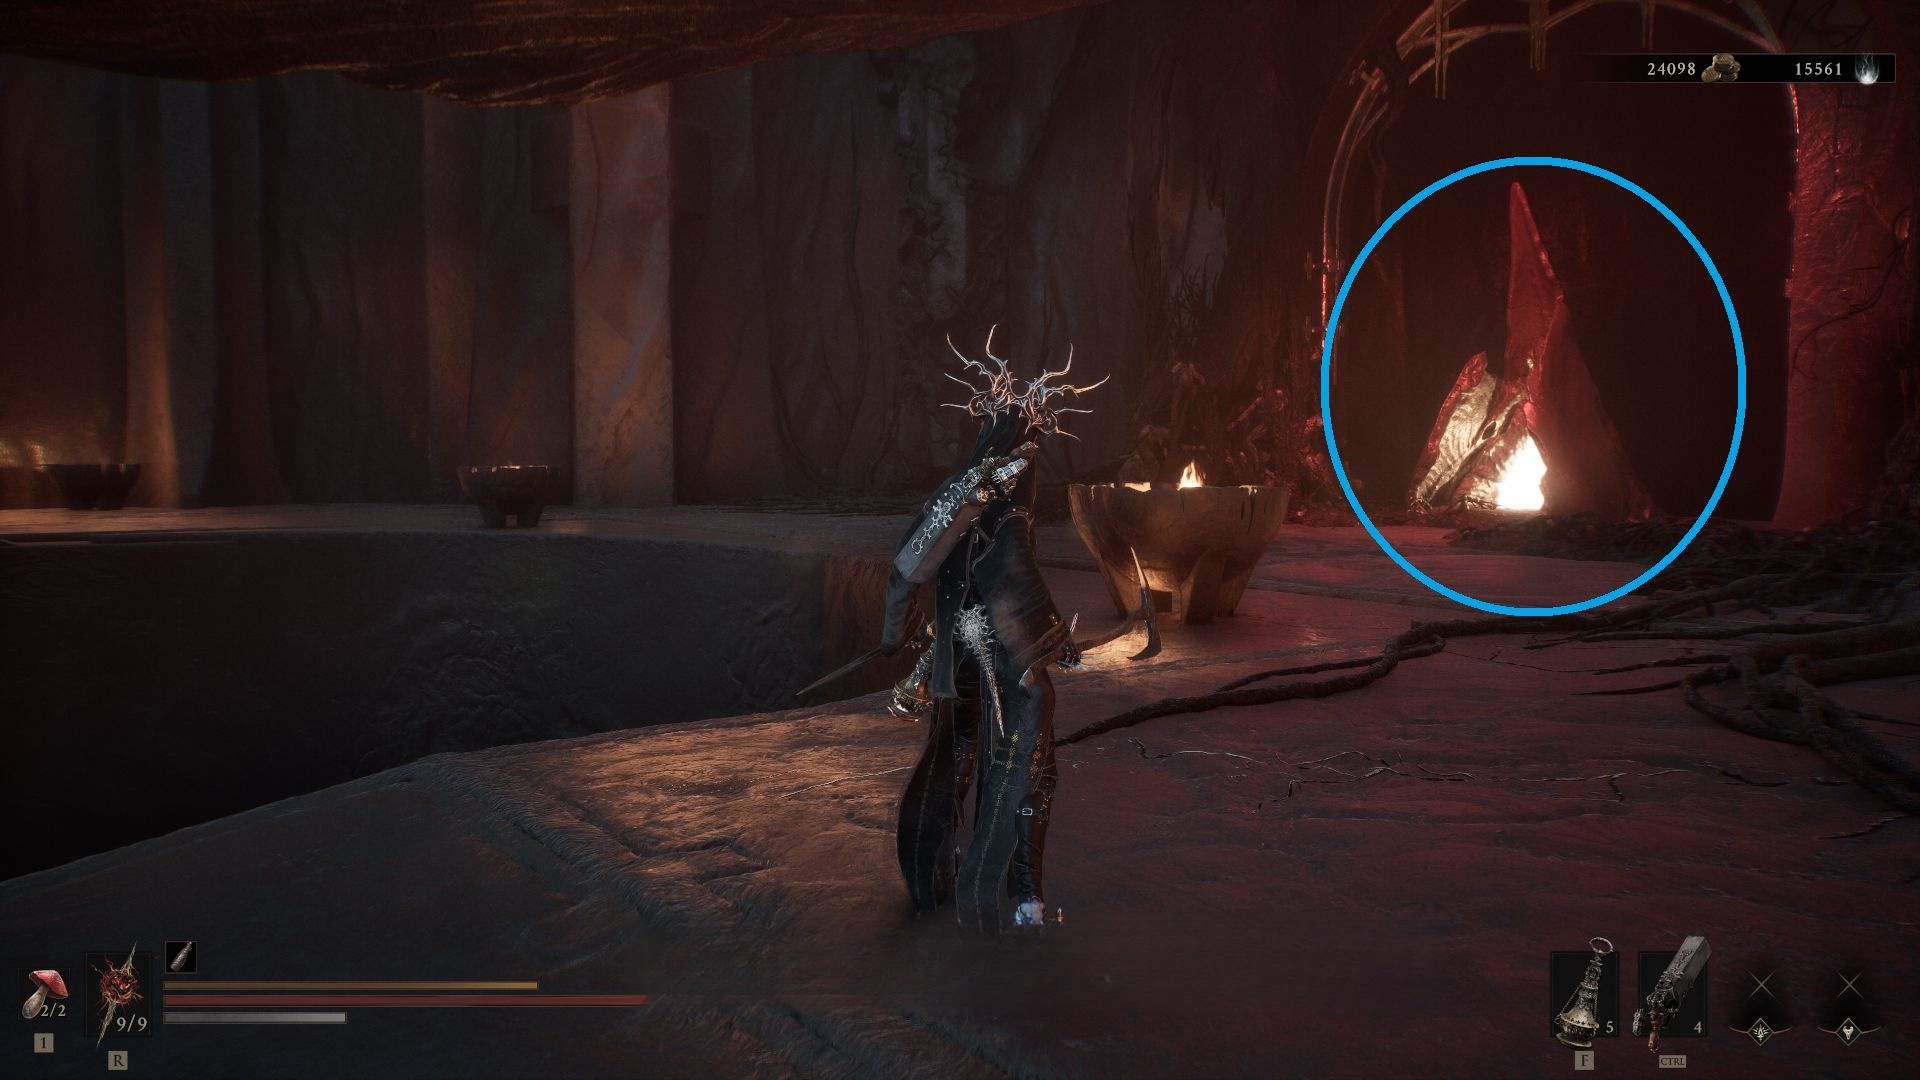
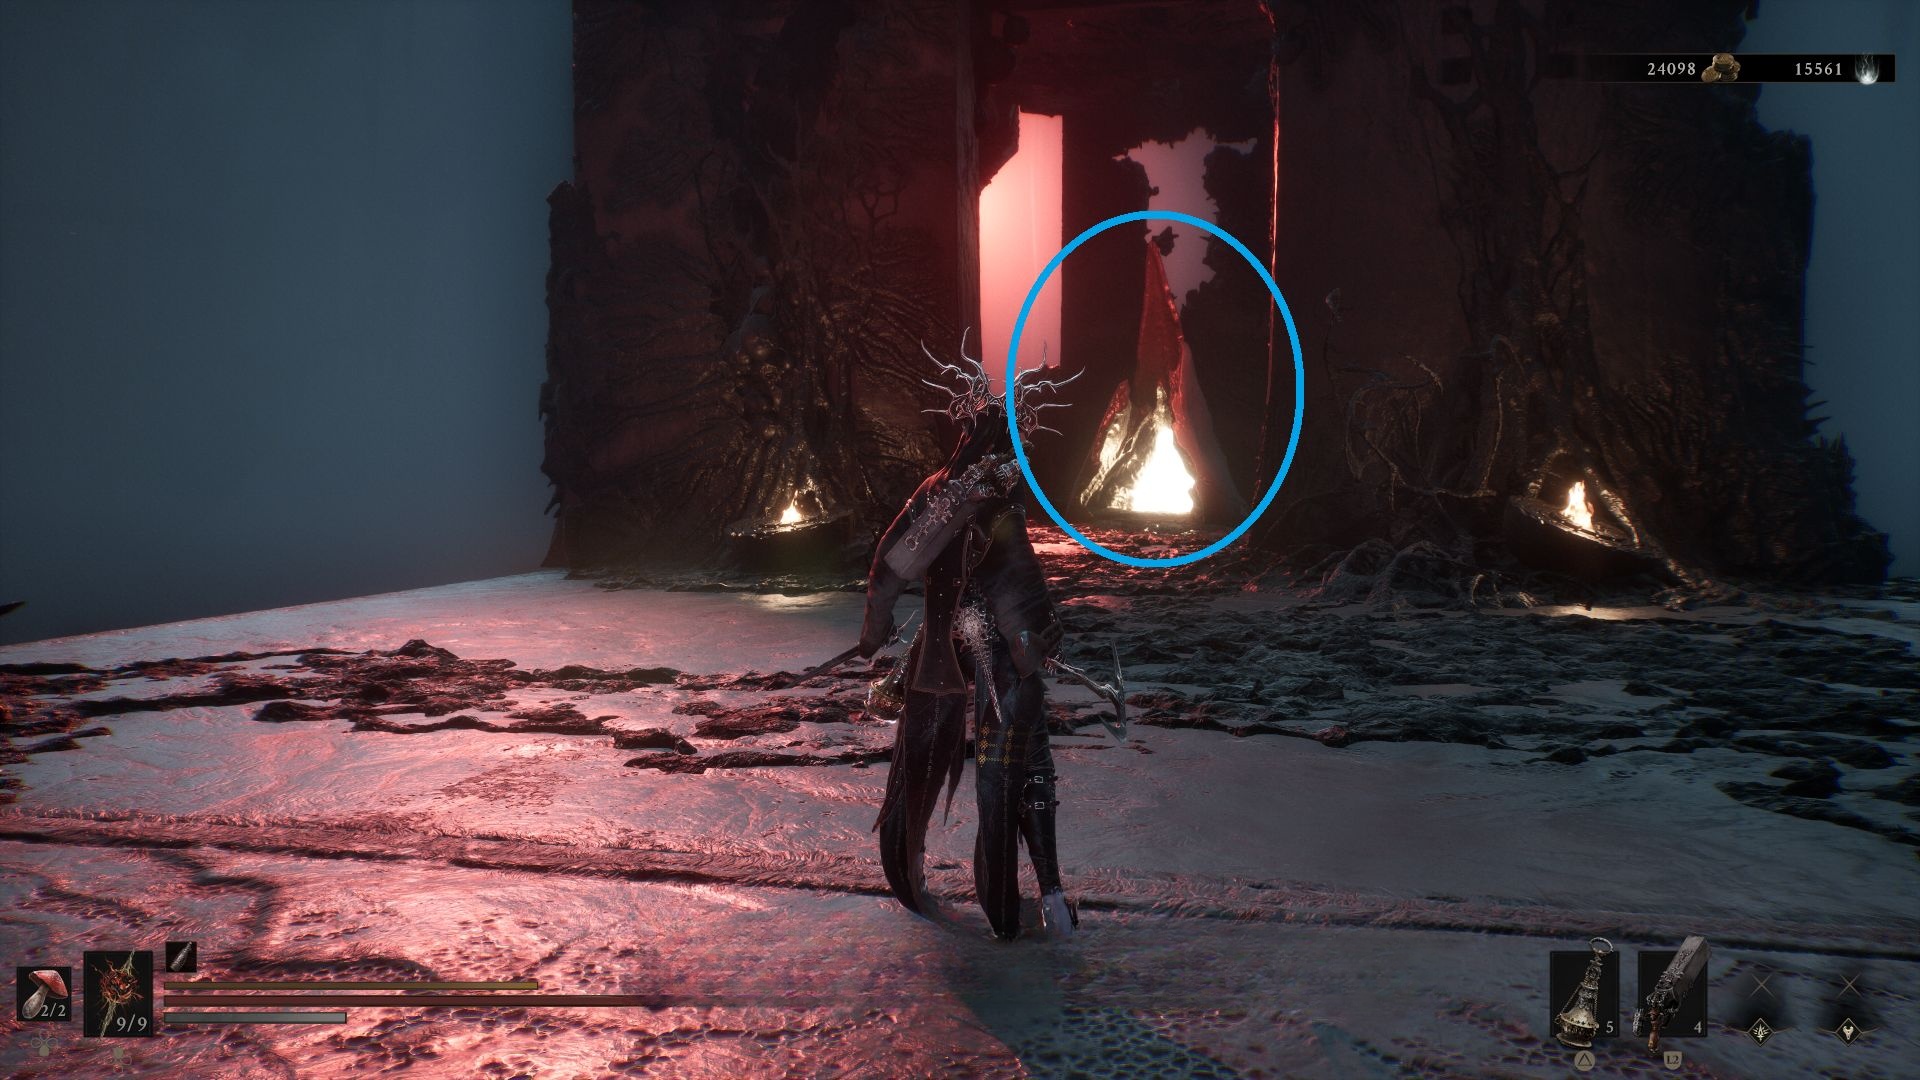
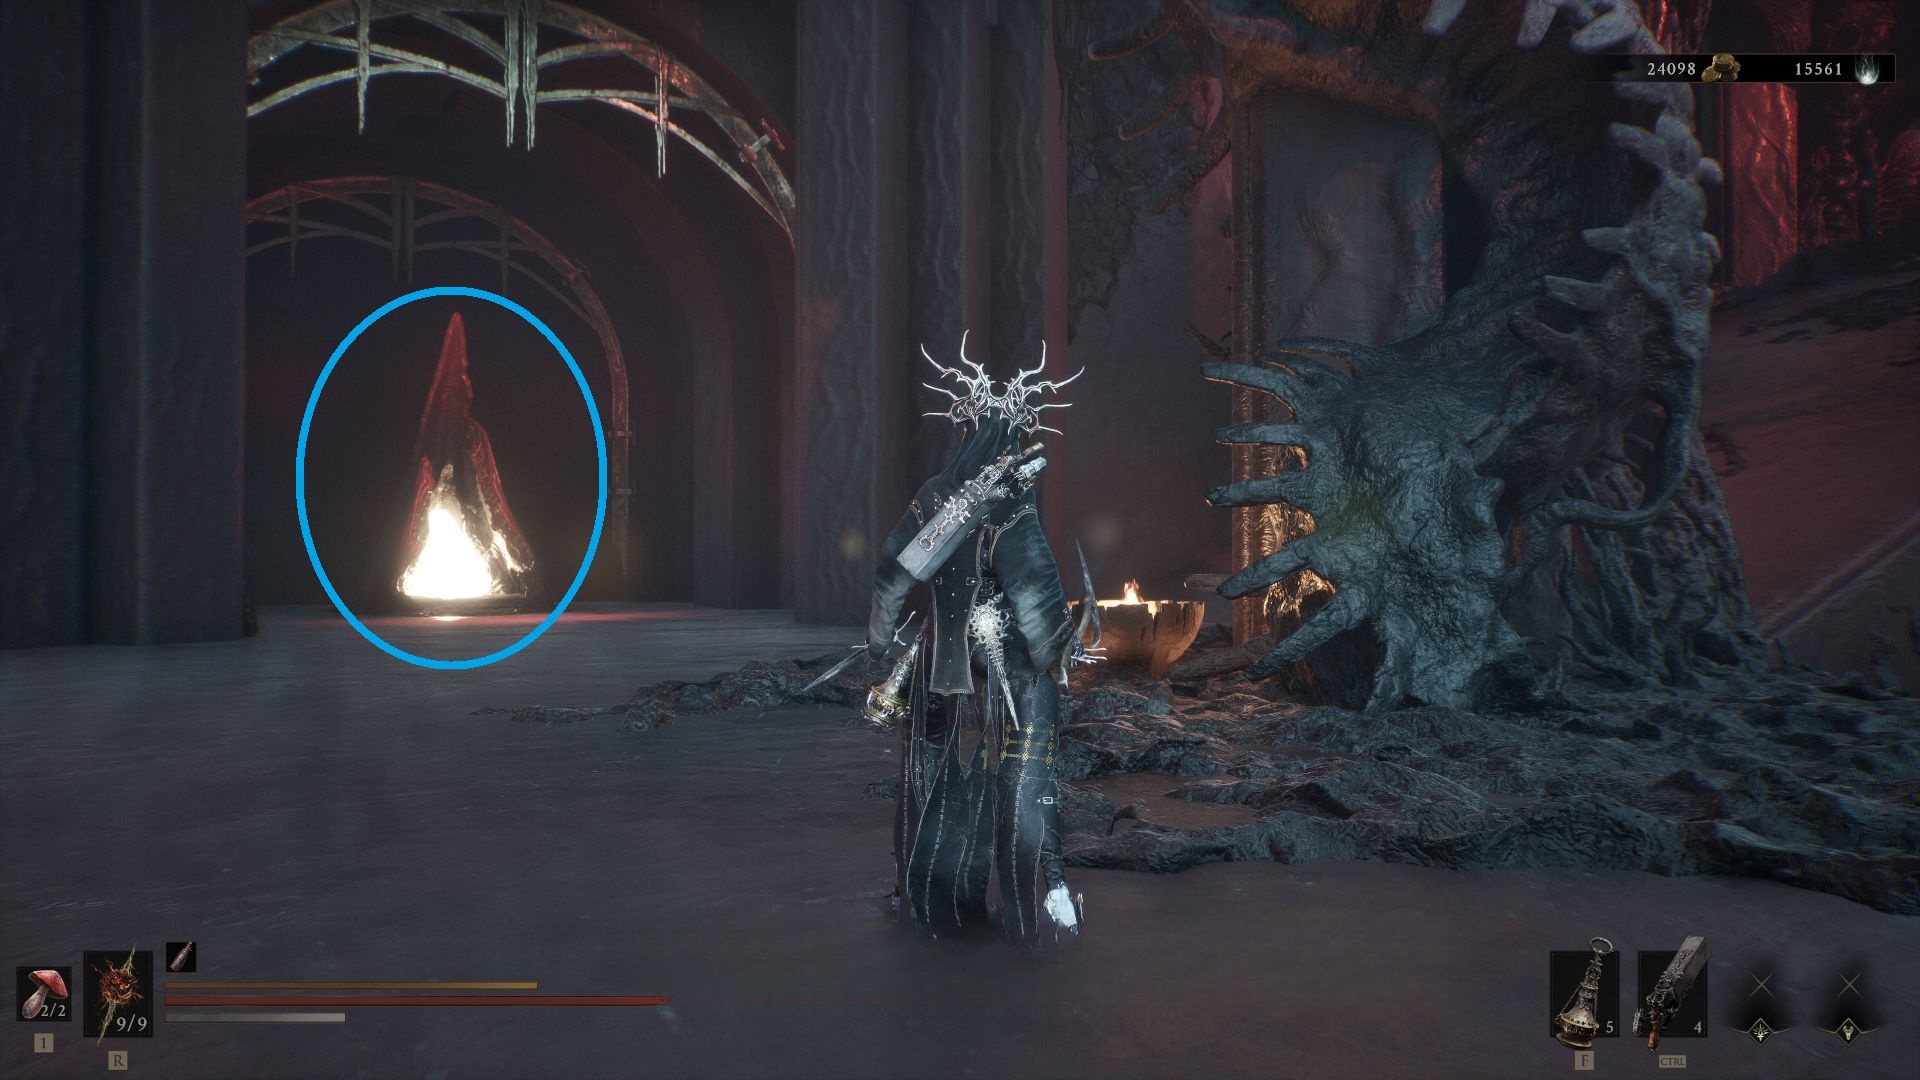
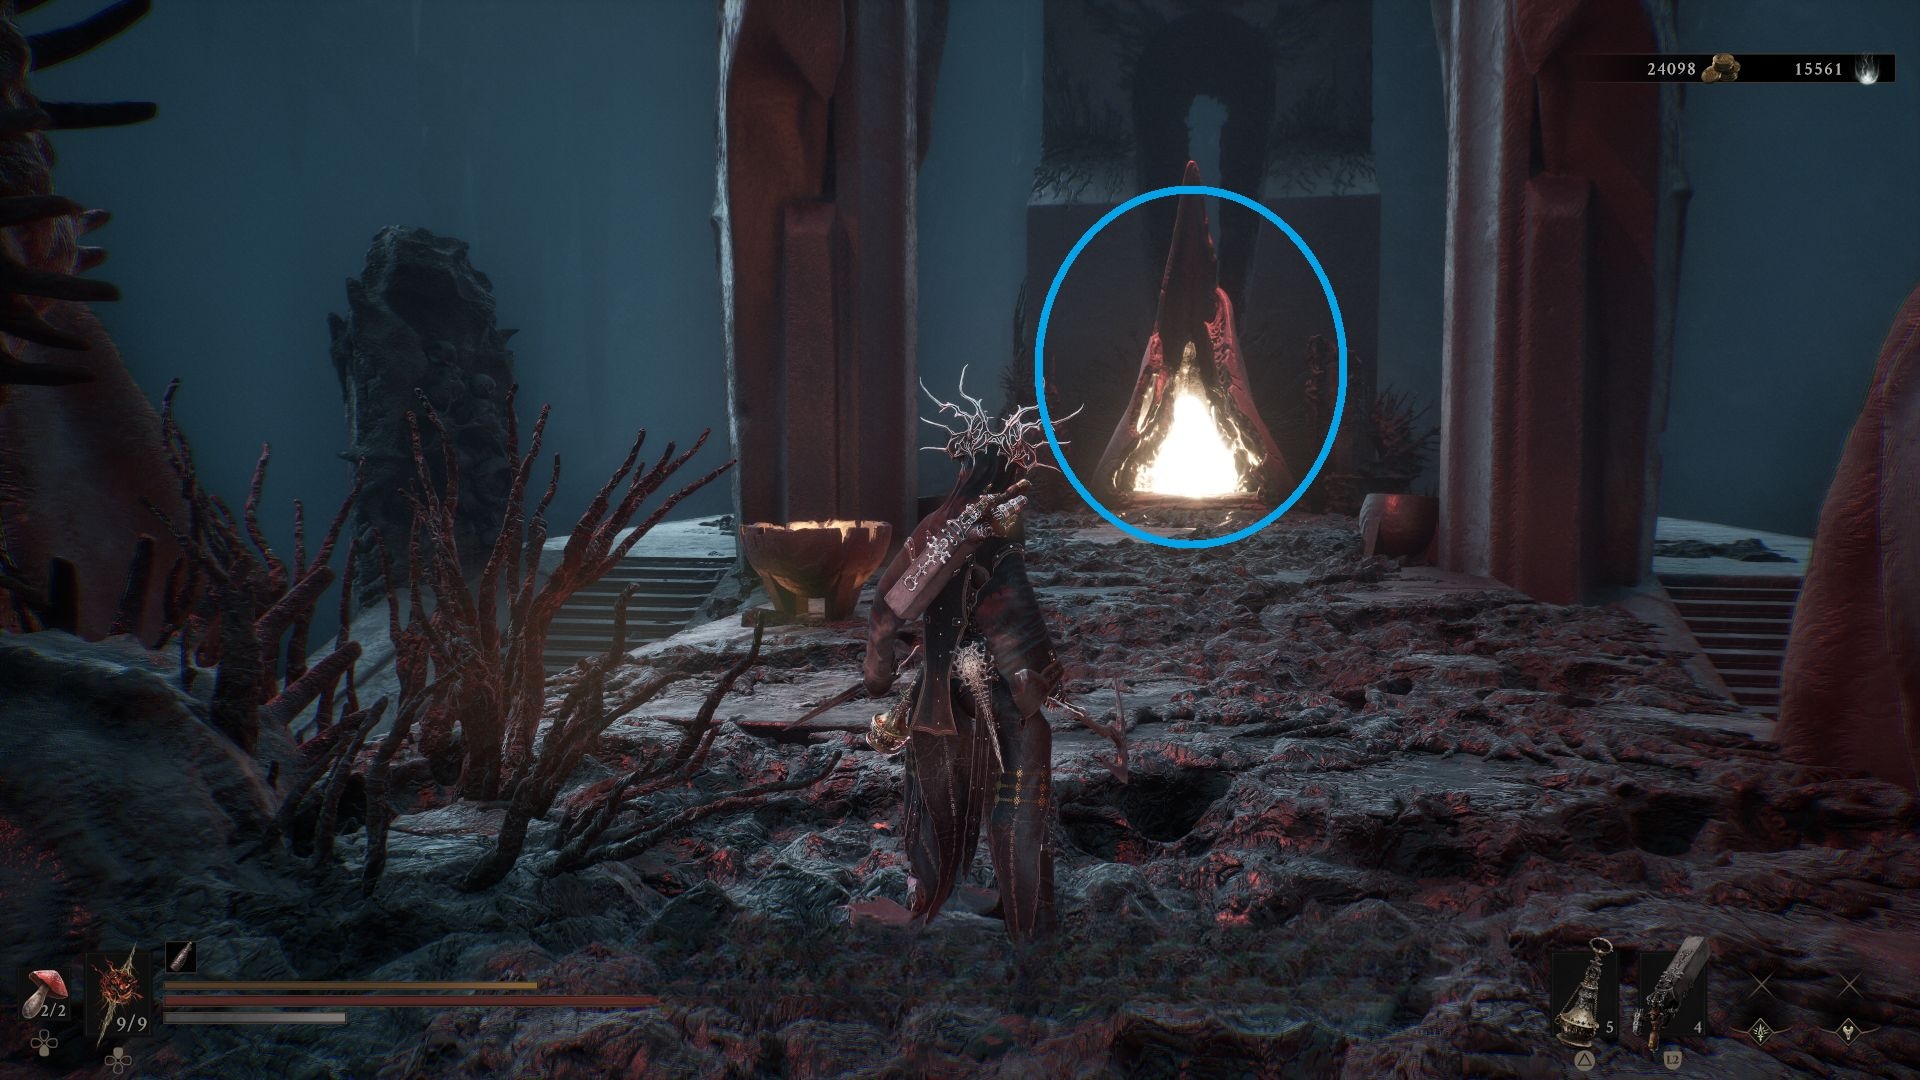
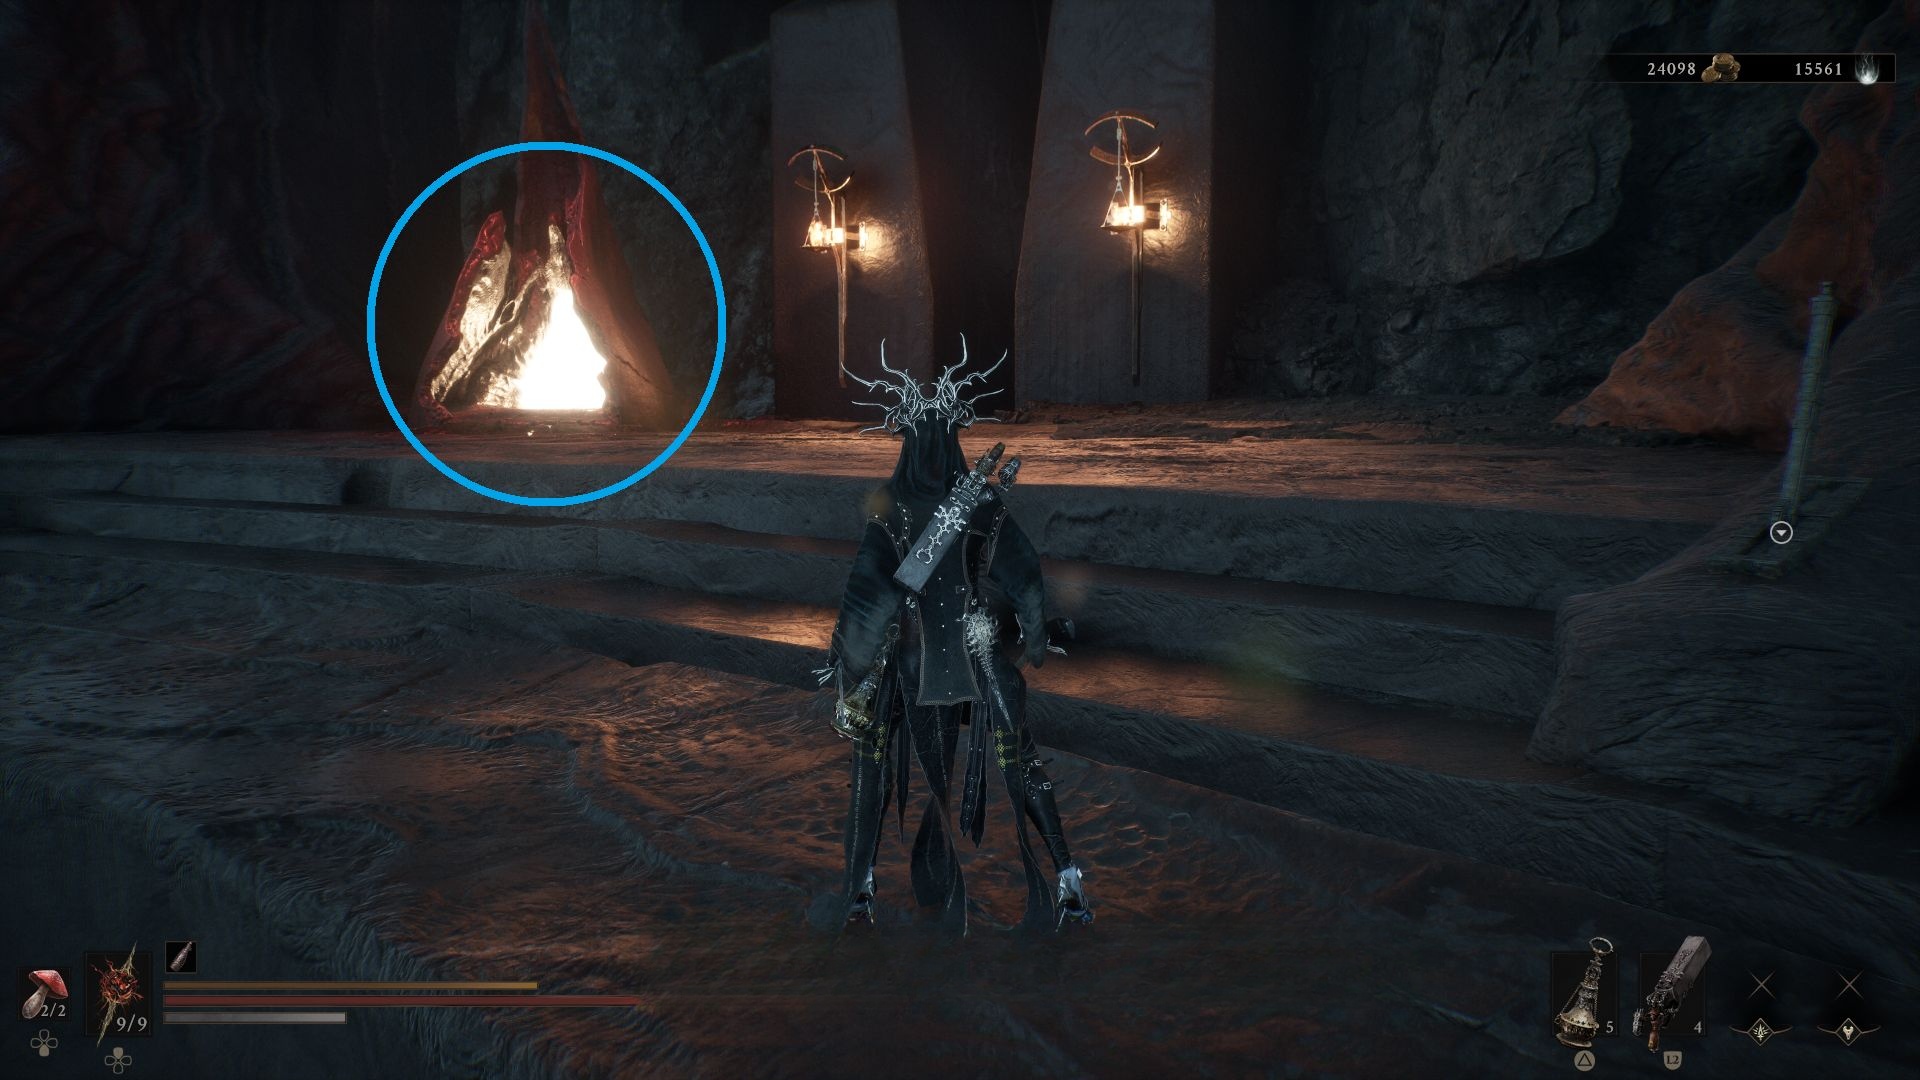
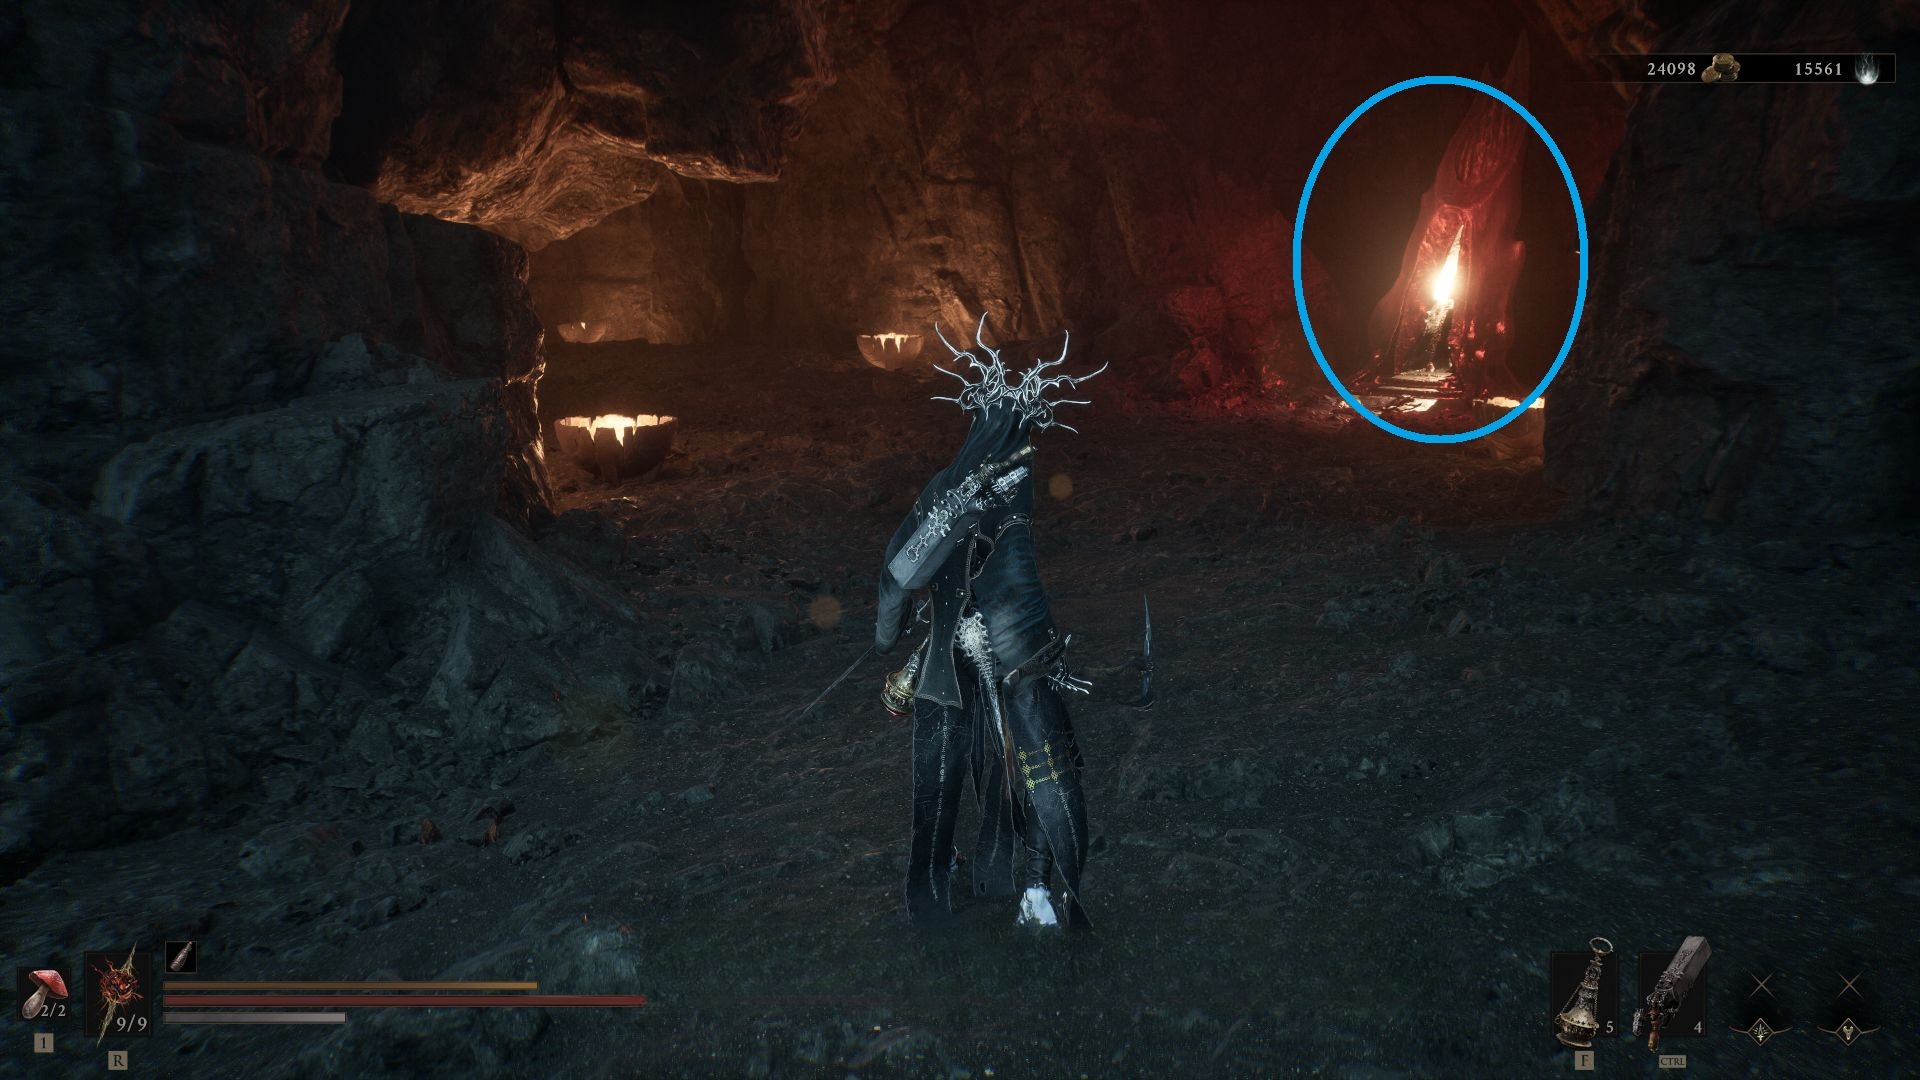
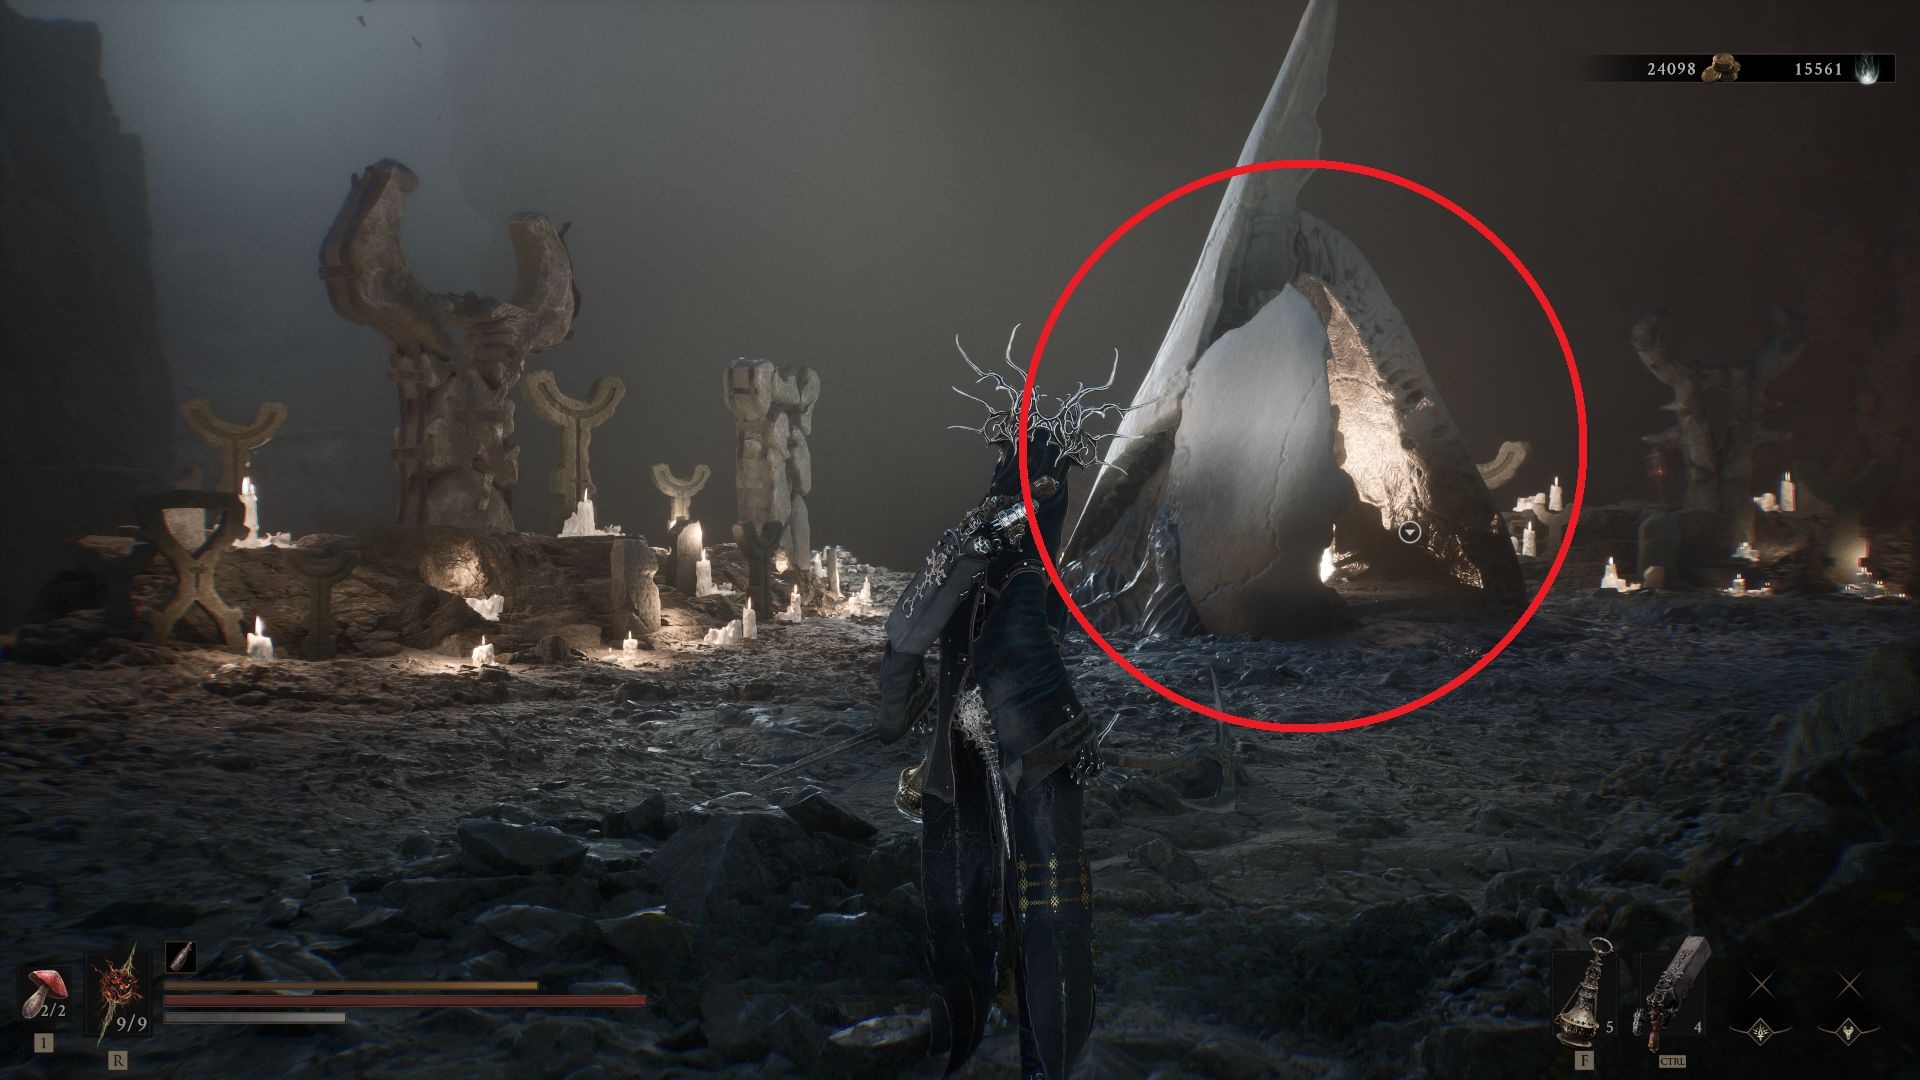
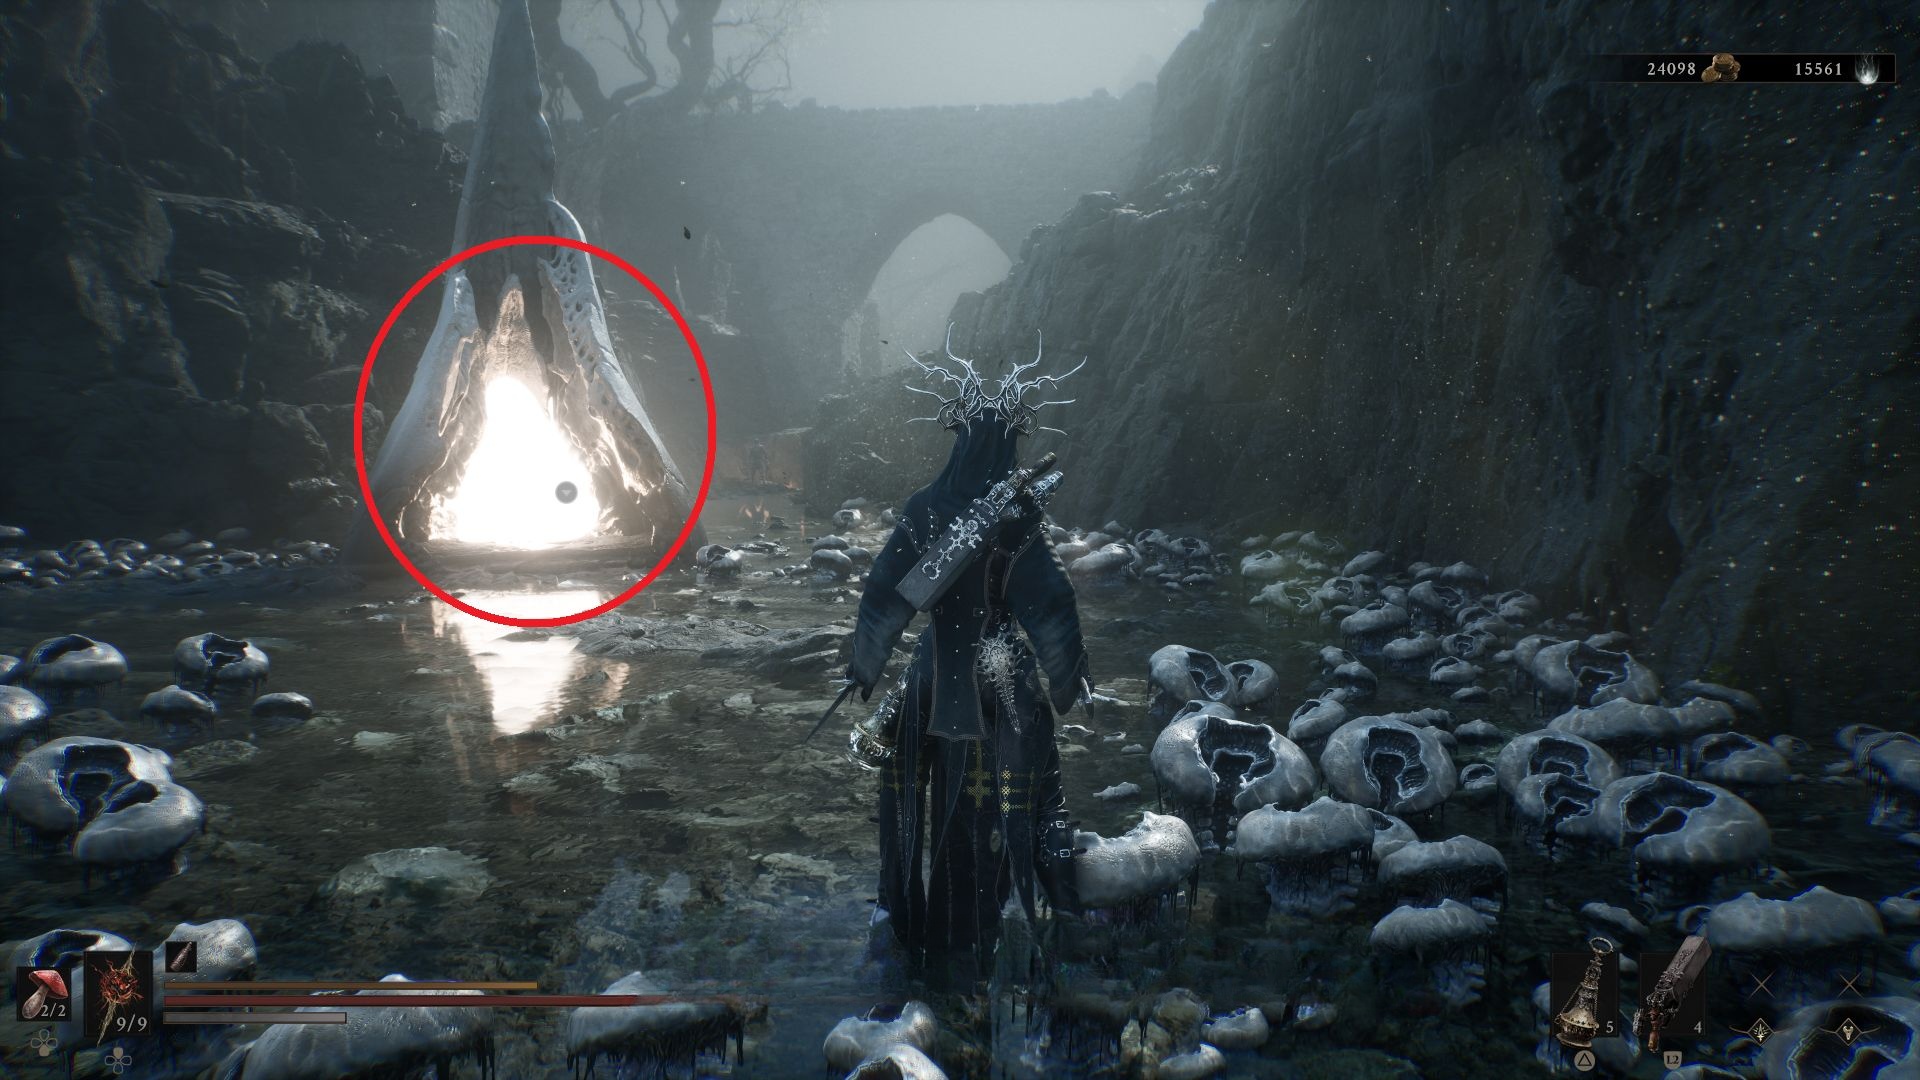
PowerPyx and the Steam “So Fresh, So Clean” tracker agree: 49 Beacons, 46 to cleanse. The three already-clean hubs are Marrow Keep, Widow’s Overlook, and Outskirts of Mammon.
What Beacons do
Rest, enemy reset, flask refill. After Marrow Keep they also spend Gloom. After Mether’s Breath they become fast-travel nodes. Full Beacon-to-Beacon travel is on How to fast travel — this page is the location list.
Screenshots are grouped by region below, in the same order as the published Beacon list. We are not splitting this list into 49 URLs.
All 49 Beacons
Jump to a name, or use the region headings. Related links go to the Shell, weapon, or key page that starts from that Beacon — not to a duplicate Beacon URL.
Source step 1. #1 – Marrow Keep. Images sit immediately after this beacon name. Article has no further caption. The source article does not label whether this frame is a map, a path, or a close-up.Source step 2. #1 – Marrow Keep. Images sit immediately after this beacon name. Article has no further caption. The source article does not label whether this frame is a map, a path, or a close-up.Source step 3. #1 – Marrow Keep. Images sit immediately after this beacon name. Article has no further caption. The source article does not label whether this frame is a map, a path, or a close-up.
Fainweald
Screenshots sit in the published Beacon-list order. The source article does not label map versus in-world frames.
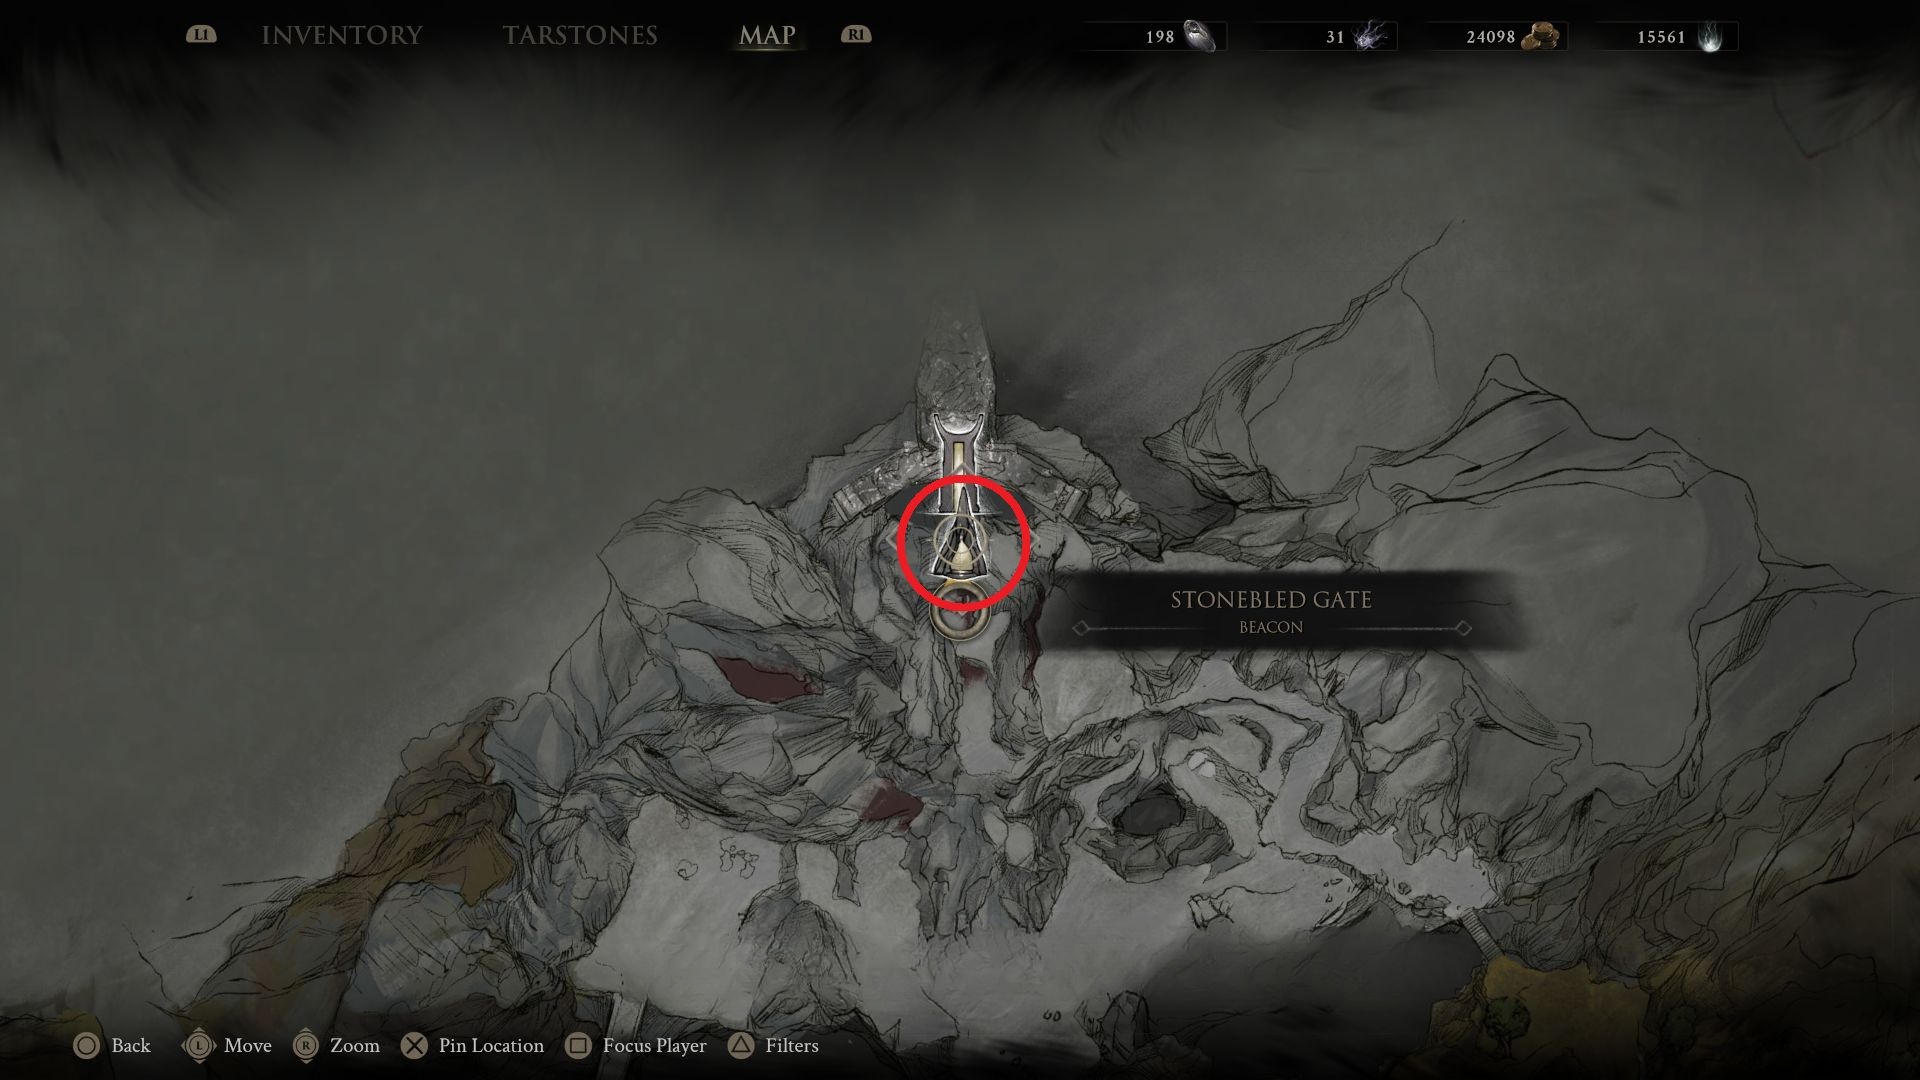
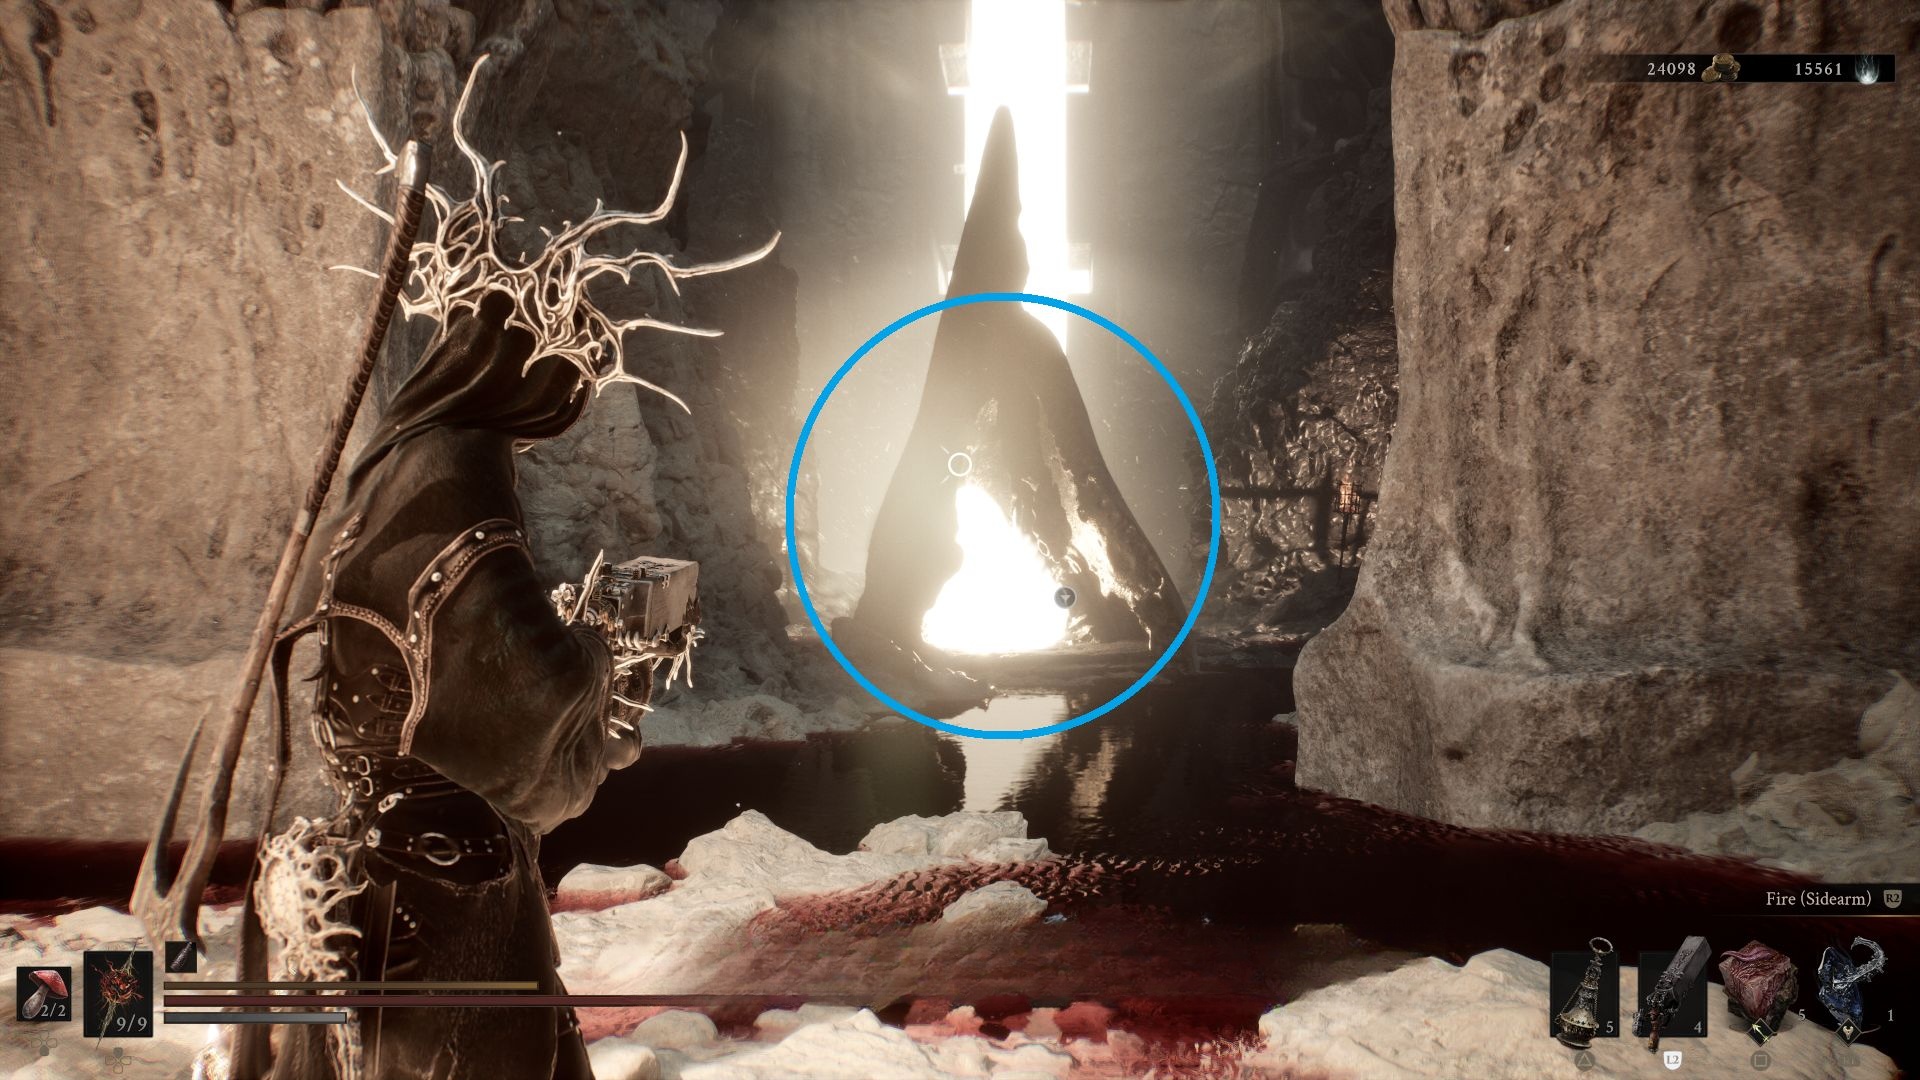
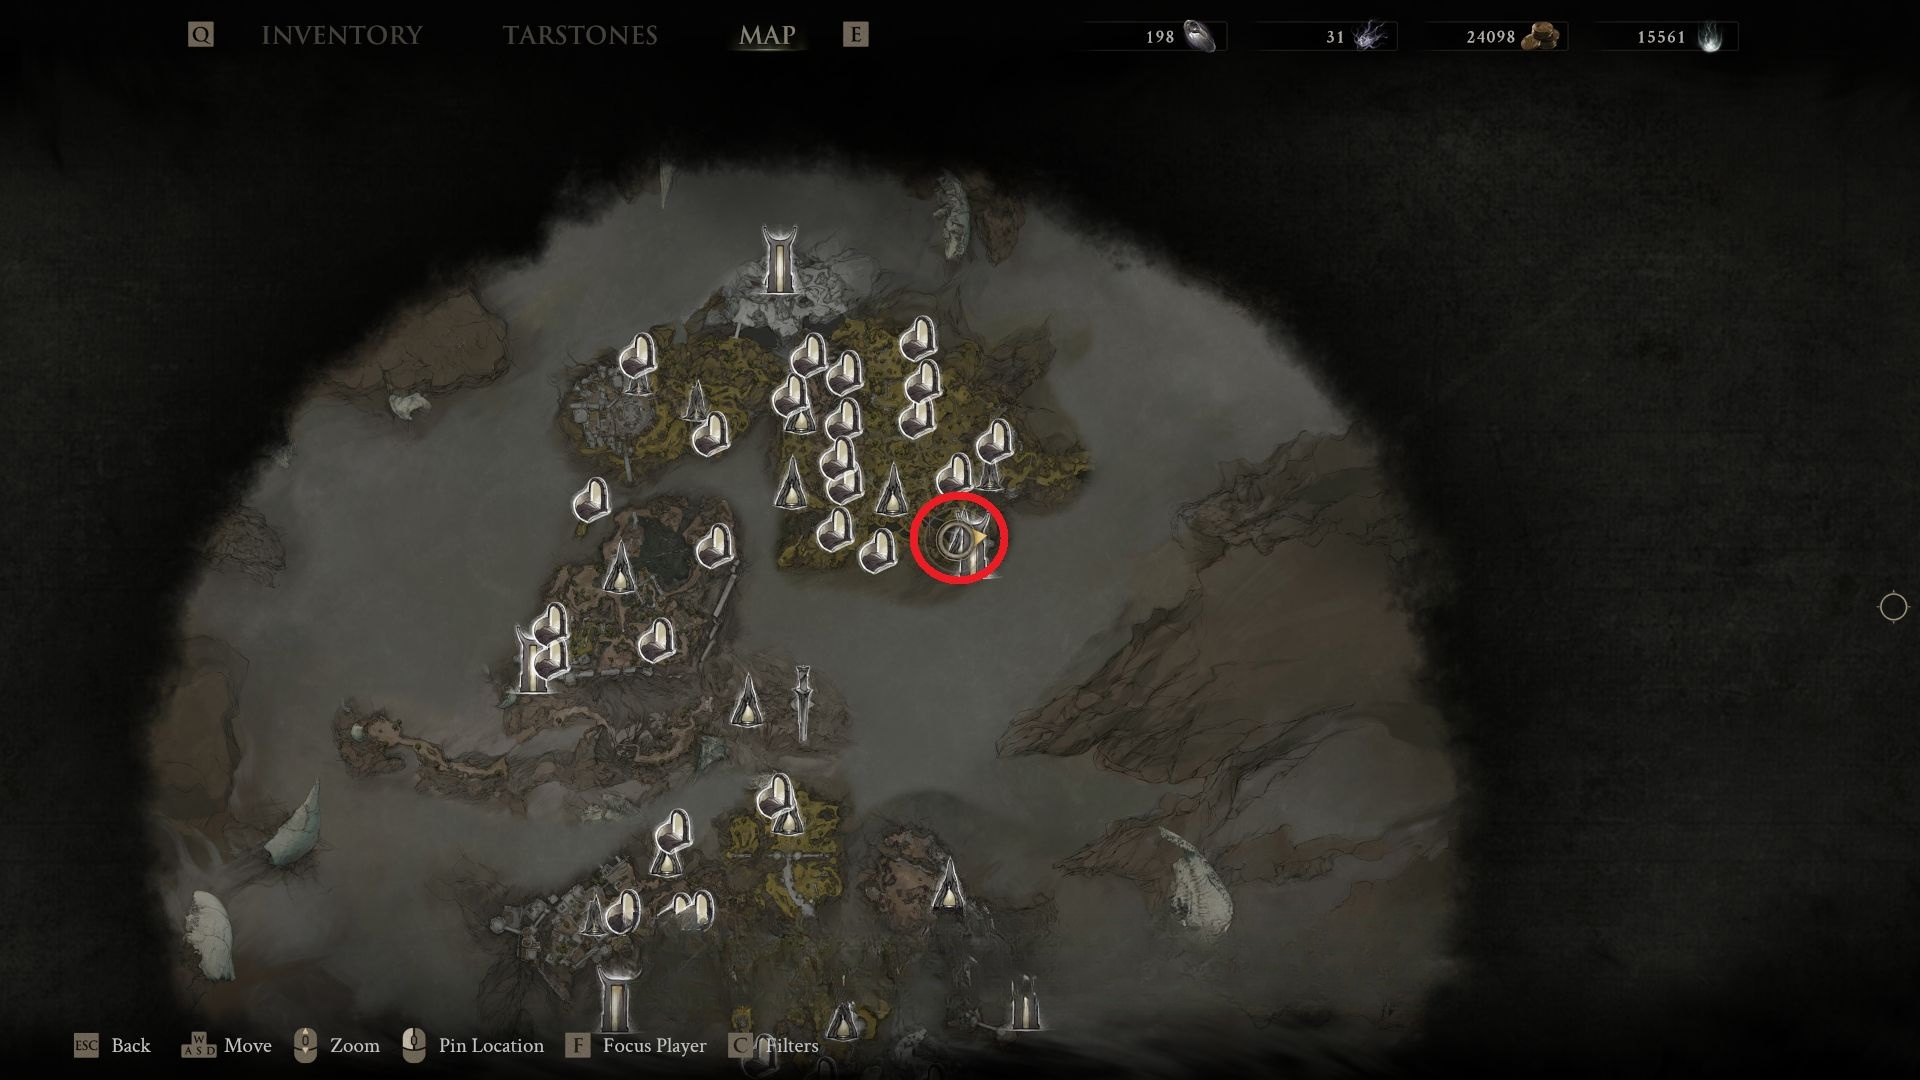
Source step 1. #2 – Stonebled Gate. Images sit immediately after this beacon name. Article has no further caption. The source article does not label whether this frame is a map, a path, or a close-up.Source step 2. #2 – Stonebled Gate. Images sit immediately after this beacon name. Article has no further caption. The source article does not label whether this frame is a map, a path, or a close-up.Source step 3. #2 – Stonebled Gate. Images sit immediately after this beacon name. Article has no further caption. The source article does not label whether this frame is a map, a path, or a close-up.
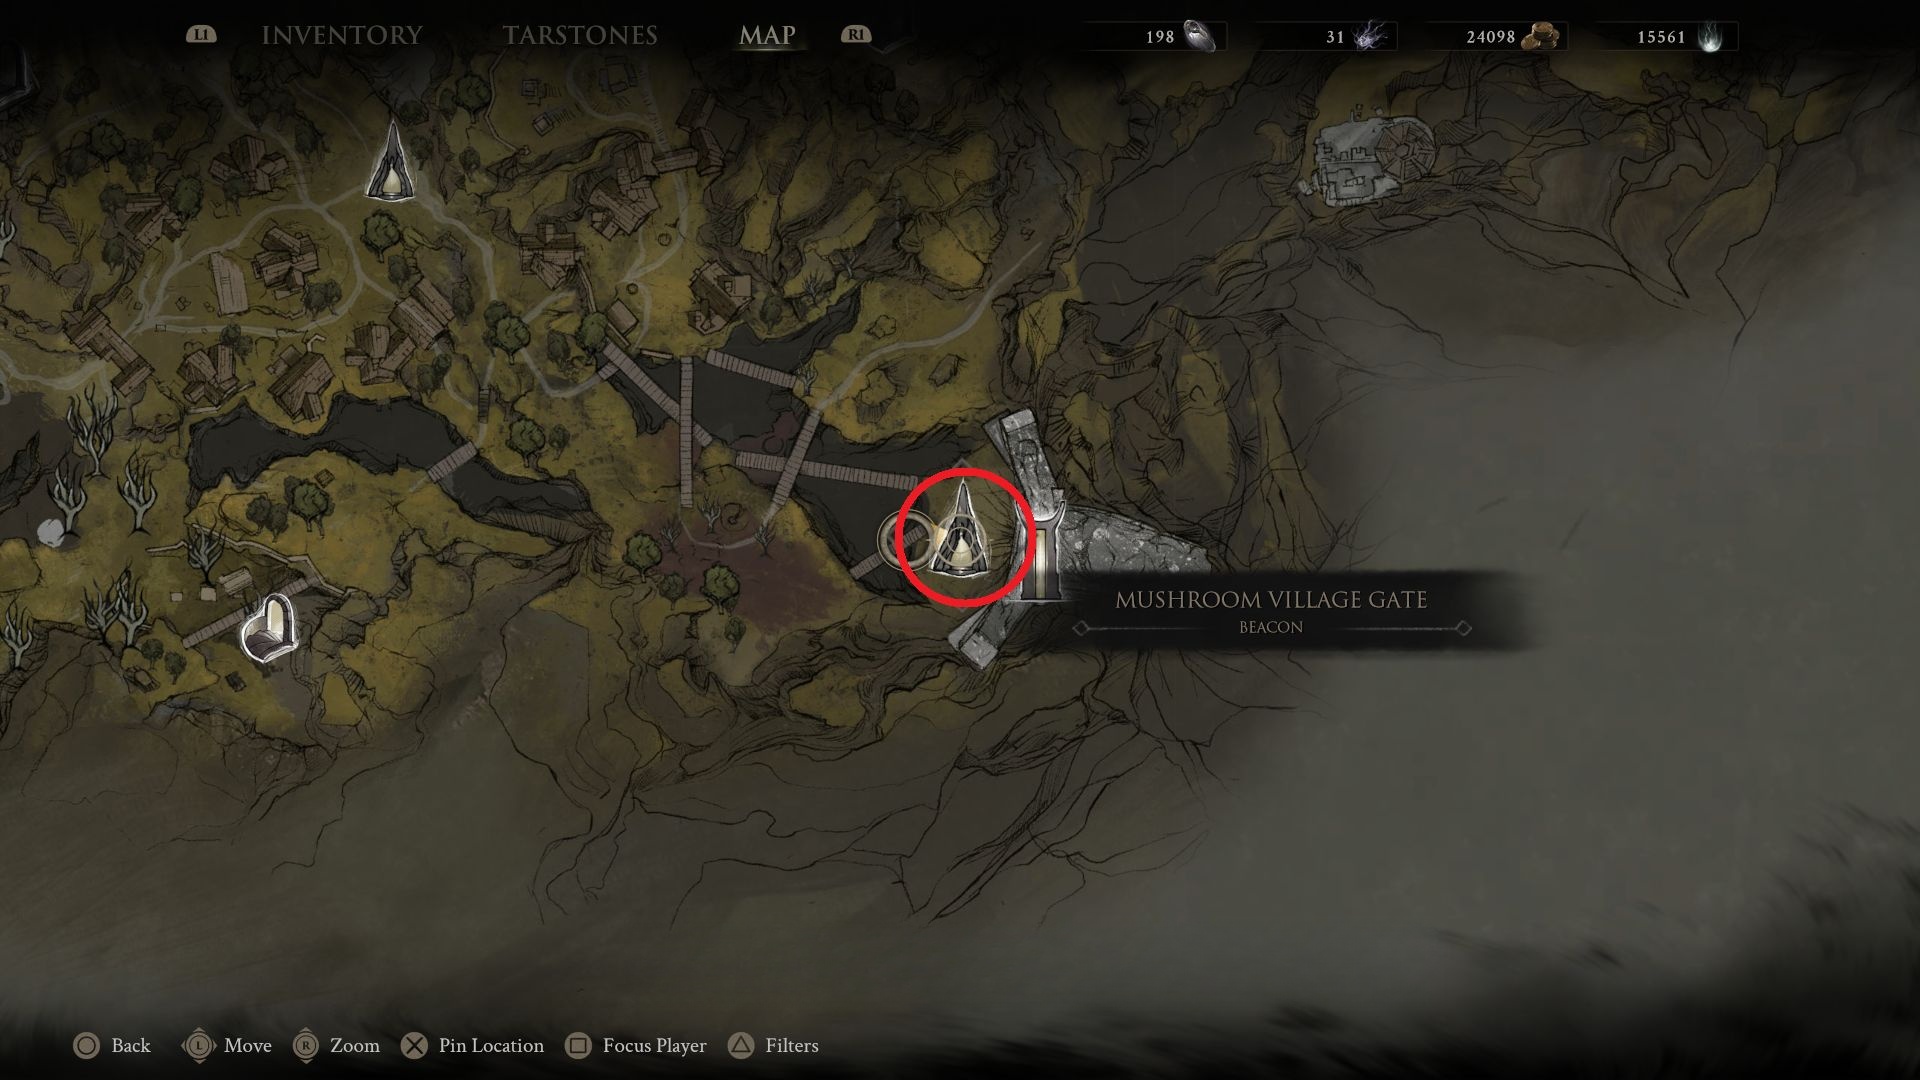
Source step 1. #3 – Mushroom Village Gate. Images sit immediately after this beacon name. Article has no further caption. The source article does not label whether this frame is a map, a path, or a close-up.Source step 2. #3 – Mushroom Village Gate. Images sit immediately after this beacon name. Article has no further caption. The source article does not label whether this frame is a map, a path, or a close-up.Source step 3. #3 – Mushroom Village Gate. Images sit immediately after this beacon name. Article has no further caption. The source article does not label whether this frame is a map, a path, or a close-up.
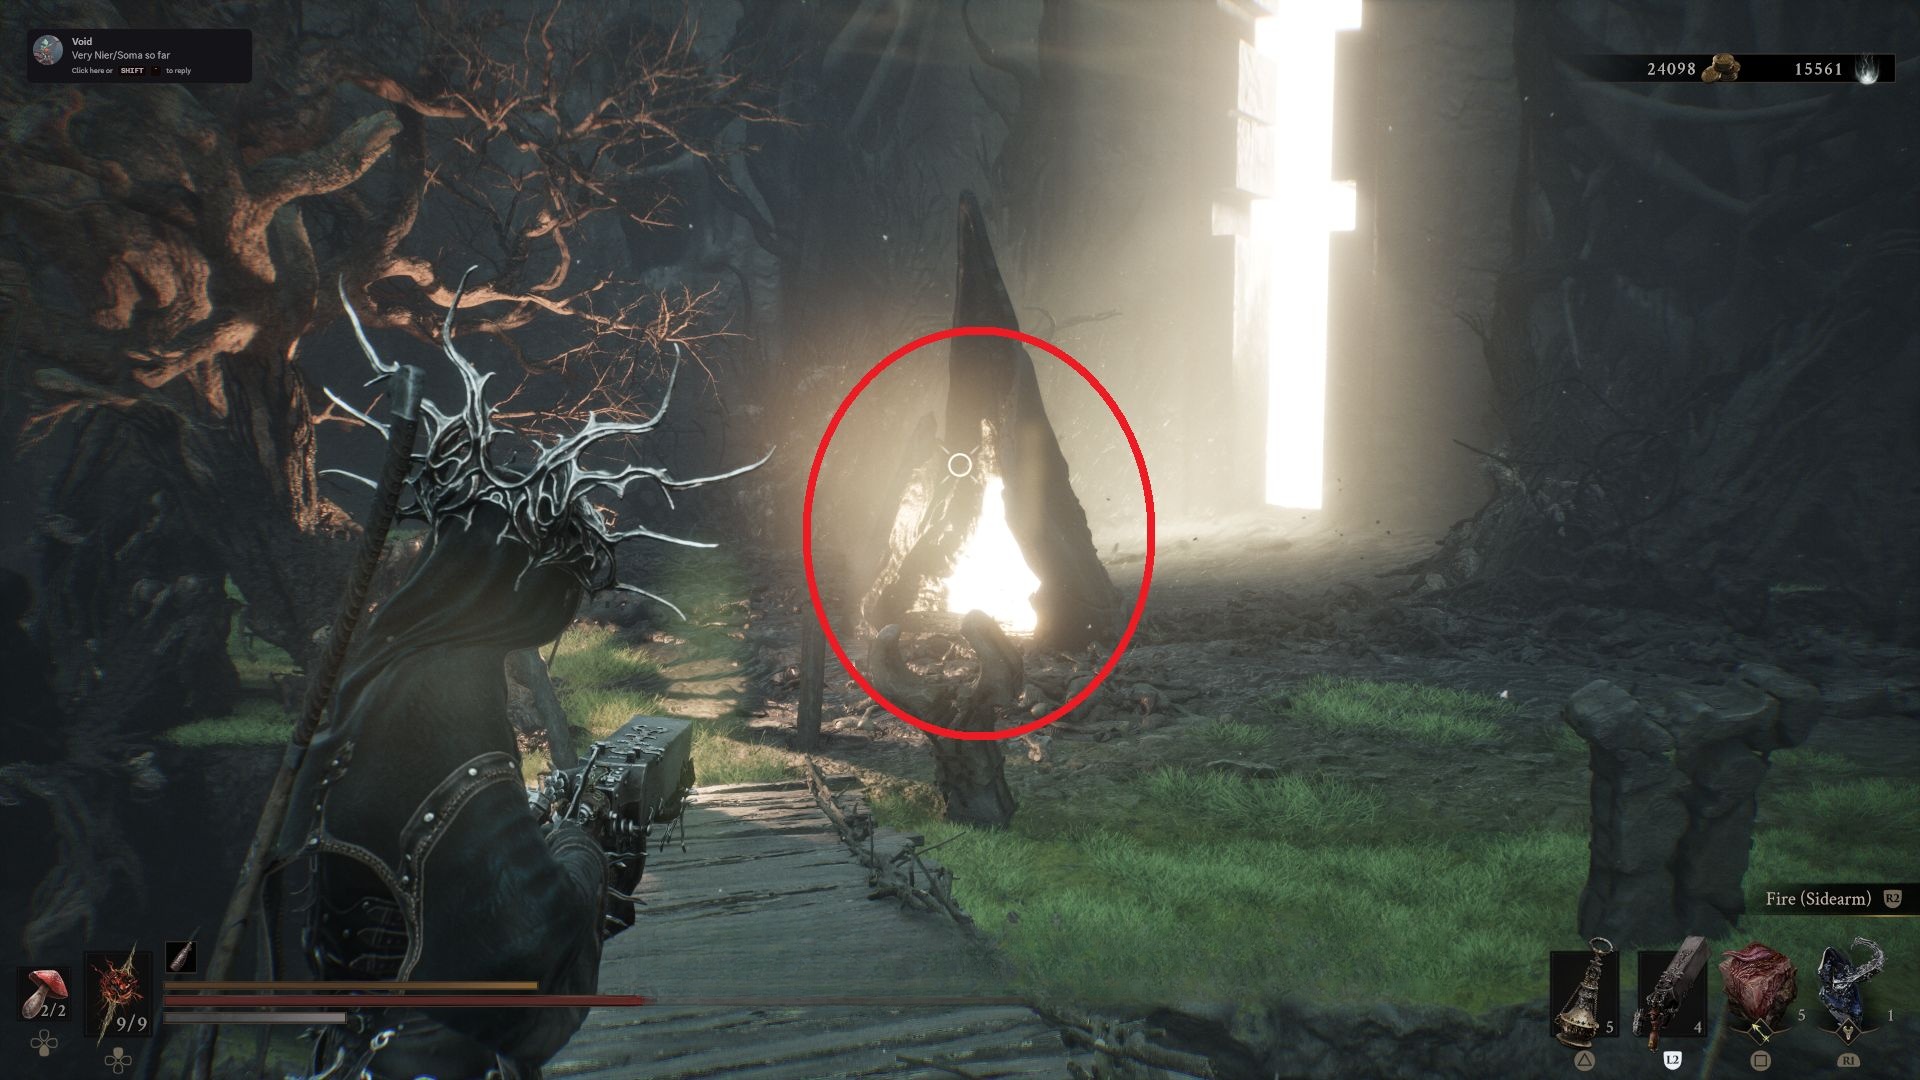
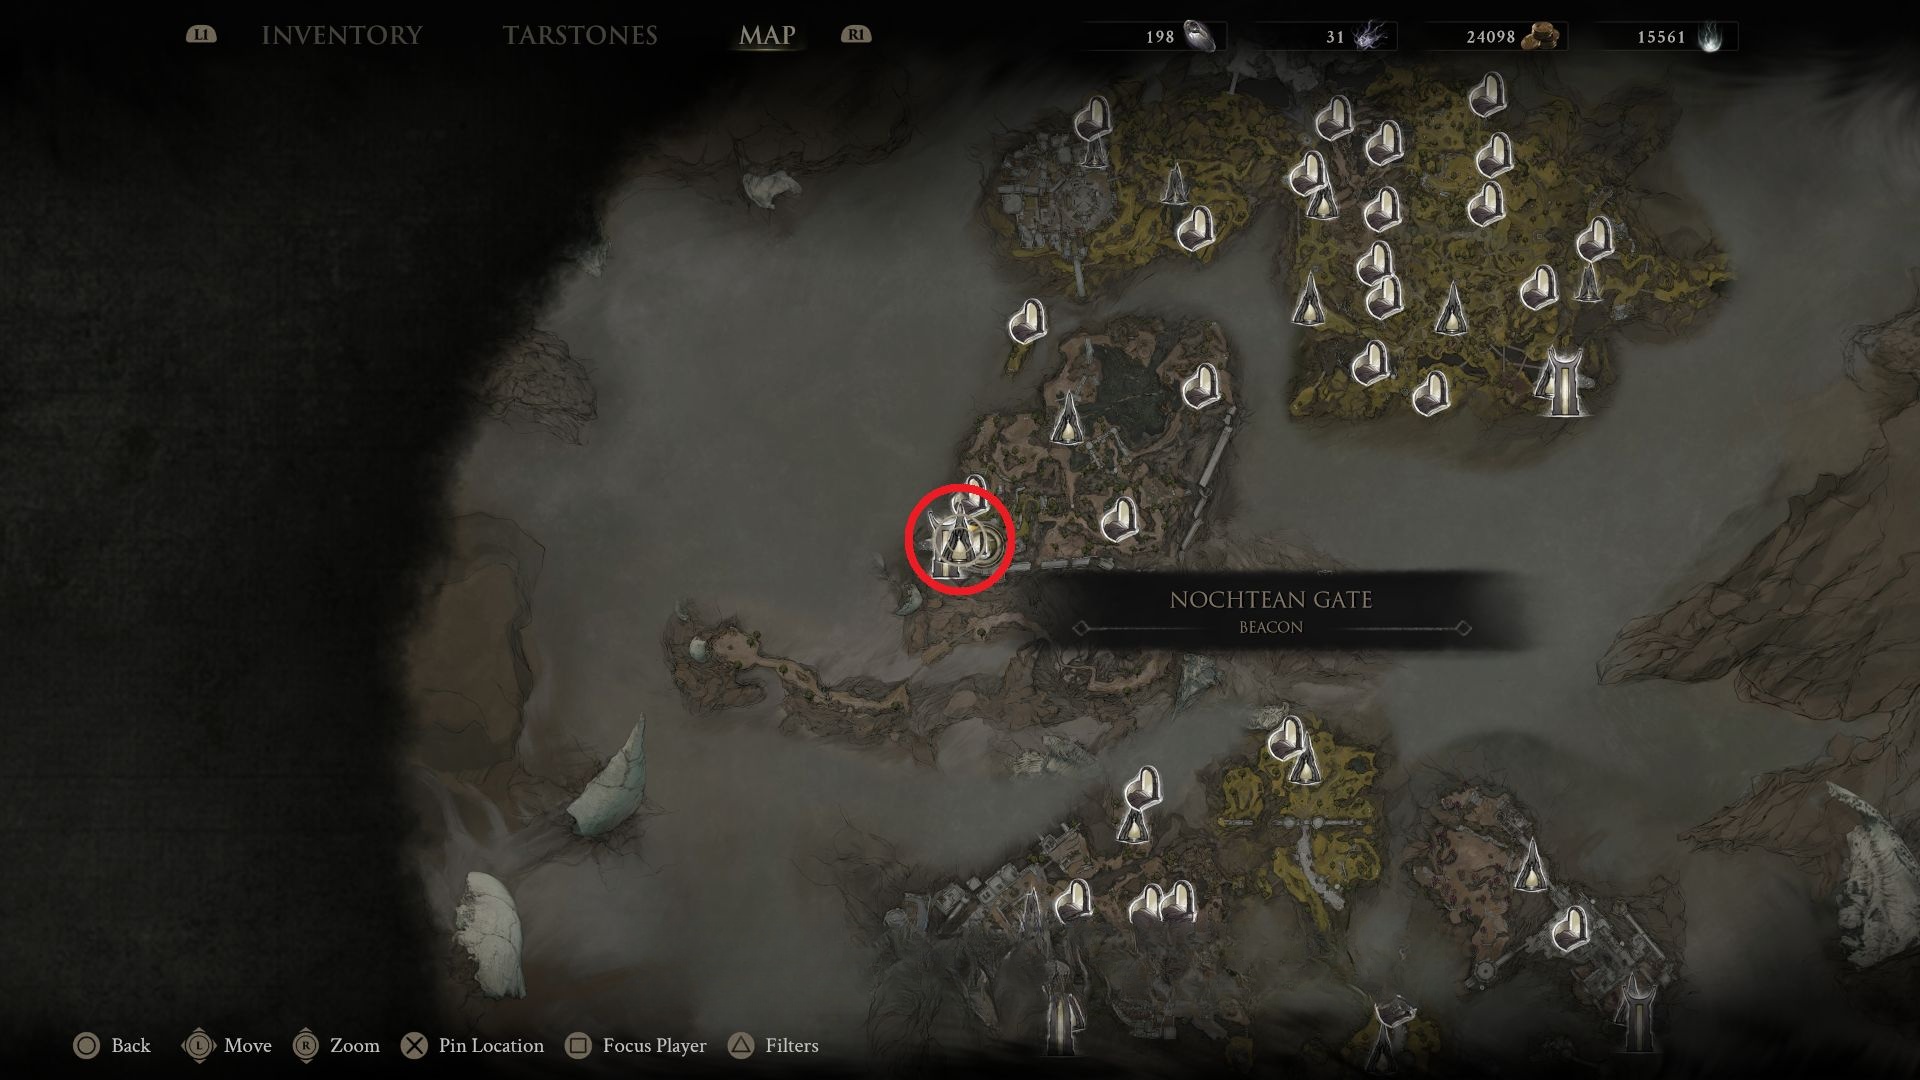
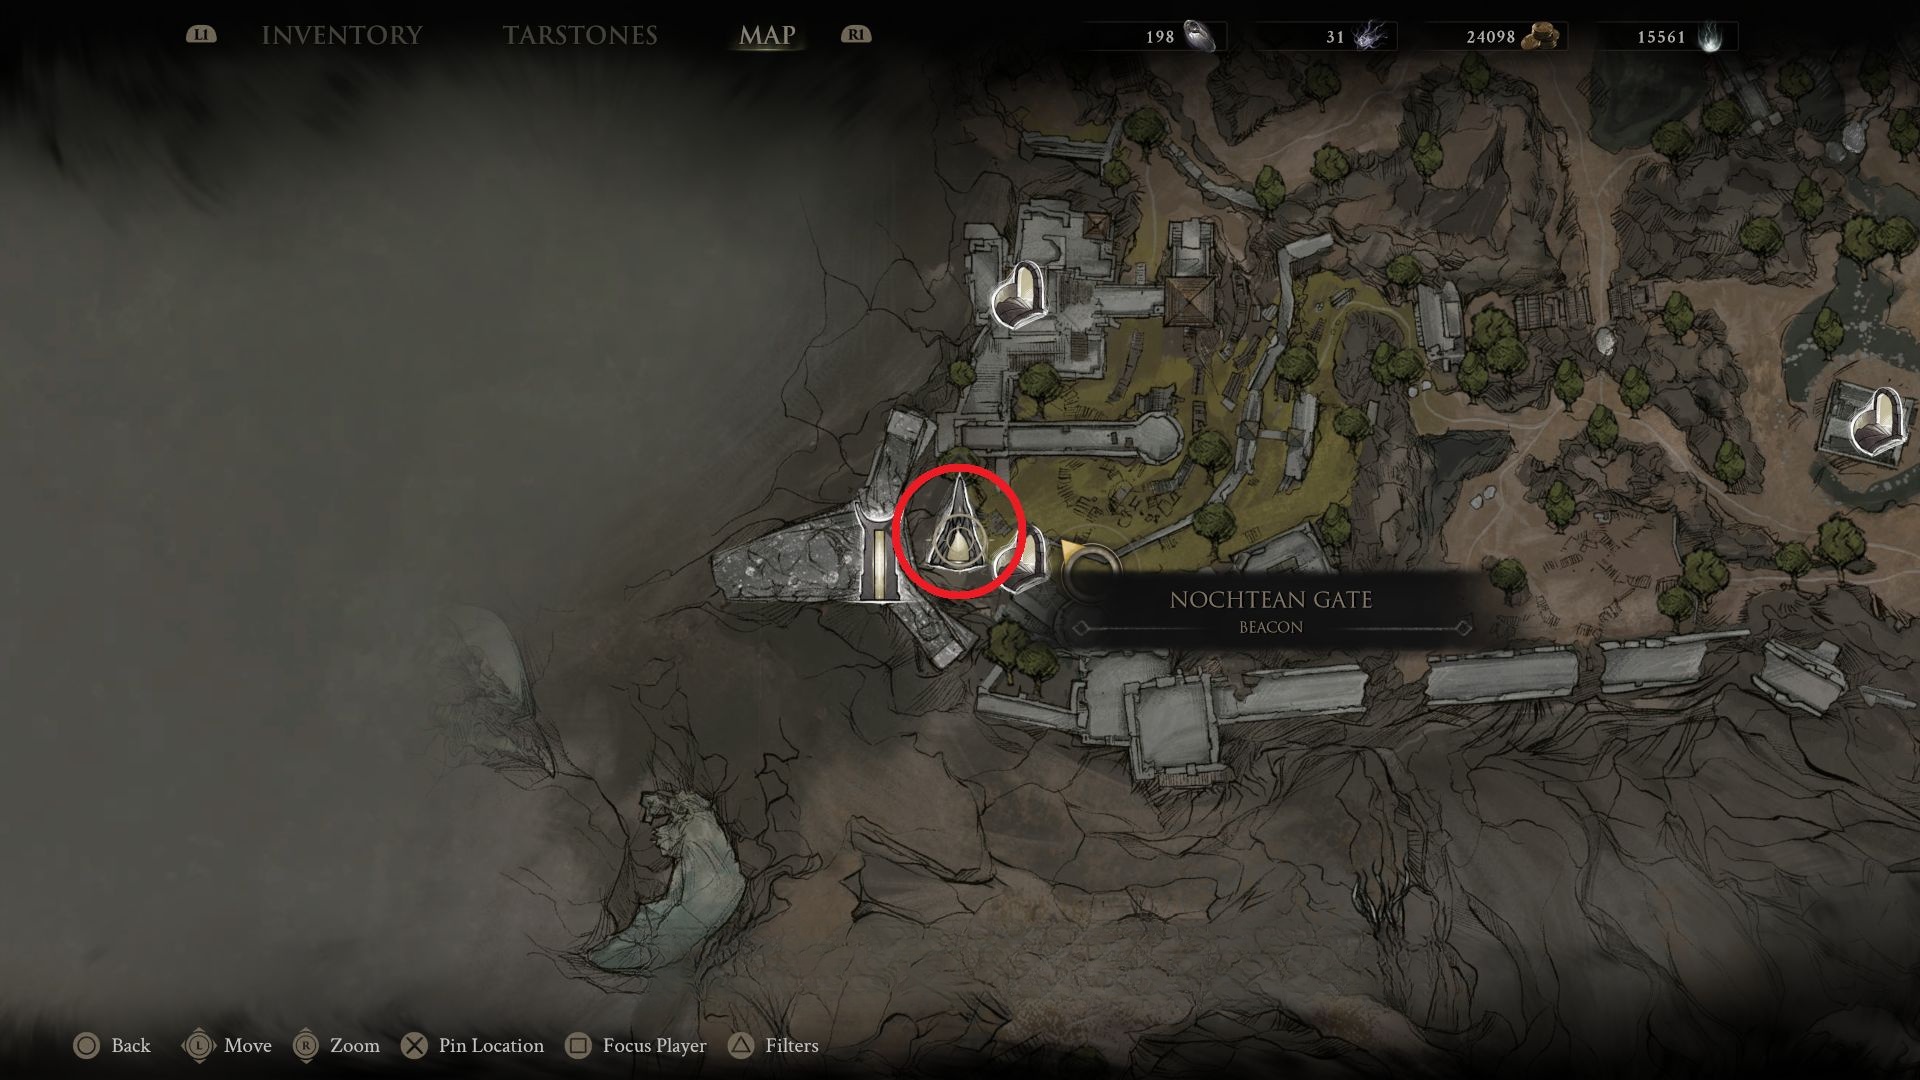
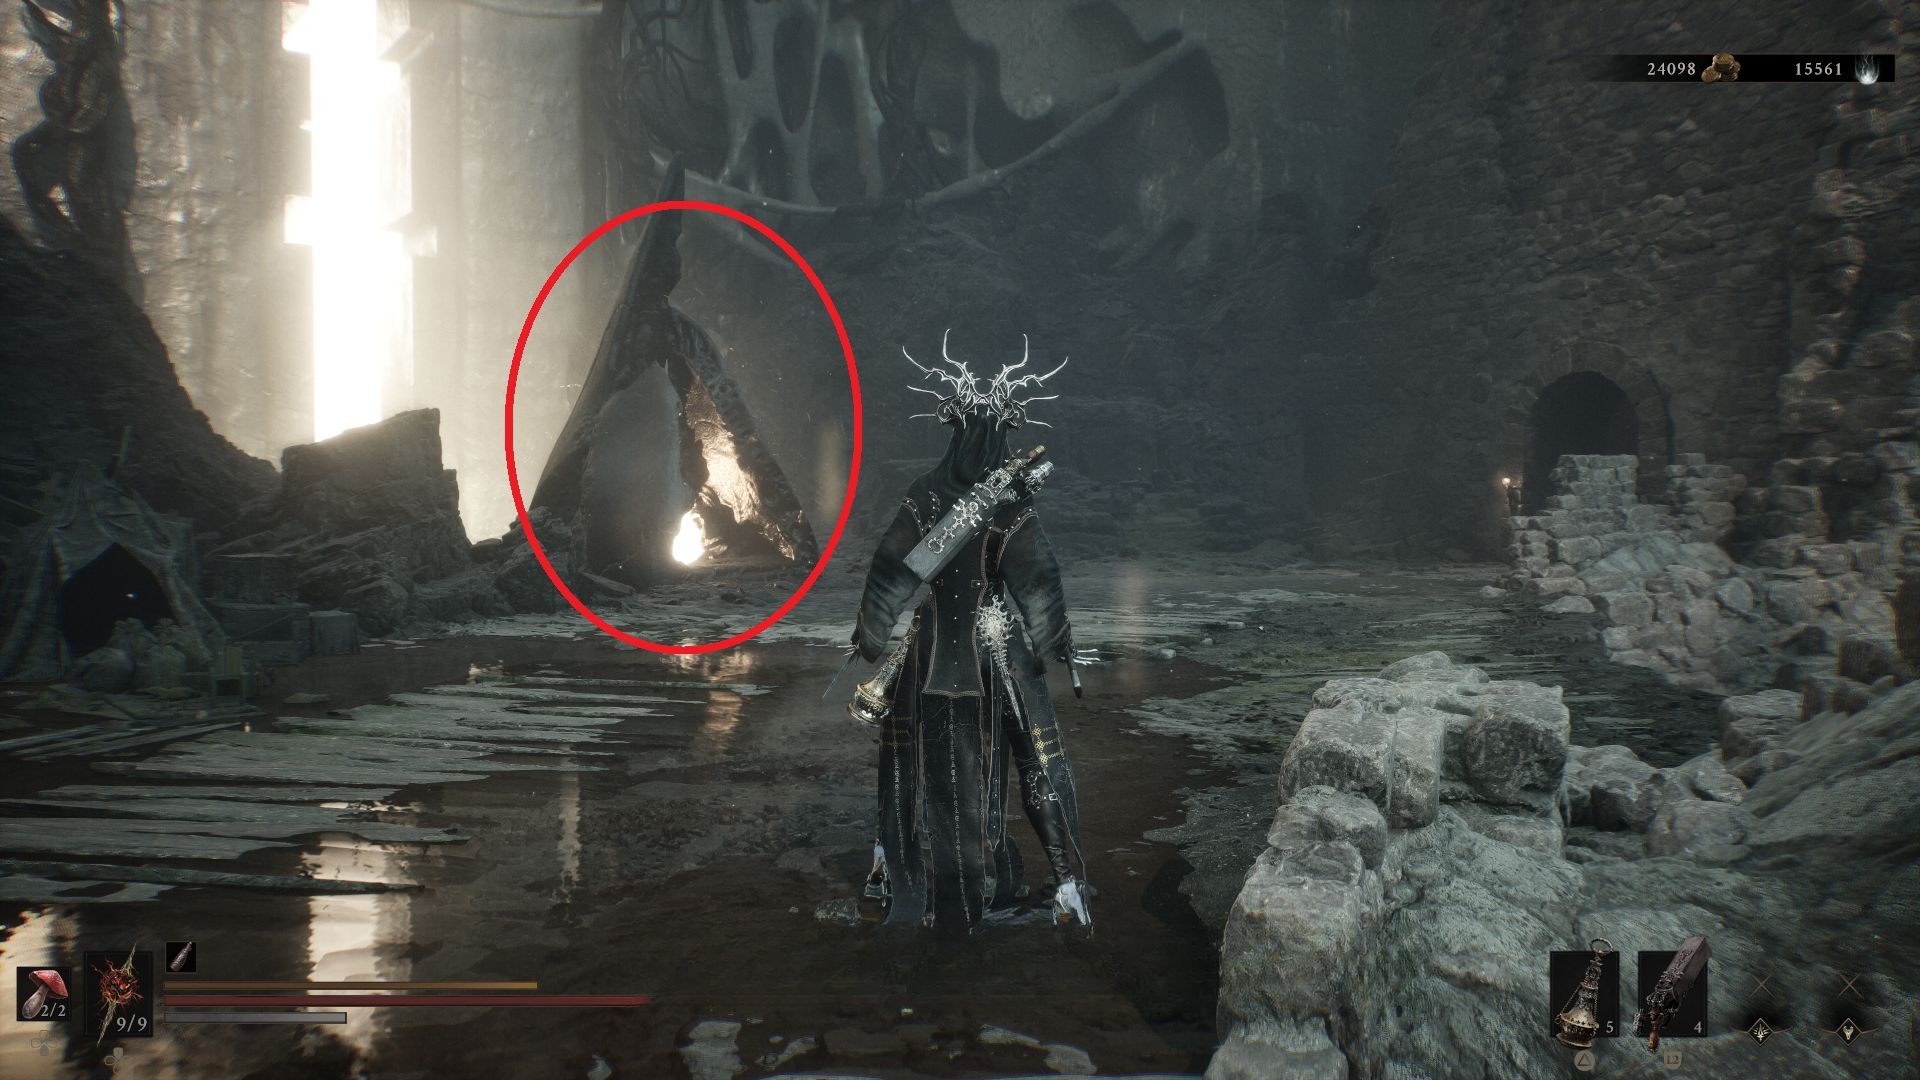
Source step 1. #4 – Nochtean Gate. Images sit immediately after this beacon name. Article has no further caption. The source article does not label whether this frame is a map, a path, or a close-up.Source step 2. #4 – Nochtean Gate. Images sit immediately after this beacon name. Article has no further caption. The source article does not label whether this frame is a map, a path, or a close-up.Source step 3. #4 – Nochtean Gate. Images sit immediately after this beacon name. Article has no further caption. The source article does not label whether this frame is a map, a path, or a close-up.
Source step 1. #5 – Mushroom Village. Images sit immediately after this beacon name. Article has no further caption. The source article does not label whether this frame is a map, a path, or a close-up.Source step 2. #5 – Mushroom Village. Images sit immediately after this beacon name. Article has no further caption. The source article does not label whether this frame is a map, a path, or a close-up.Source step 3. #5 – Mushroom Village. Images sit immediately after this beacon name. Article has no further caption. The source article does not label whether this frame is a map, a path, or a close-up.
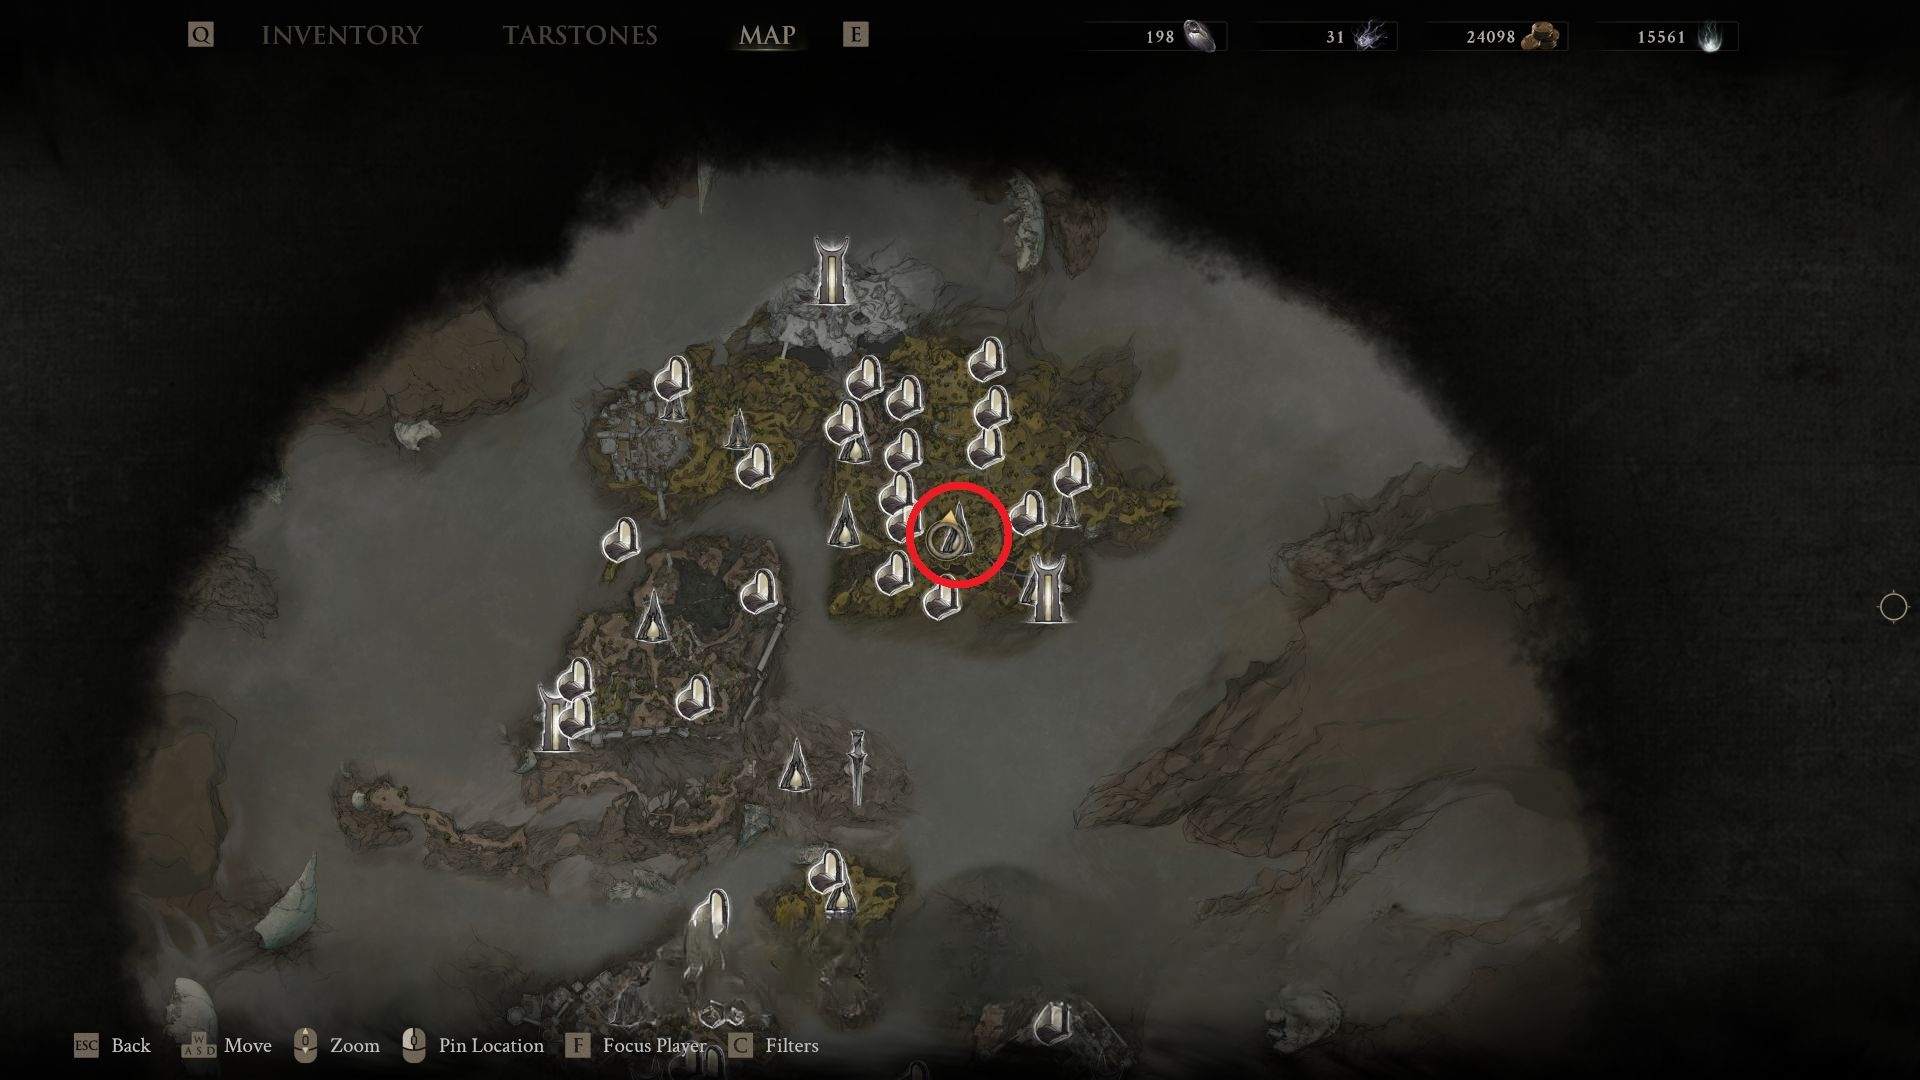
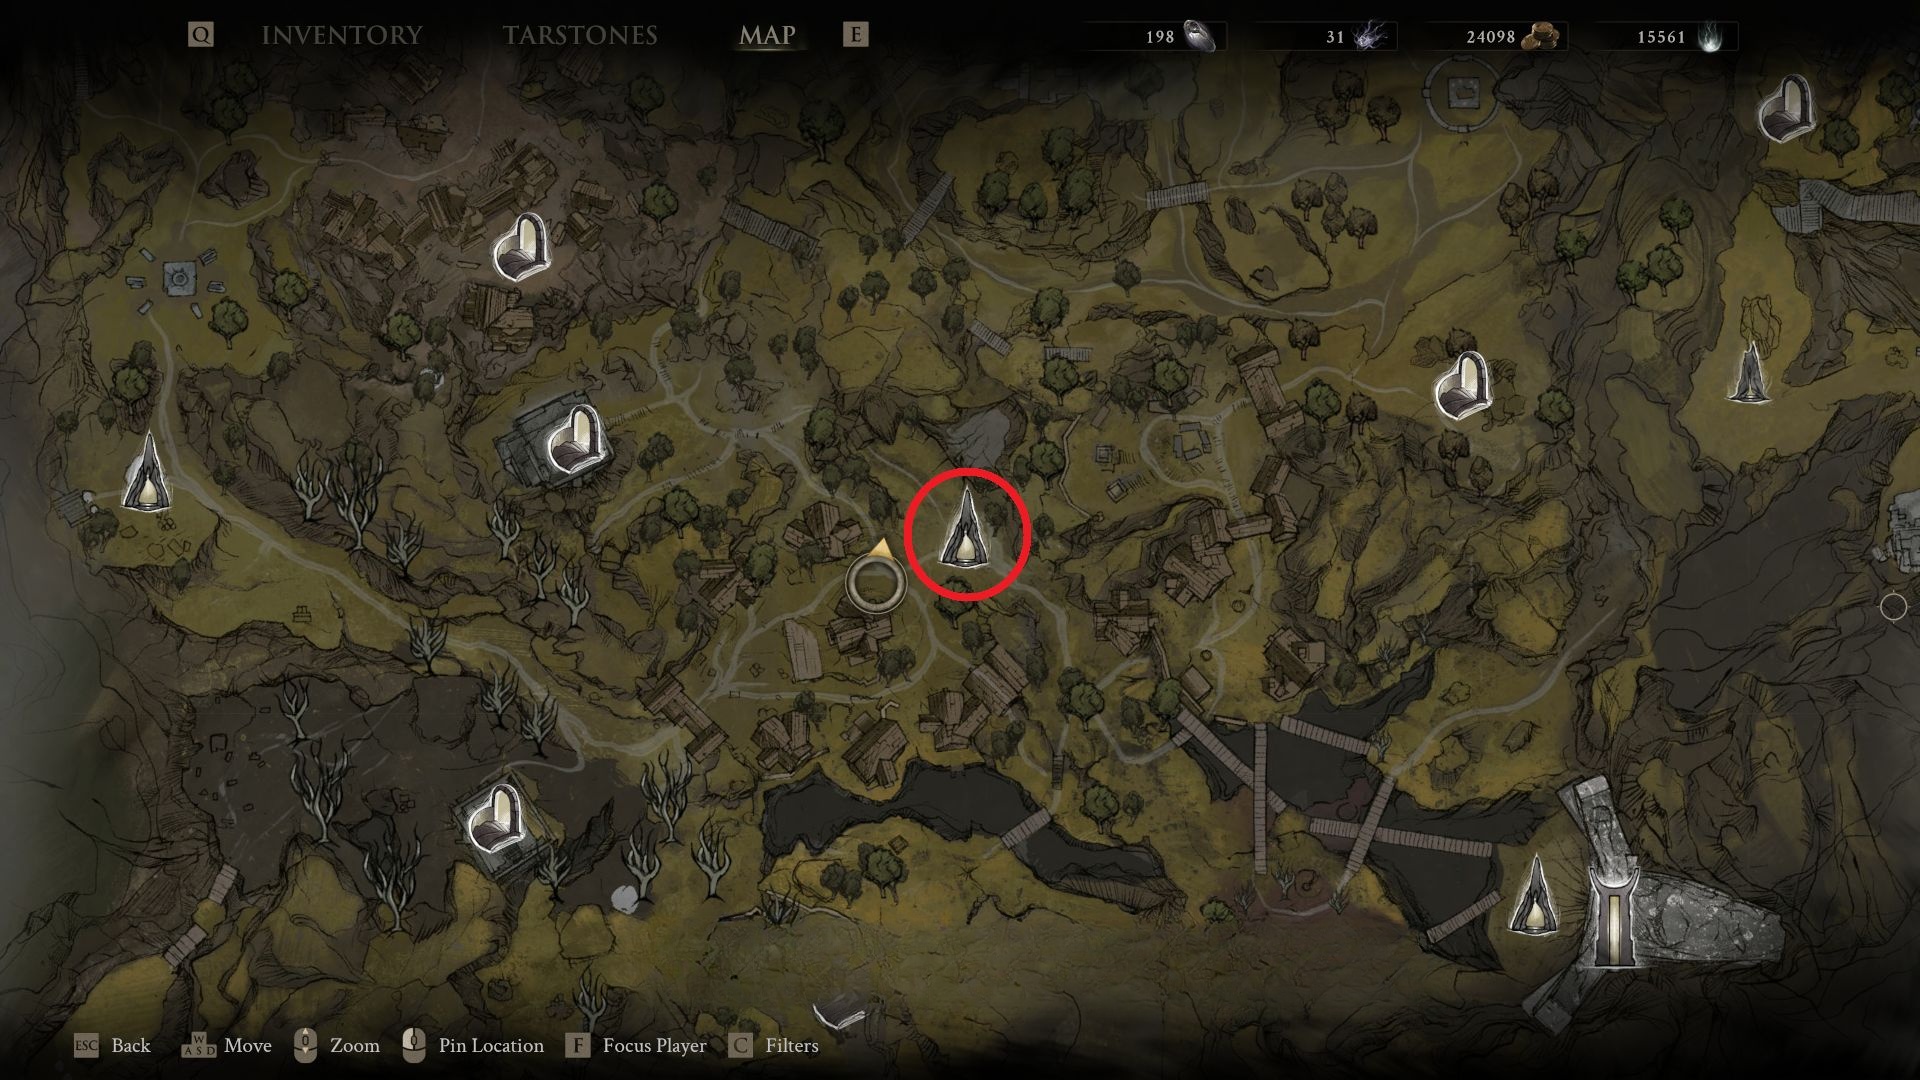
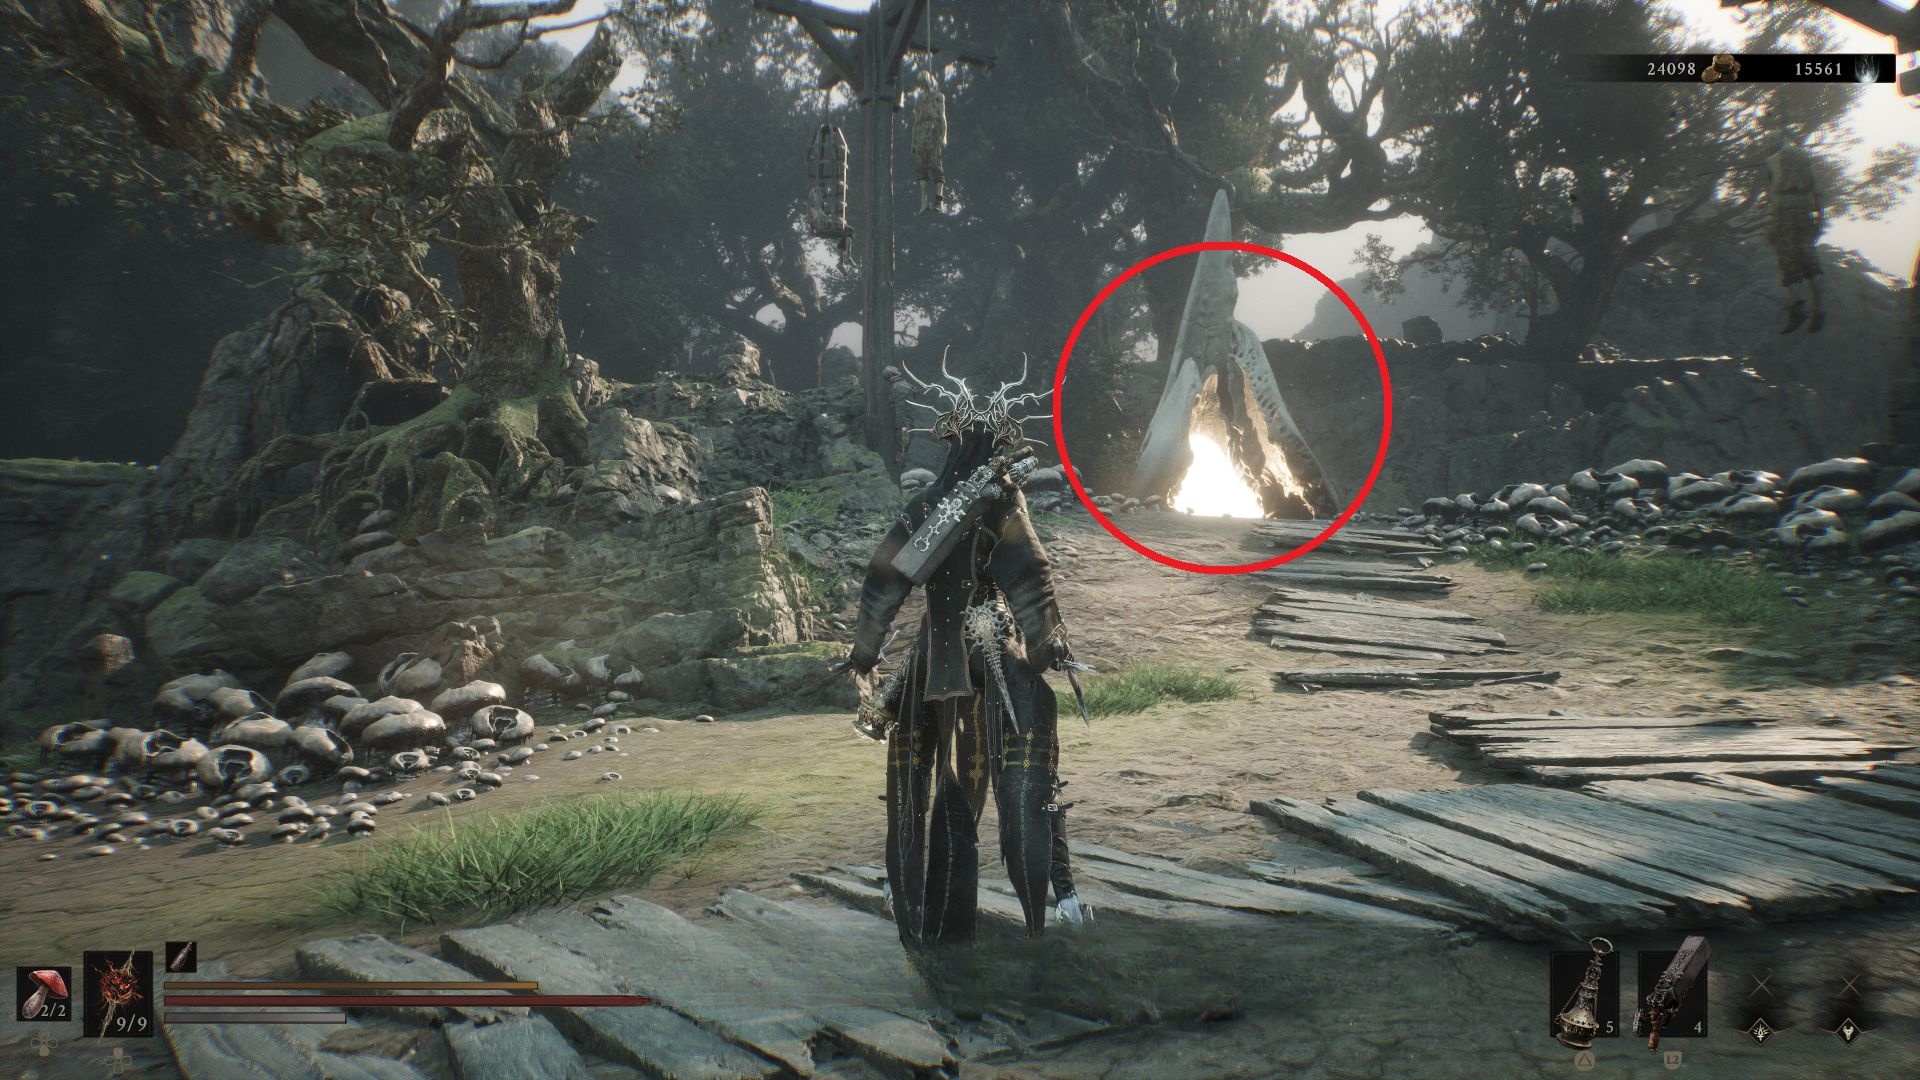
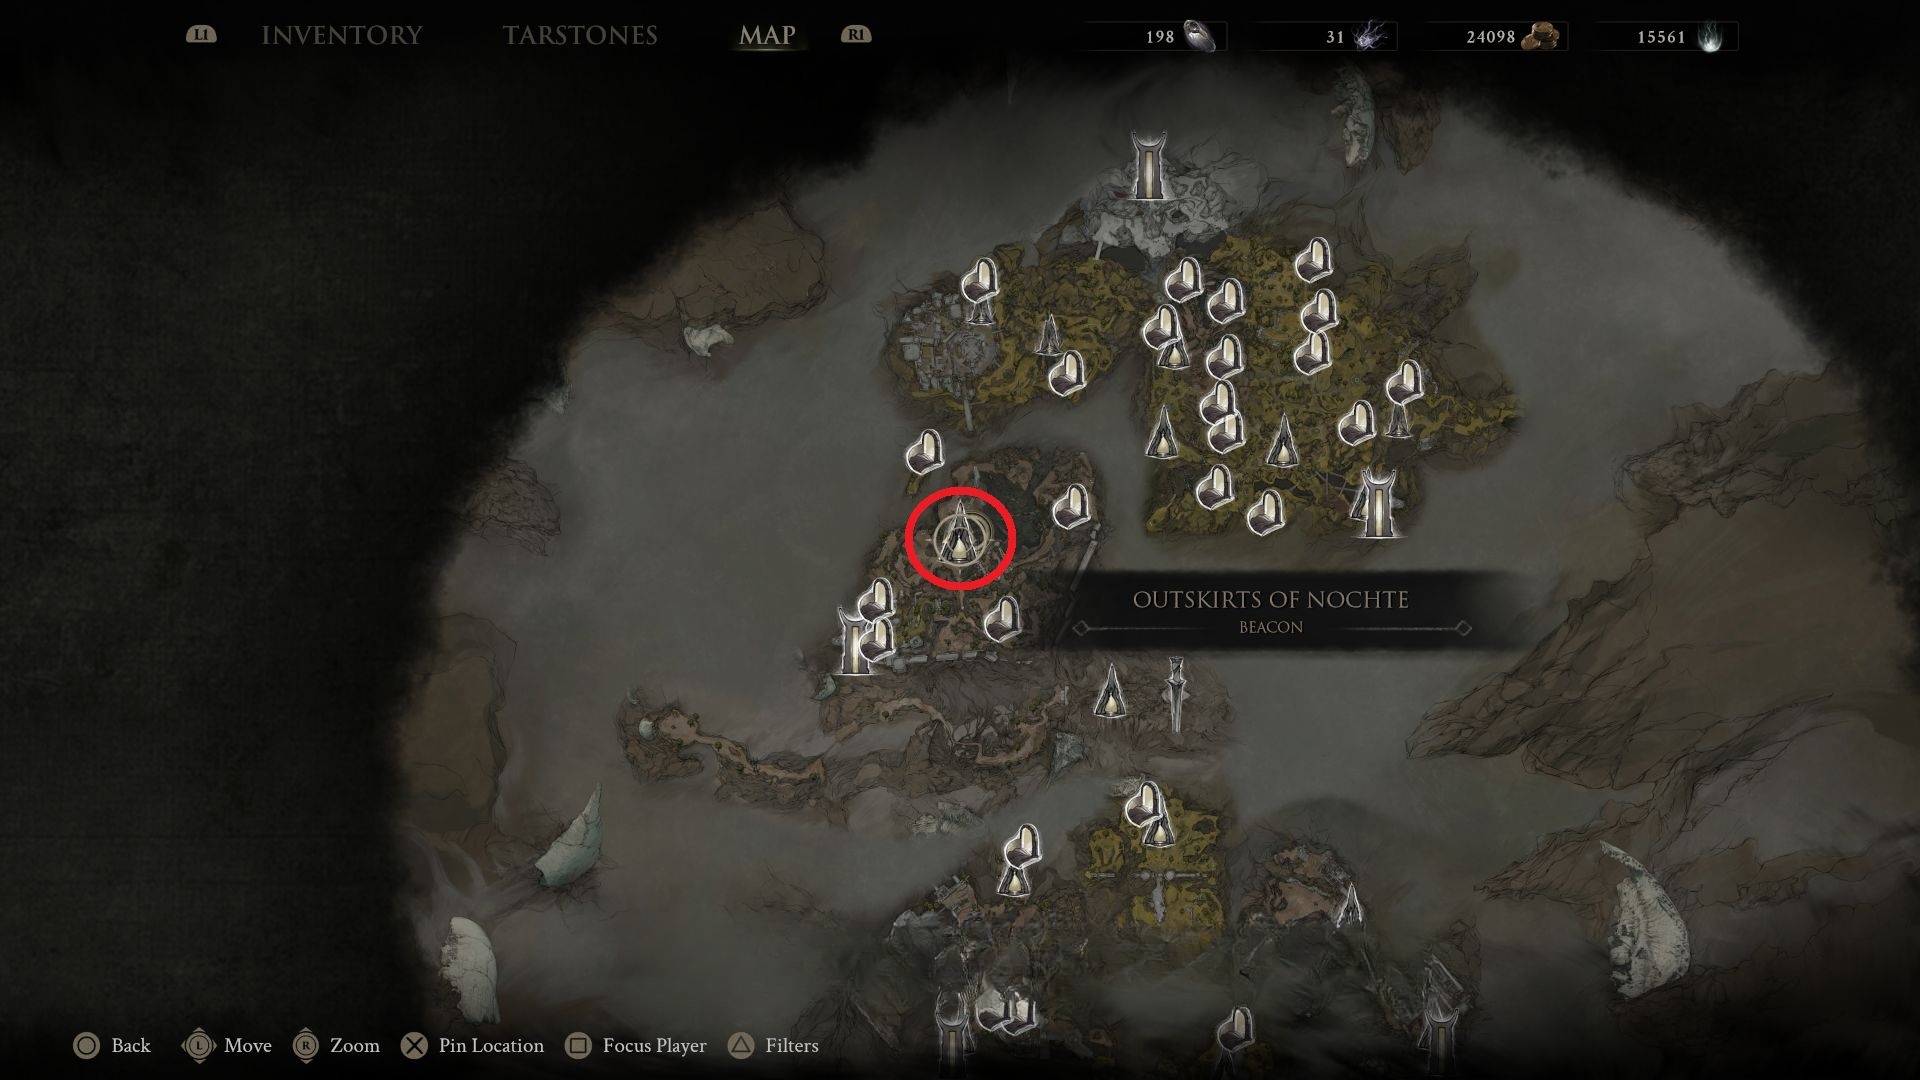
Source step 1. #6 – Outskirts of Nochte. Images sit immediately after this beacon name. Article has no further caption. The source article does not label whether this frame is a map, a path, or a close-up.Source step 2. #6 – Outskirts of Nochte. Images sit immediately after this beacon name. Article has no further caption. The source article does not label whether this frame is a map, a path, or a close-up.Source step 3. #6 – Outskirts of Nochte. Images sit immediately after this beacon name. Article has no further caption. The source article does not label whether this frame is a map, a path, or a close-up.
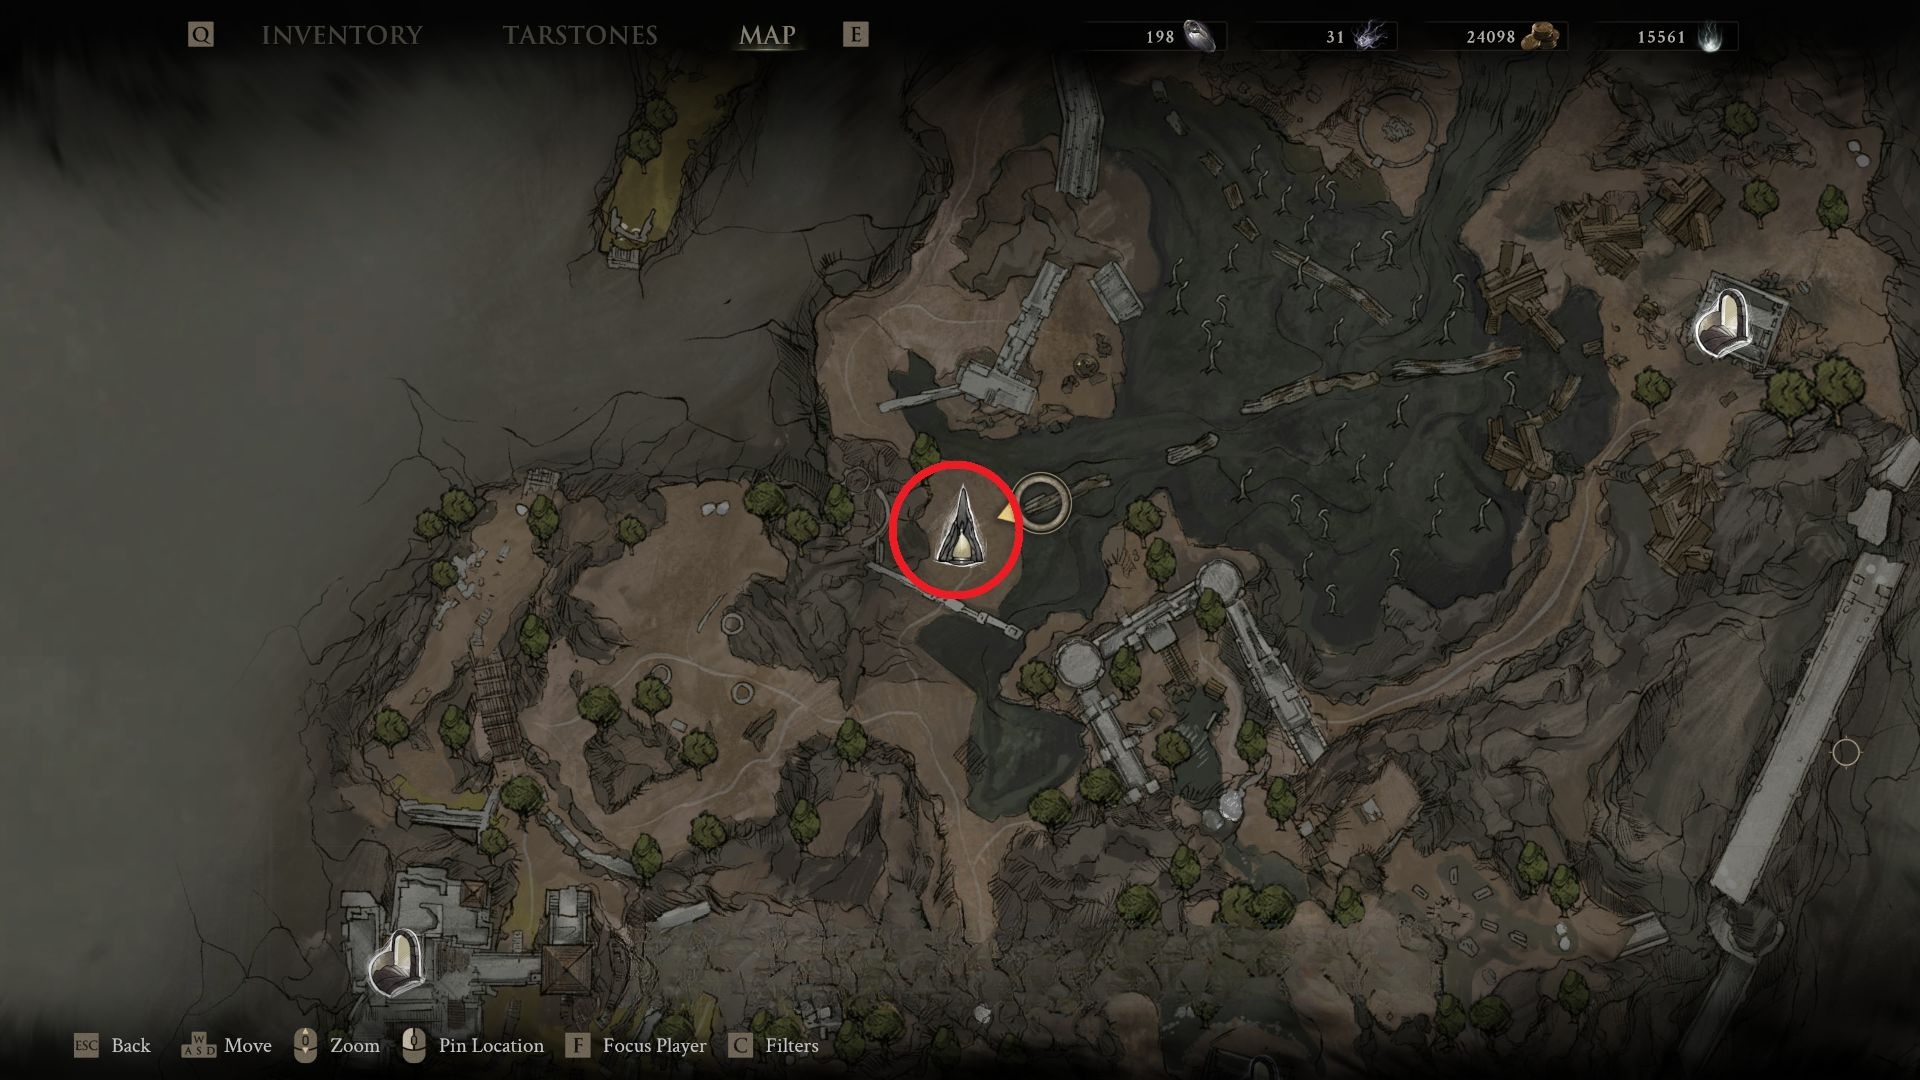
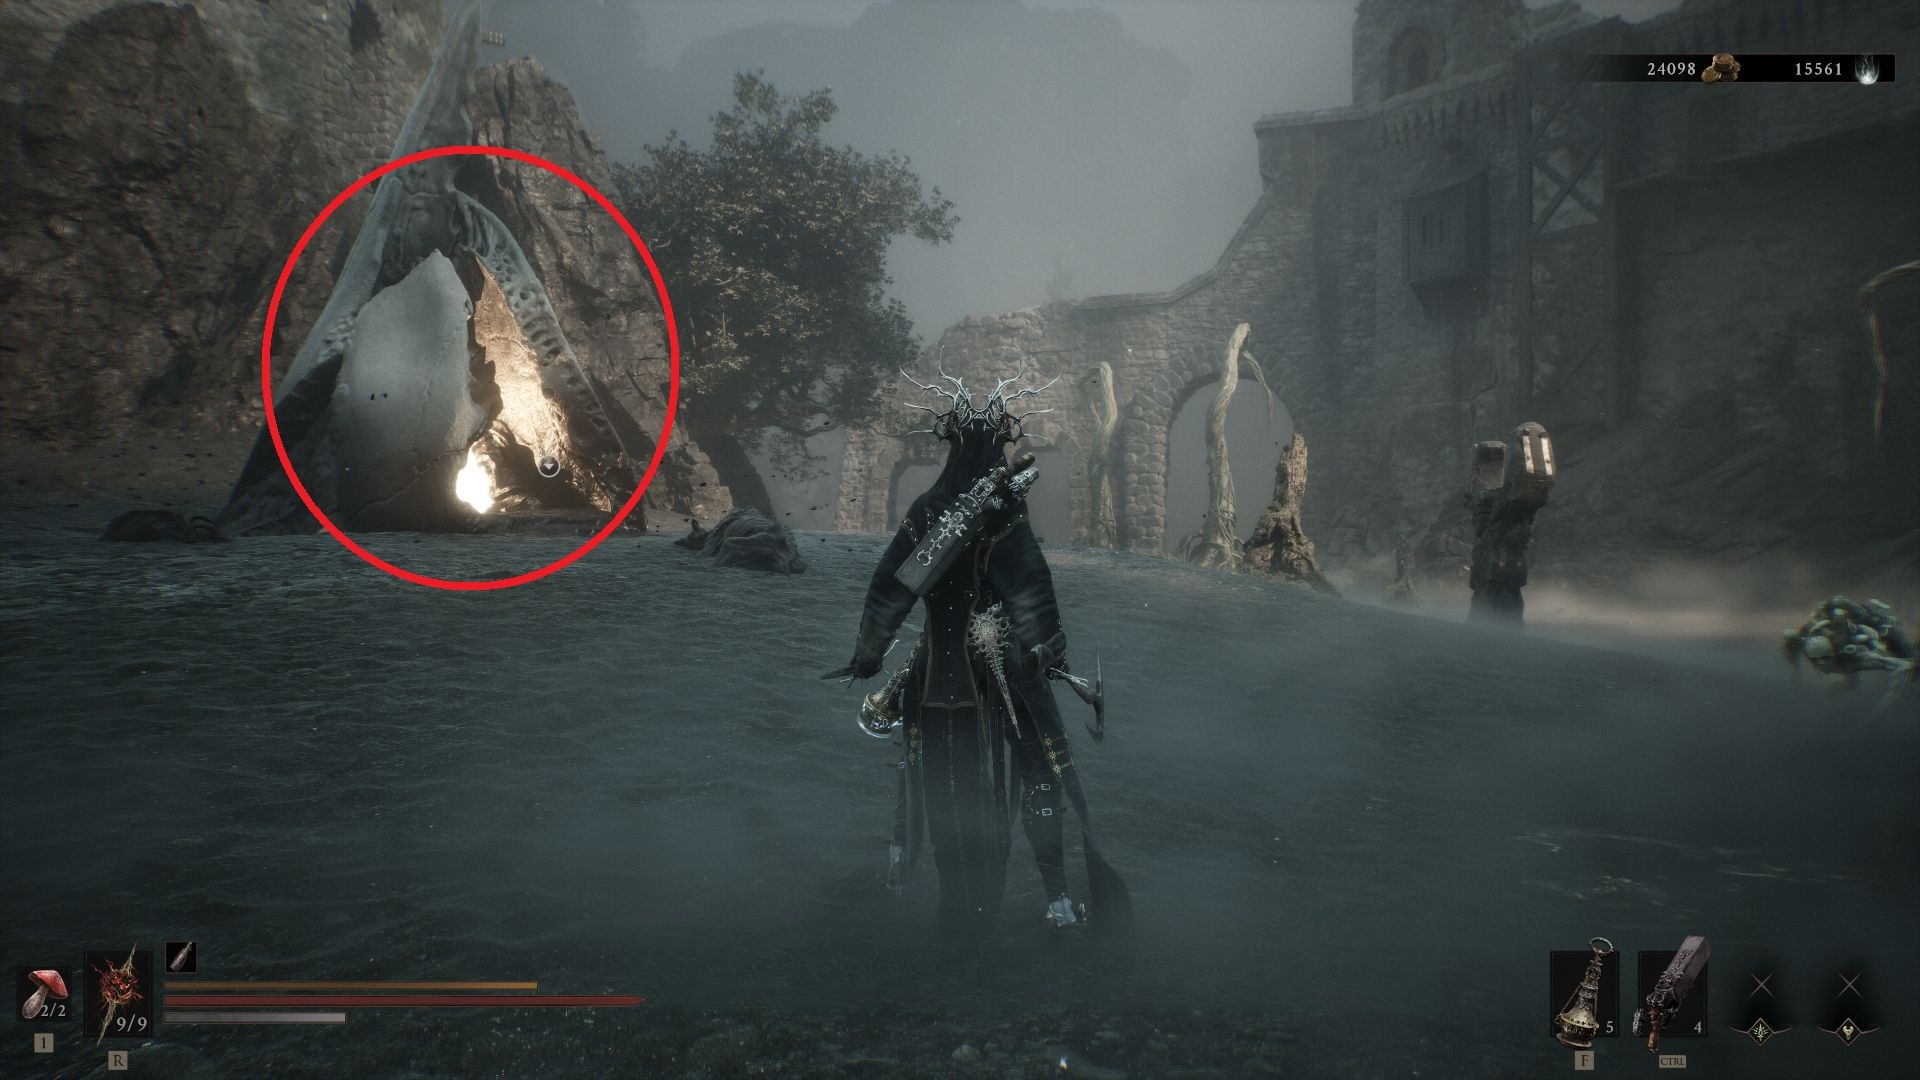
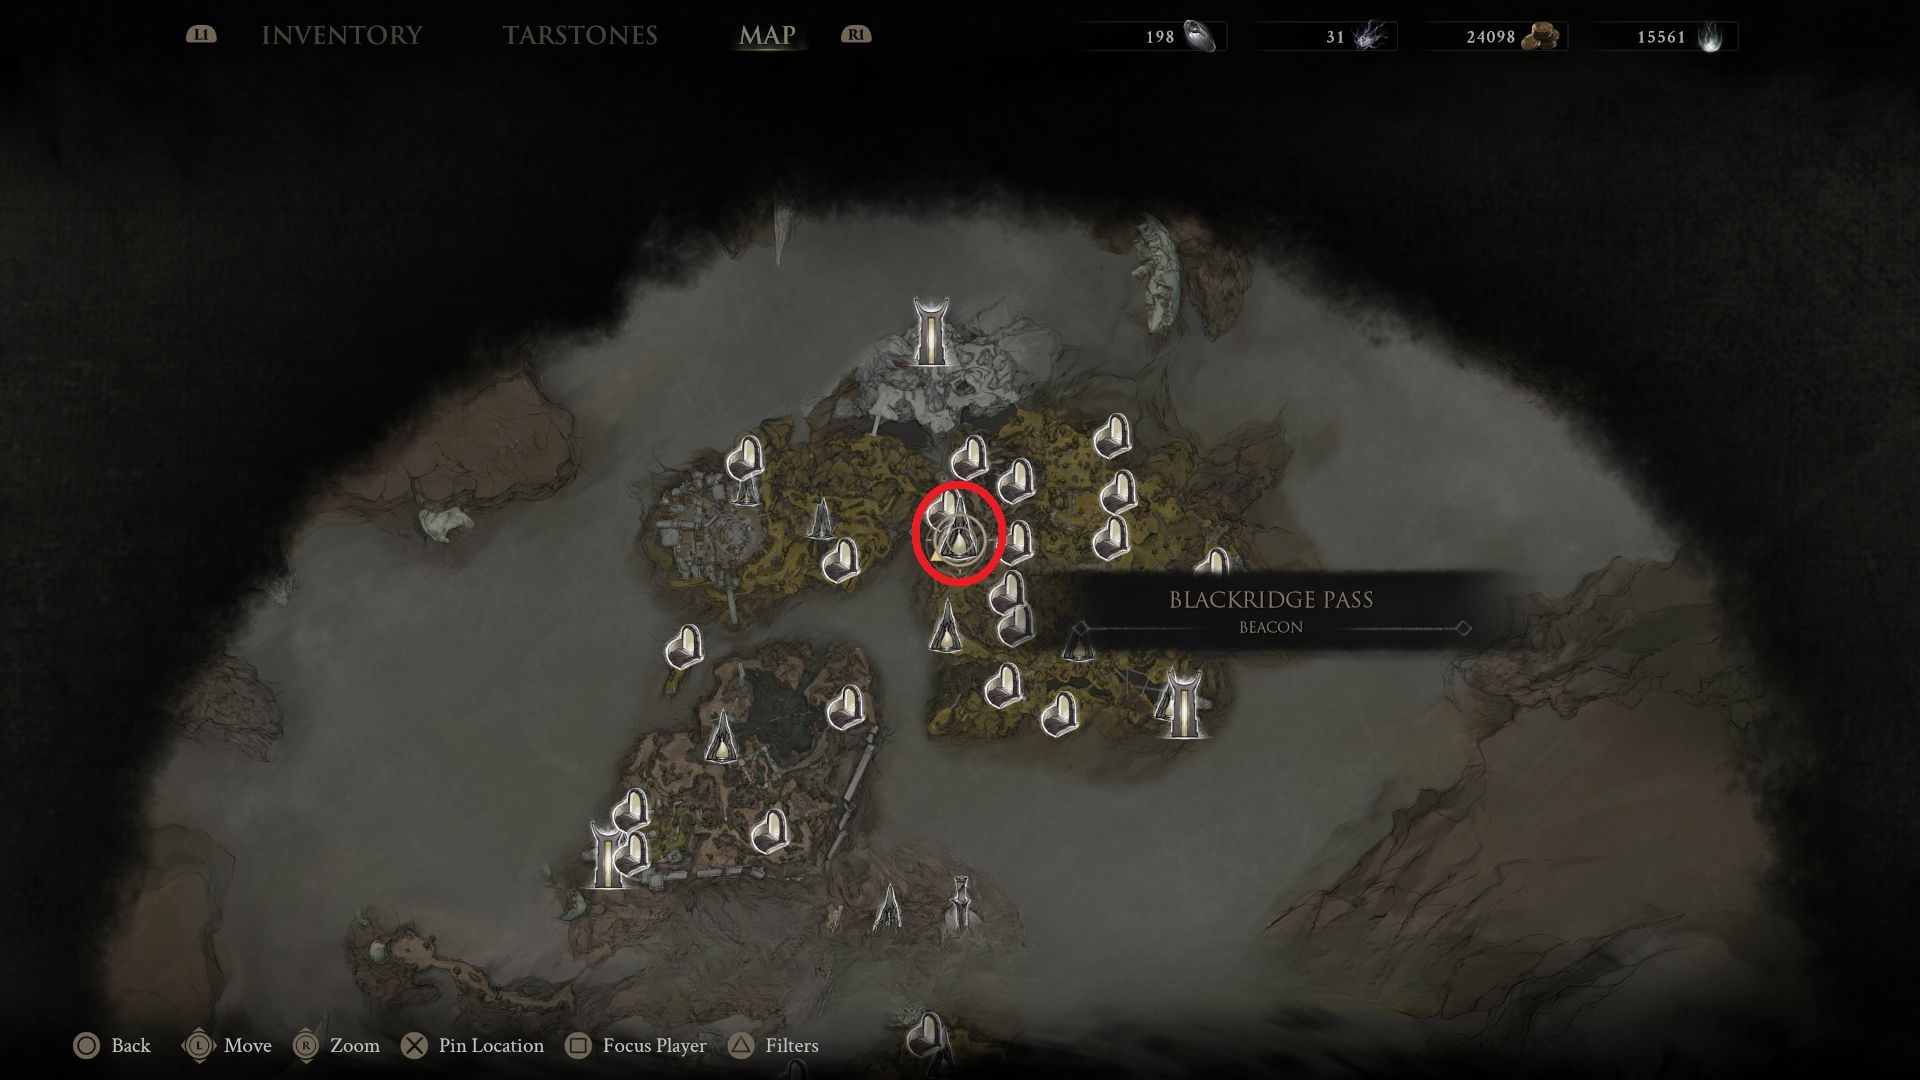
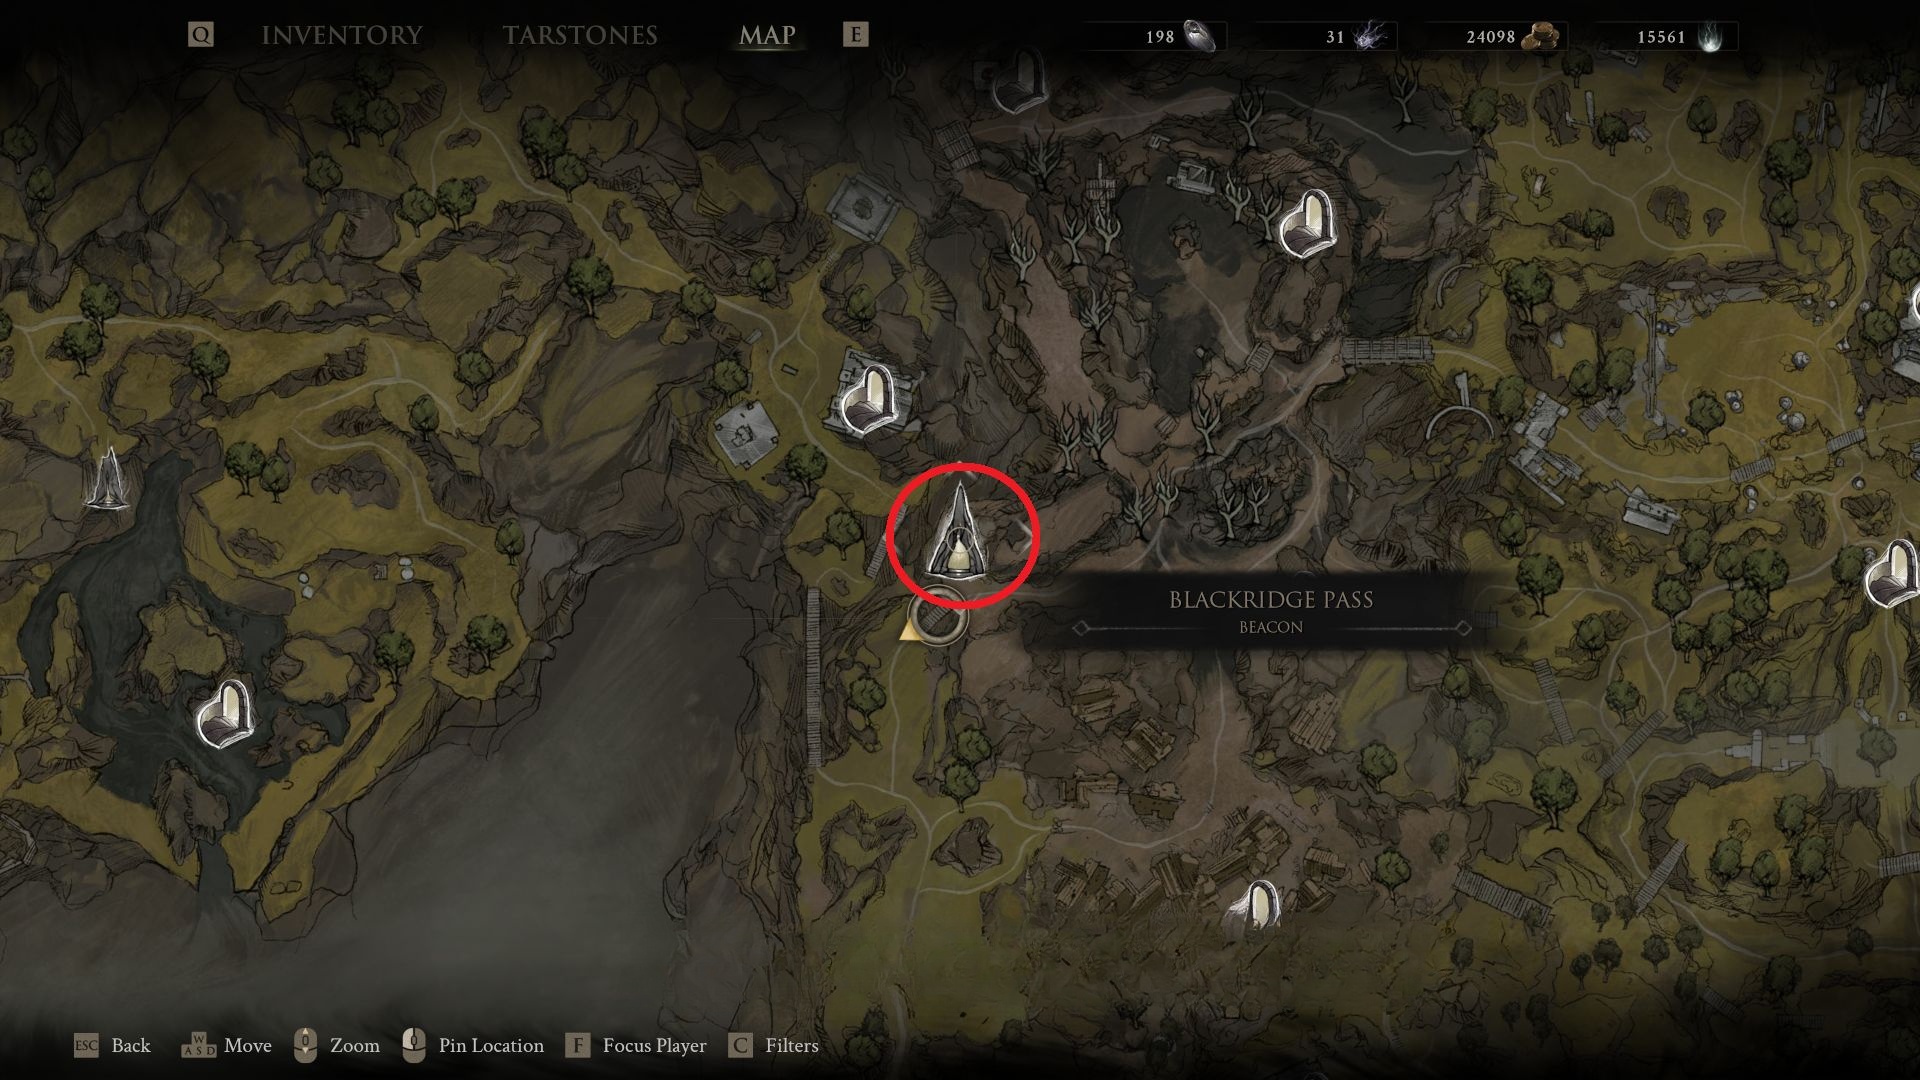
Source step 1. #7 – Blackridge Pass. Images sit immediately after this beacon name. Article has no further caption. The source article does not label whether this frame is a map, a path, or a close-up.Source step 2. #7 – Blackridge Pass. Images sit immediately after this beacon name. Article has no further caption. The source article does not label whether this frame is a map, a path, or a close-up.Source step 3. #7 – Blackridge Pass. Images sit immediately after this beacon name. Article has no further caption. The source article does not label whether this frame is a map, a path, or a close-up.
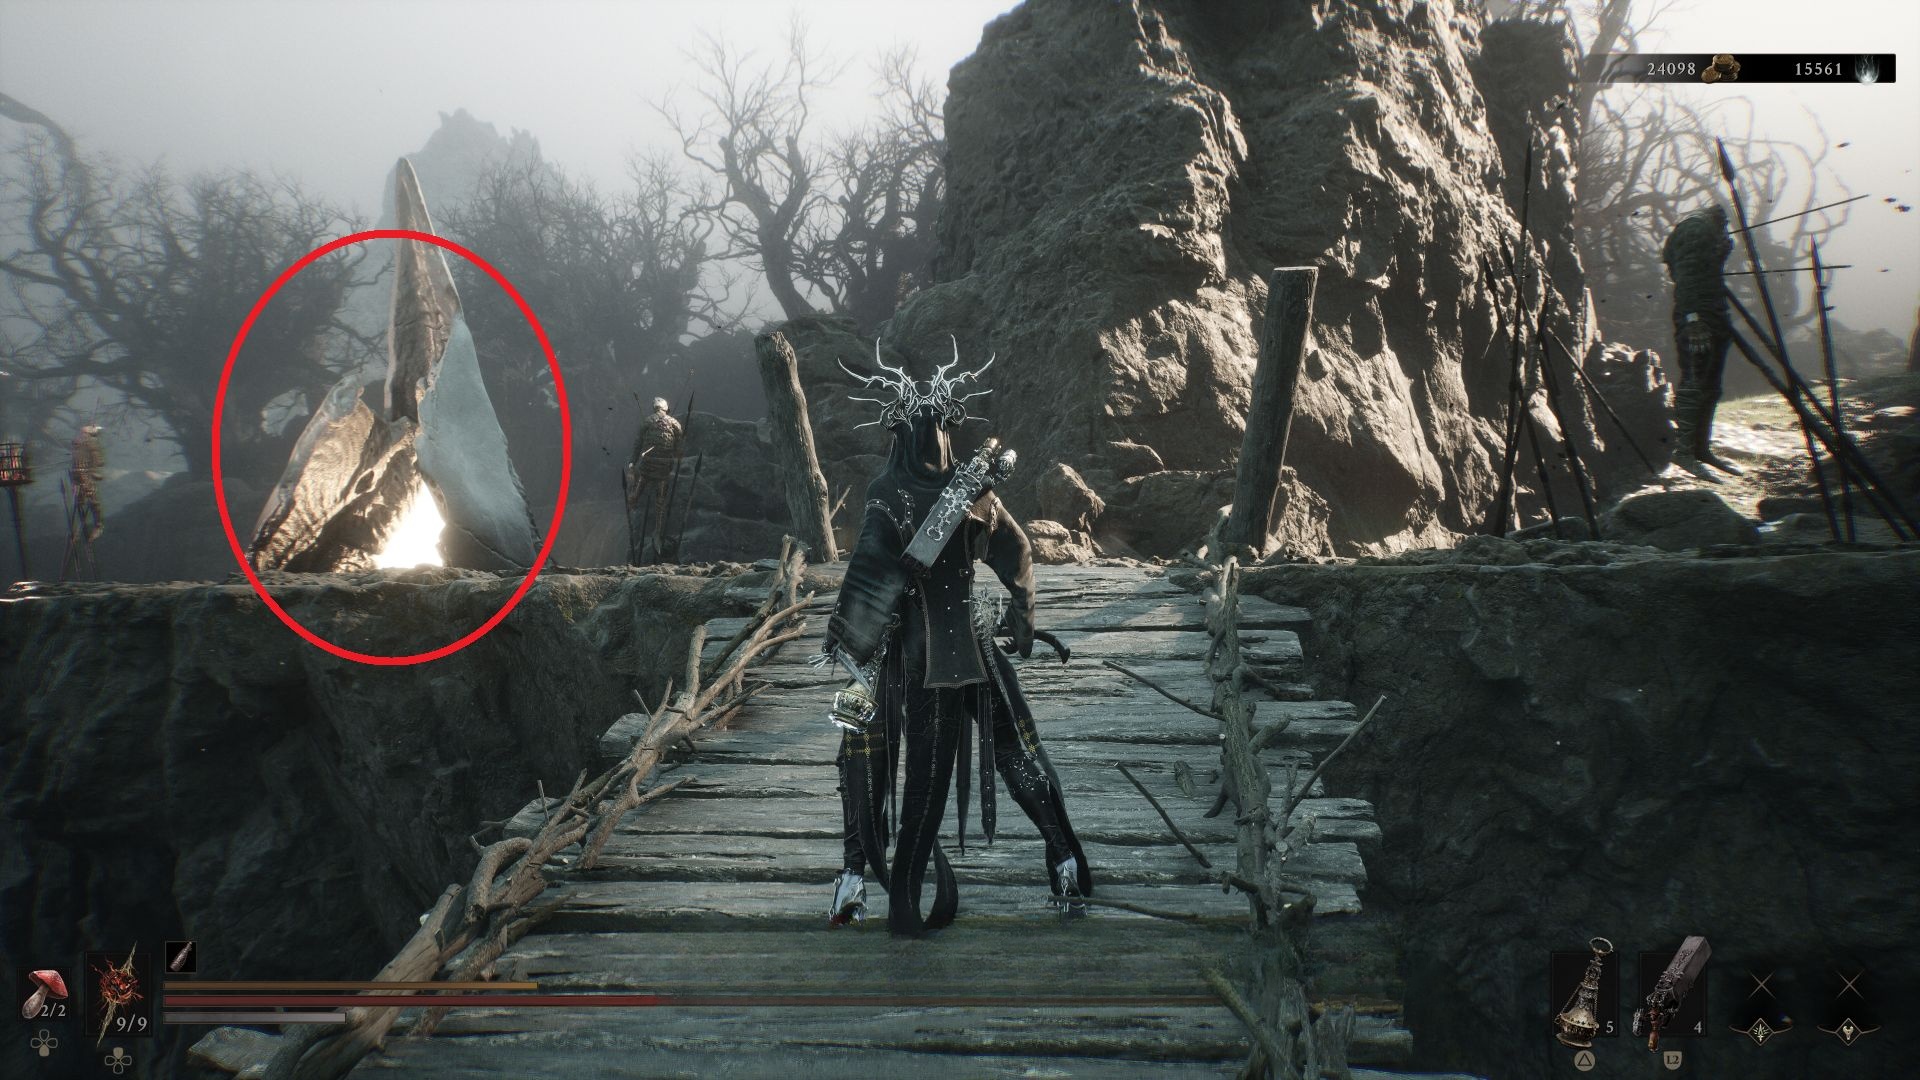
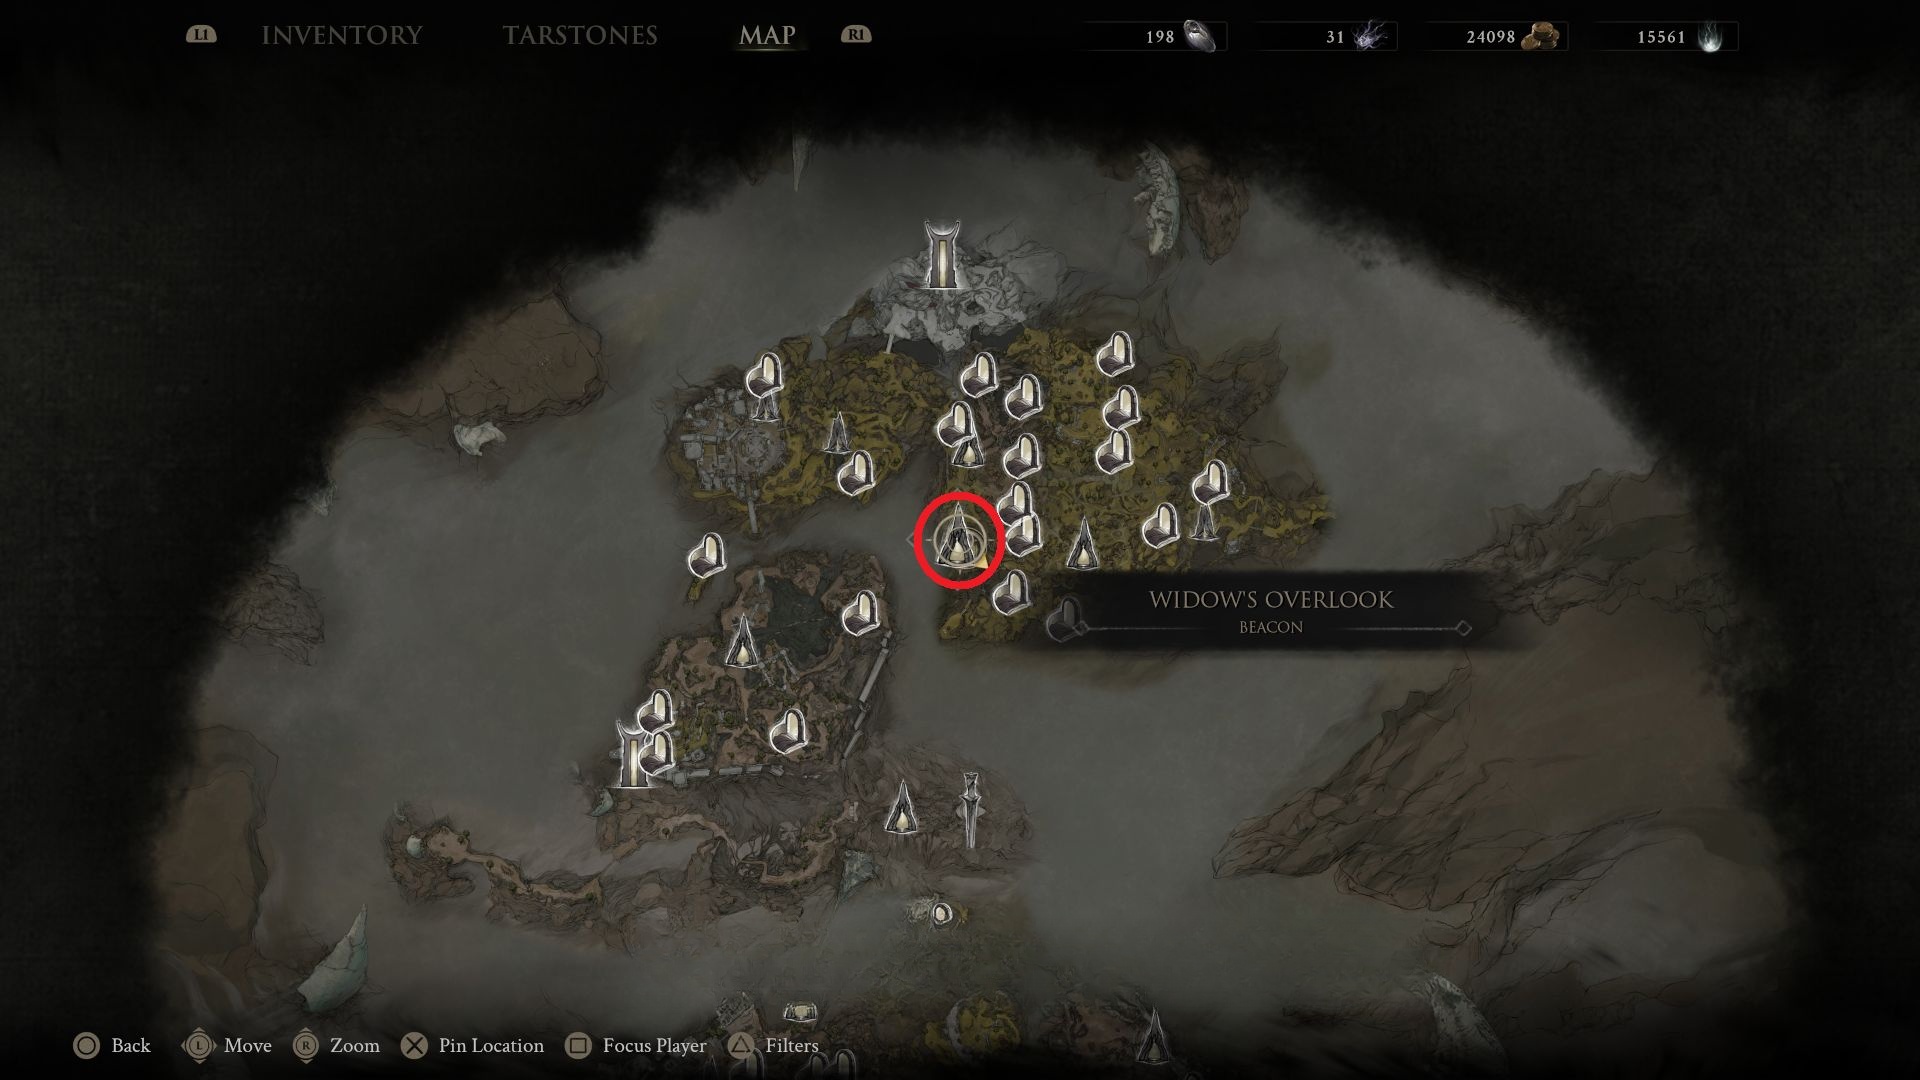
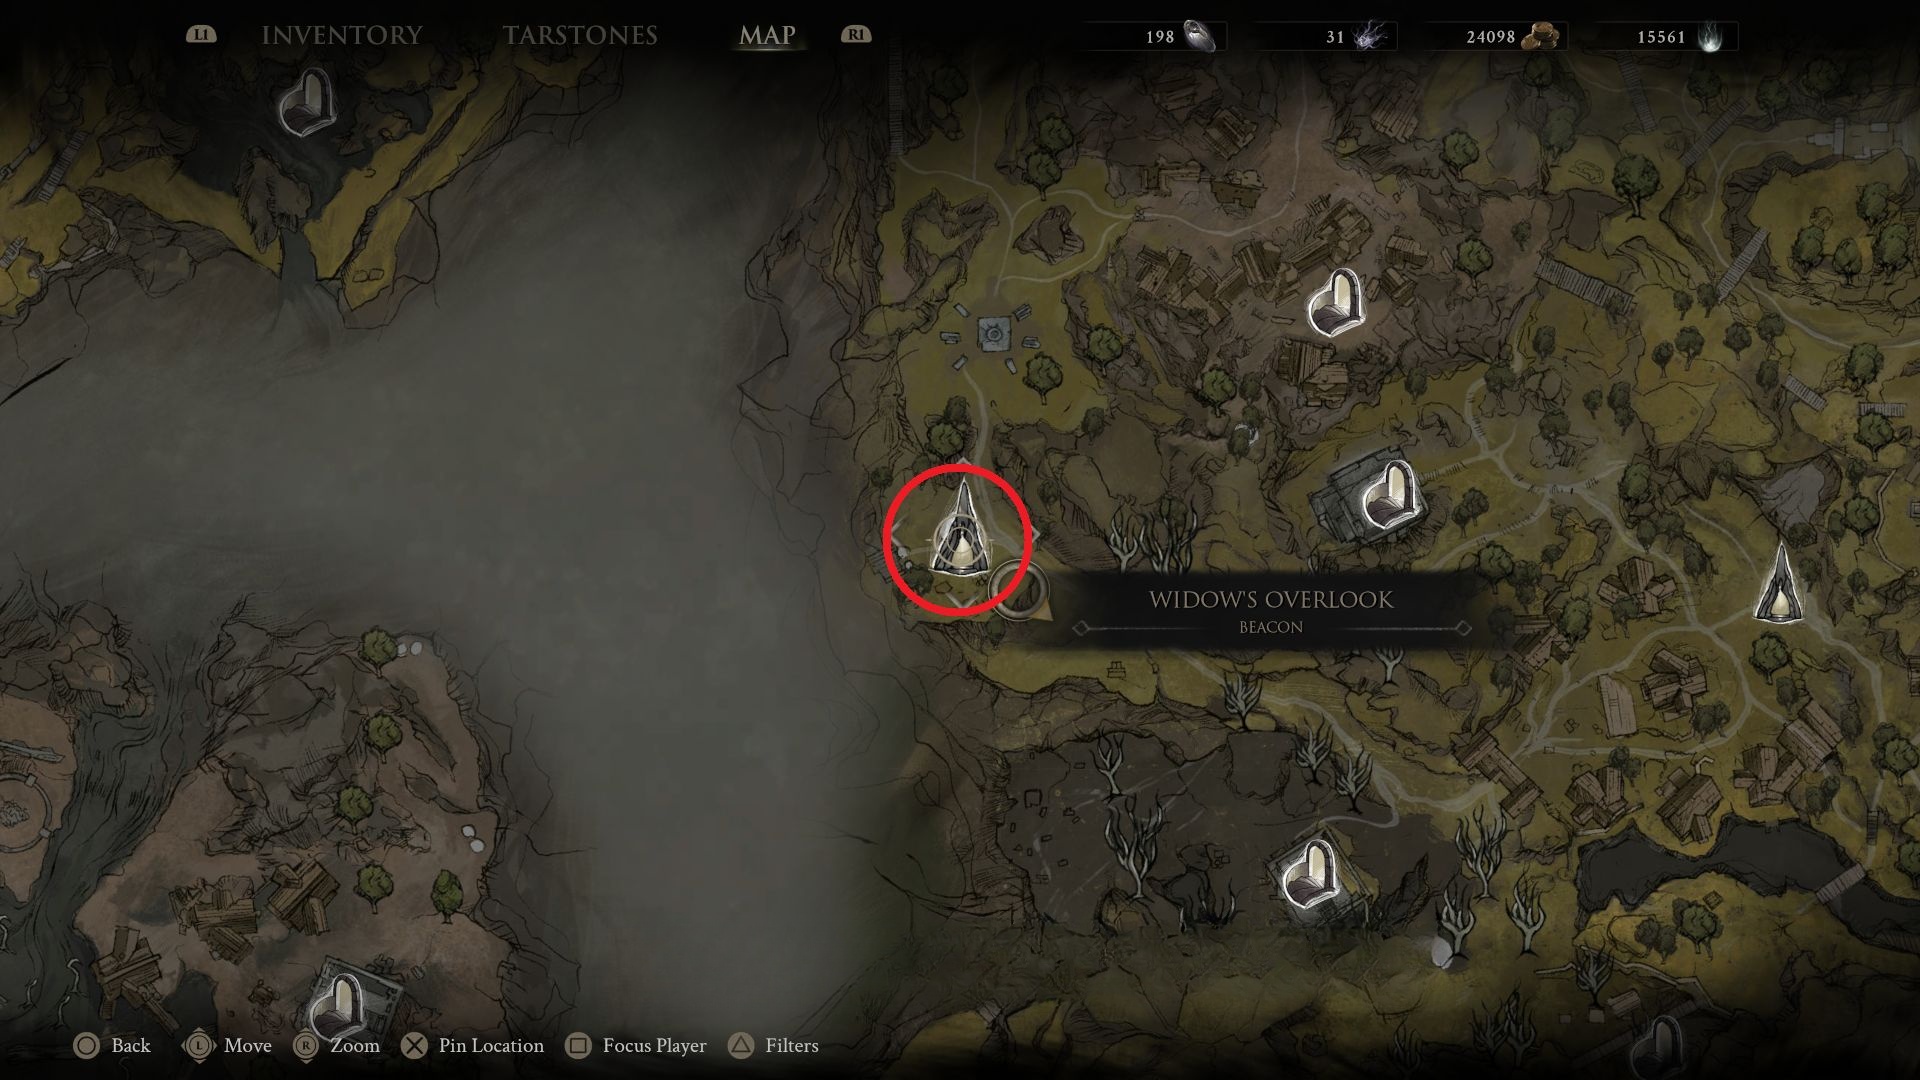
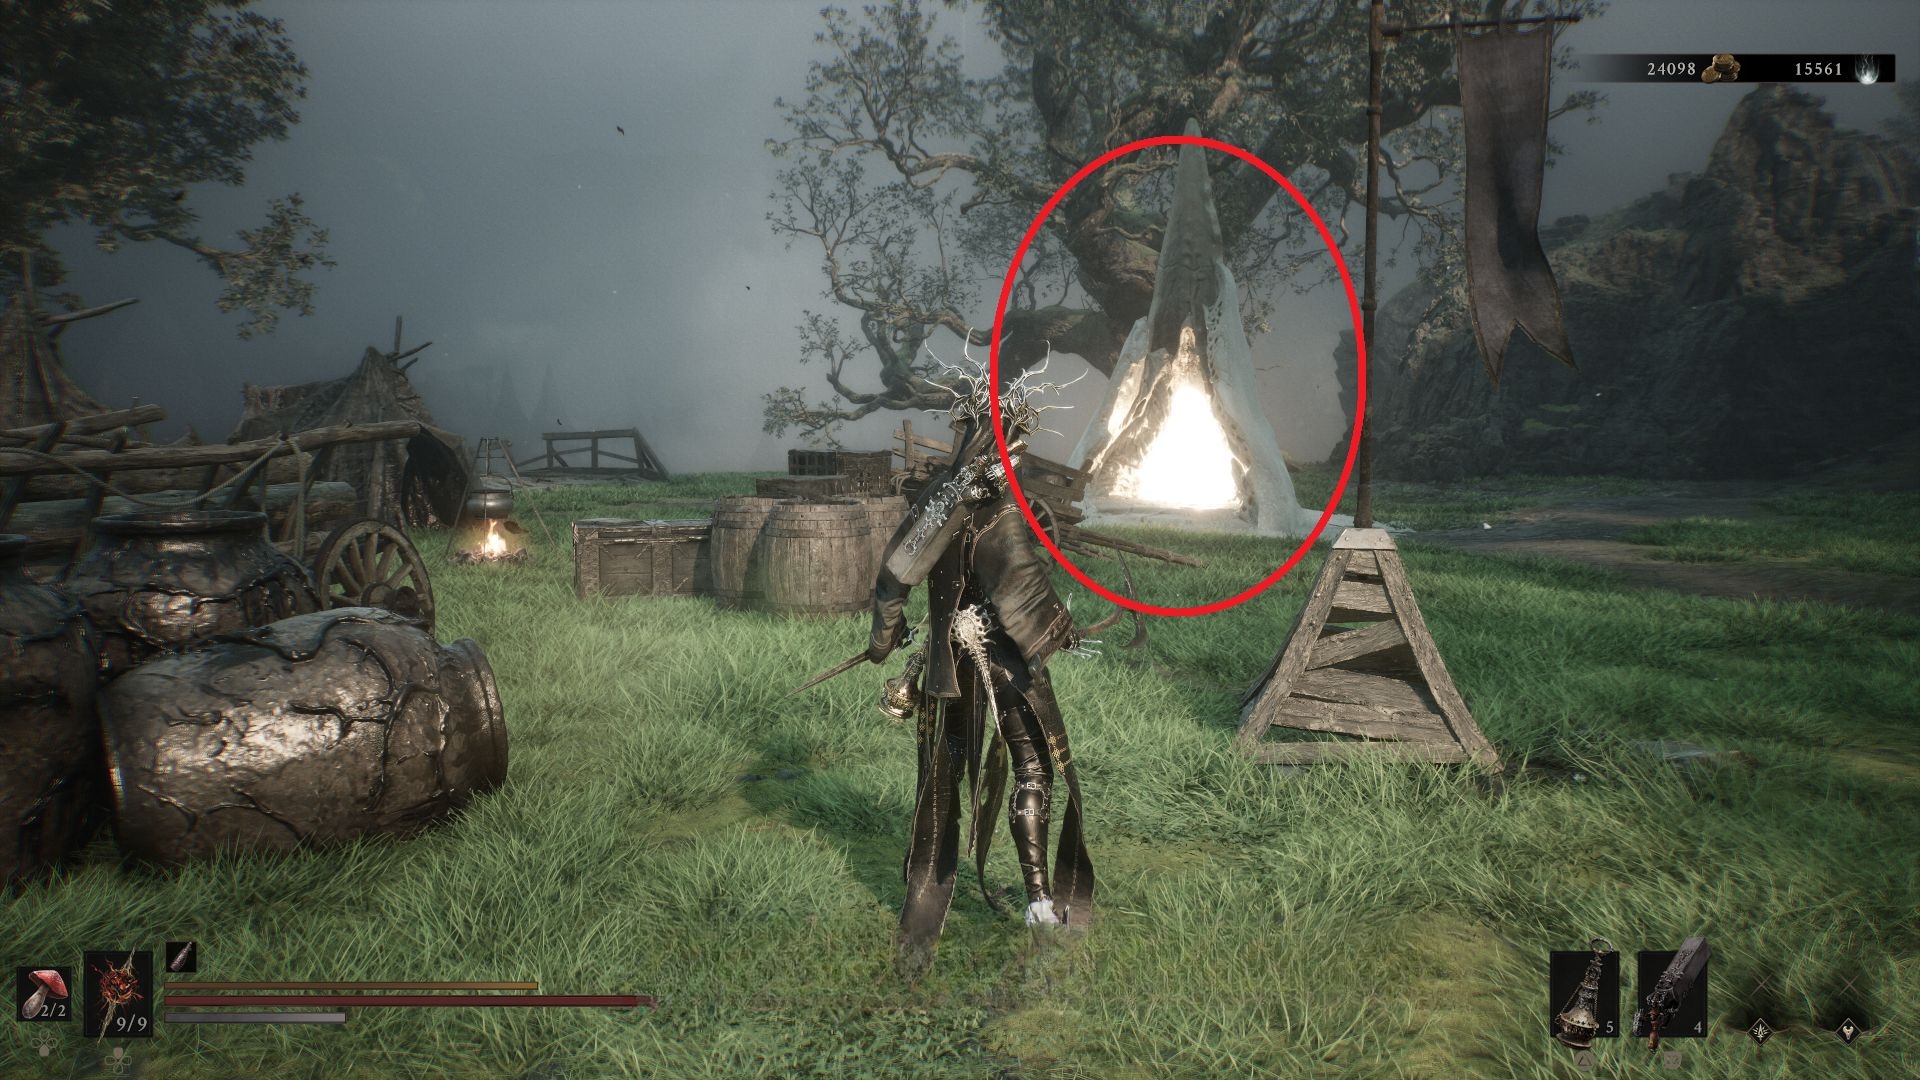
Source step 1. #8 – Widow's Overlook. Images sit immediately after this beacon name. Article has no further caption. The source article does not label whether this frame is a map, a path, or a close-up.Source step 2. #8 – Widow's Overlook. Images sit immediately after this beacon name. Article has no further caption. The source article does not label whether this frame is a map, a path, or a close-up.Source step 3. #8 – Widow's Overlook. Images sit immediately after this beacon name. Article has no further caption. The source article does not label whether this frame is a map, a path, or a close-up.
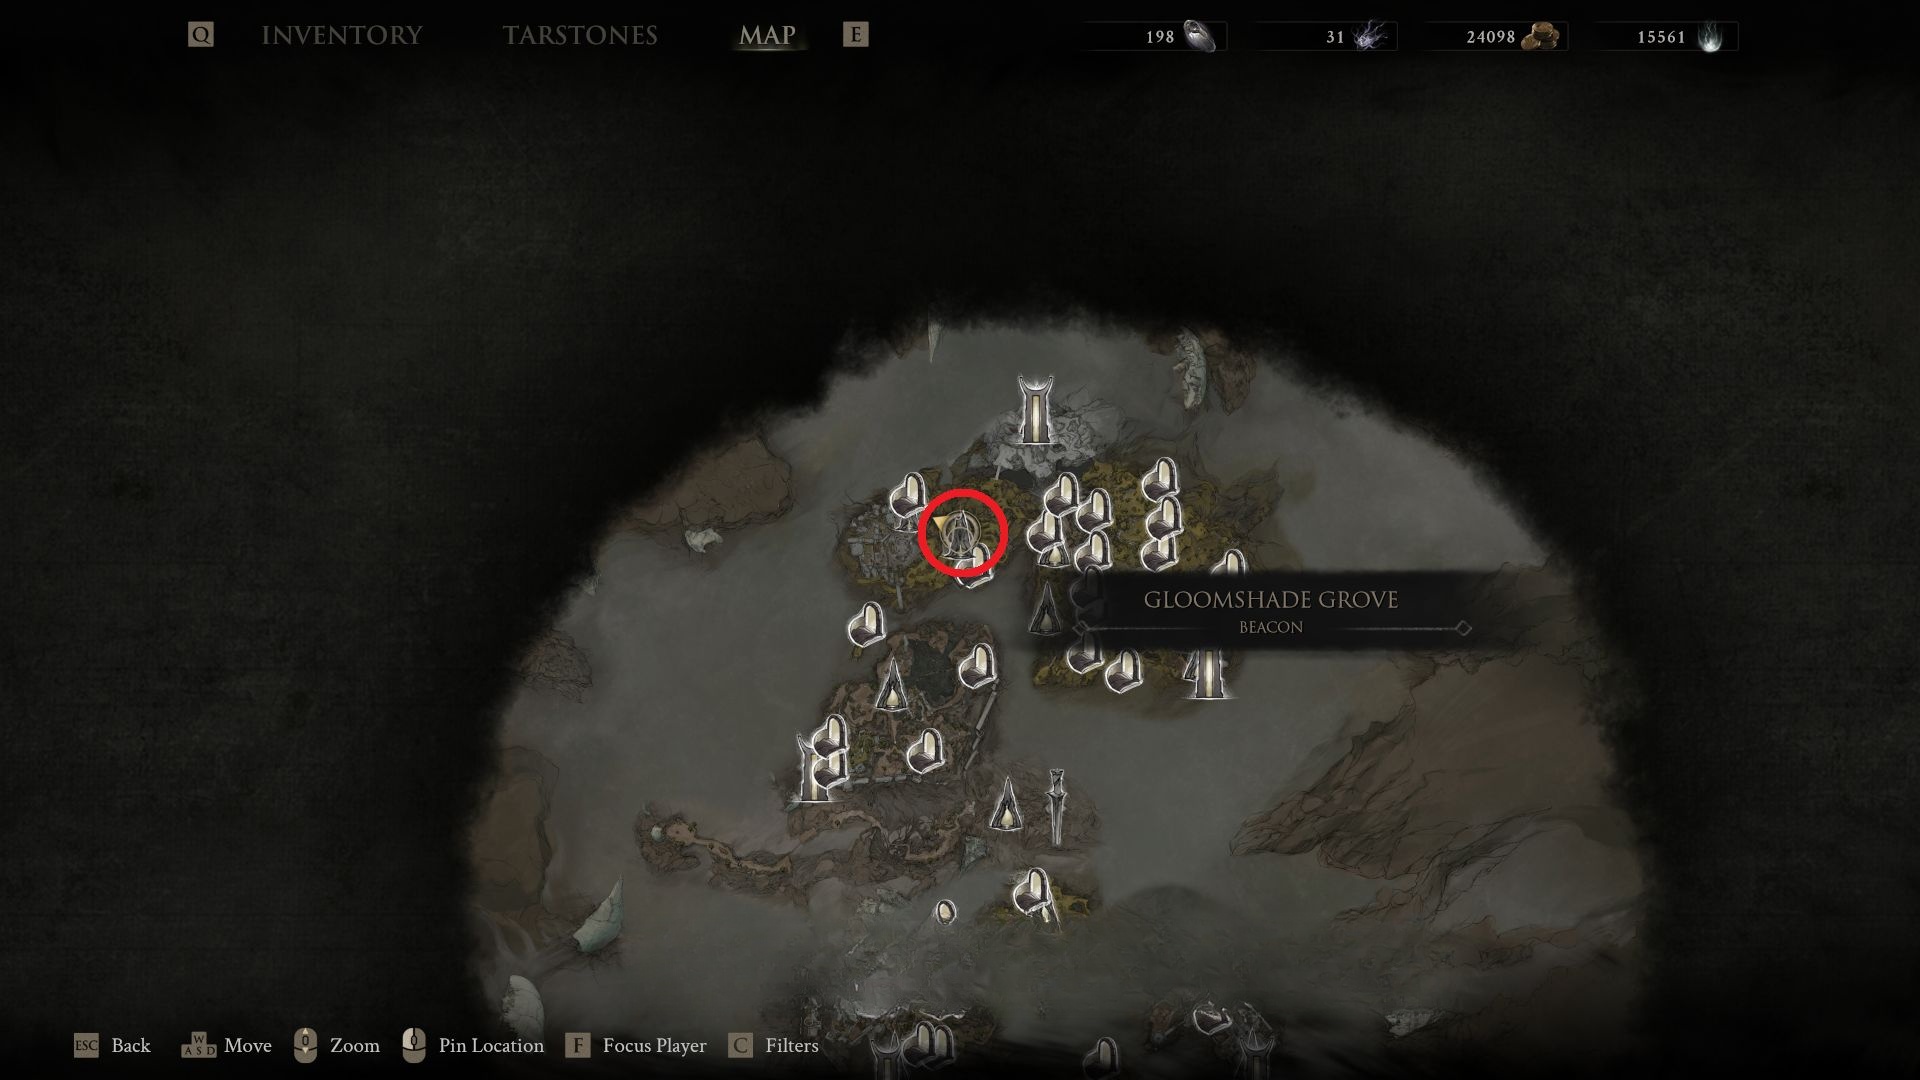
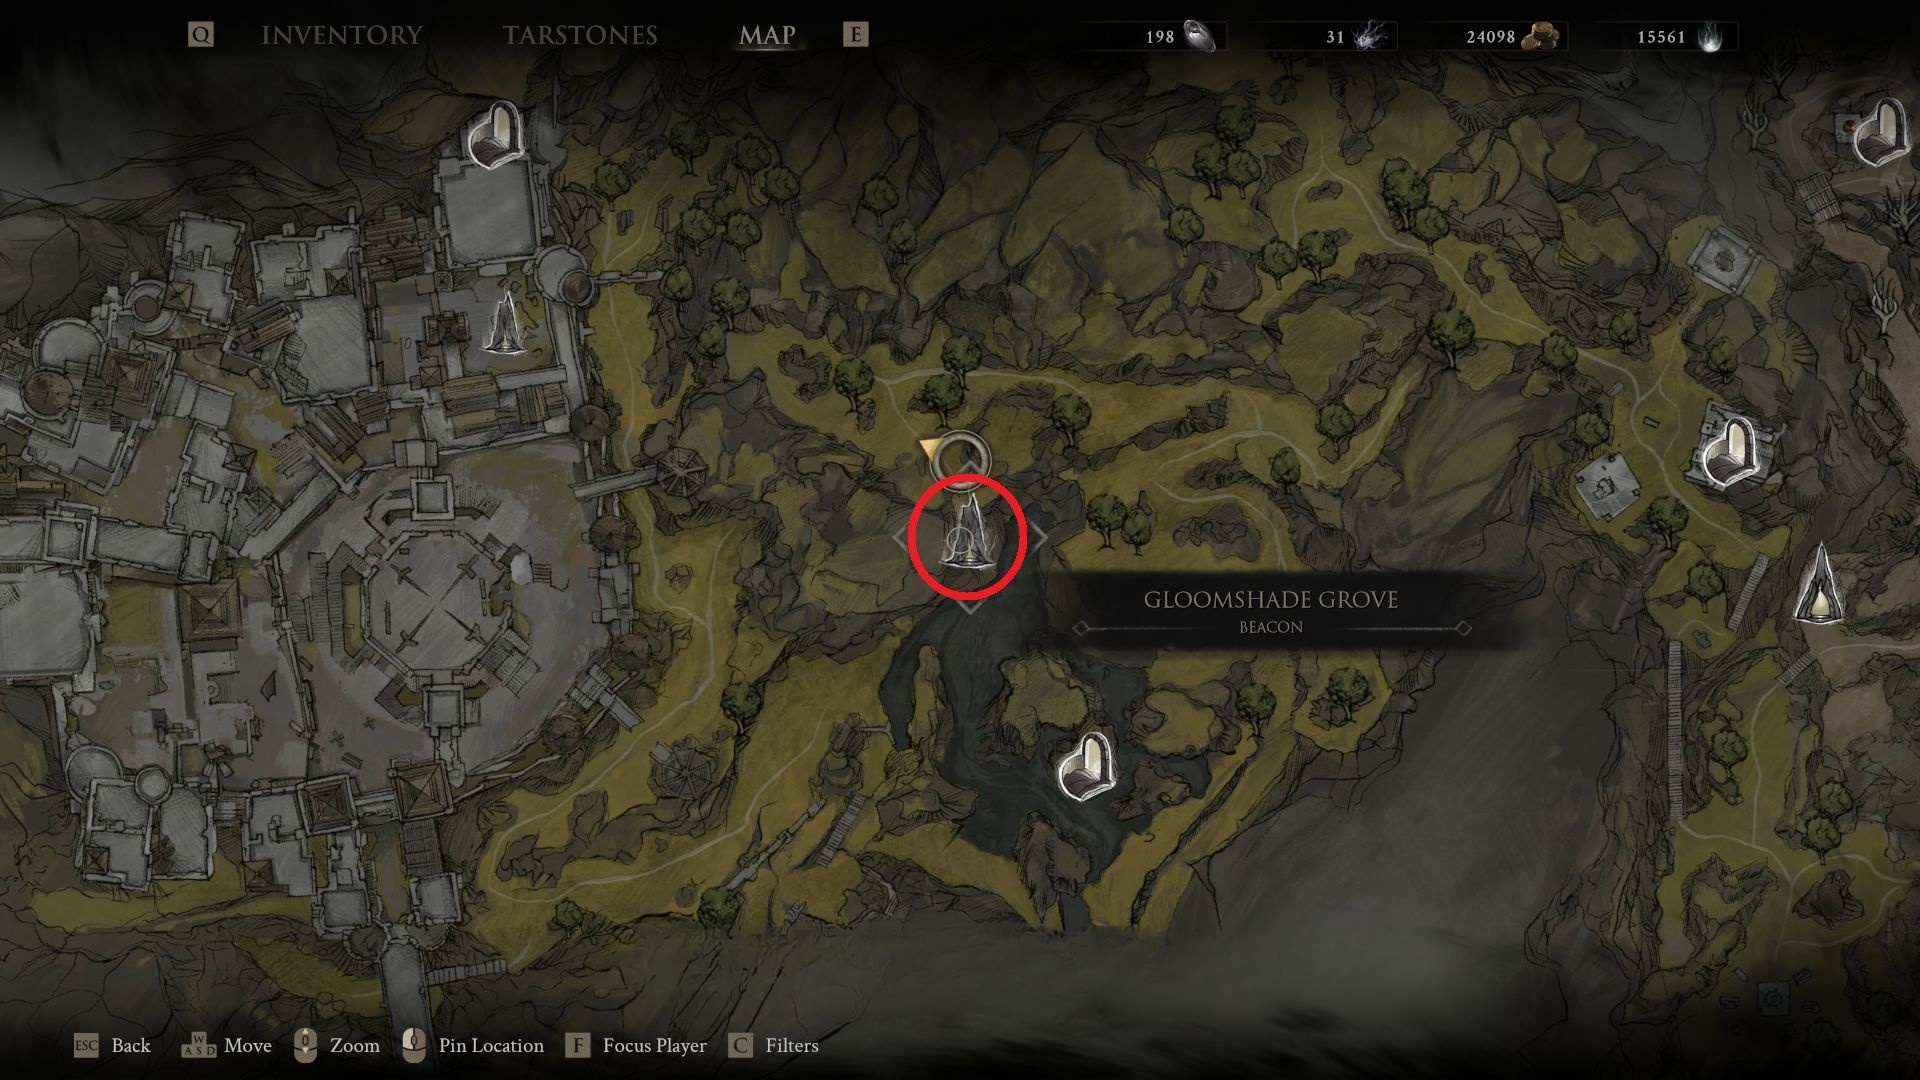
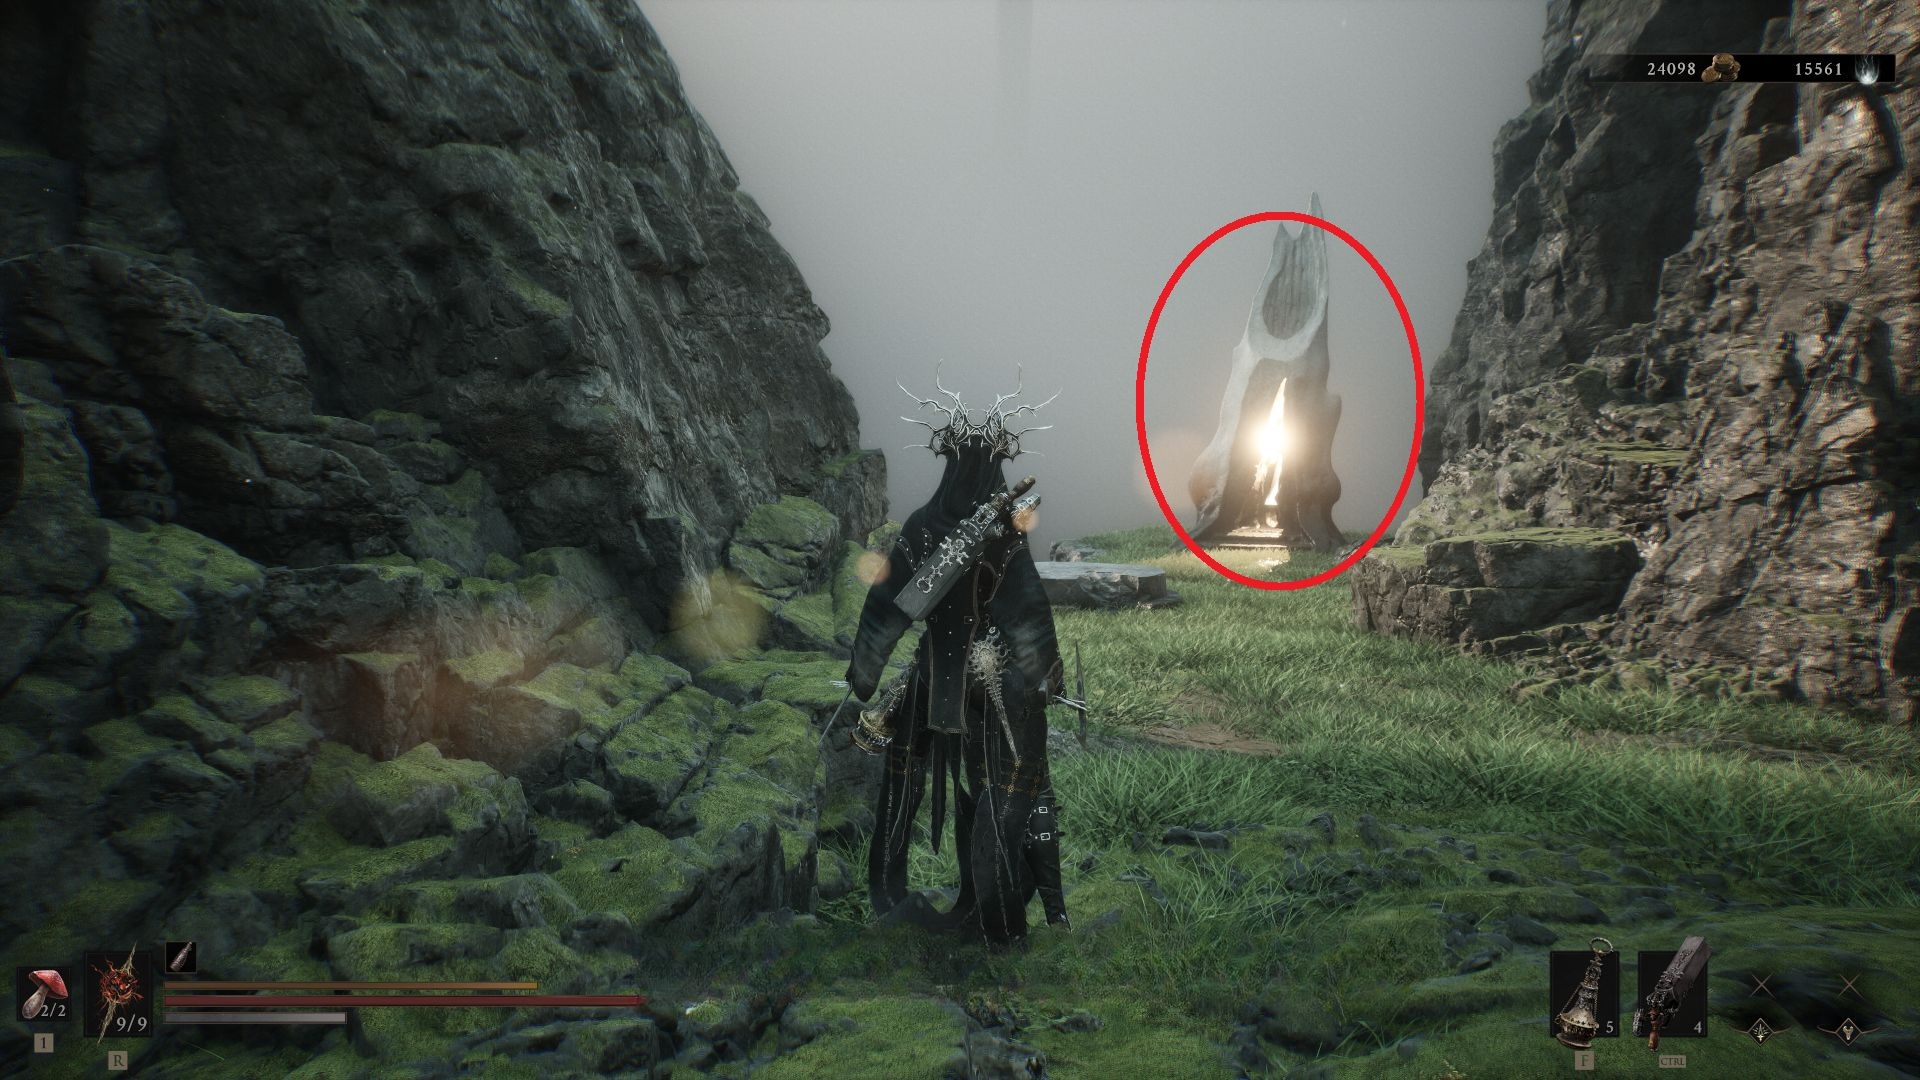
Source step 1. #9 – Gloomshade Grove. Images sit immediately after this beacon name. Article has no further caption. The source article does not label whether this frame is a map, a path, or a close-up.Source step 2. #9 – Gloomshade Grove. Images sit immediately after this beacon name. Article has no further caption. The source article does not label whether this frame is a map, a path, or a close-up.Source step 3. #9 – Gloomshade Grove. Images sit immediately after this beacon name. Article has no further caption. The source article does not label whether this frame is a map, a path, or a close-up.
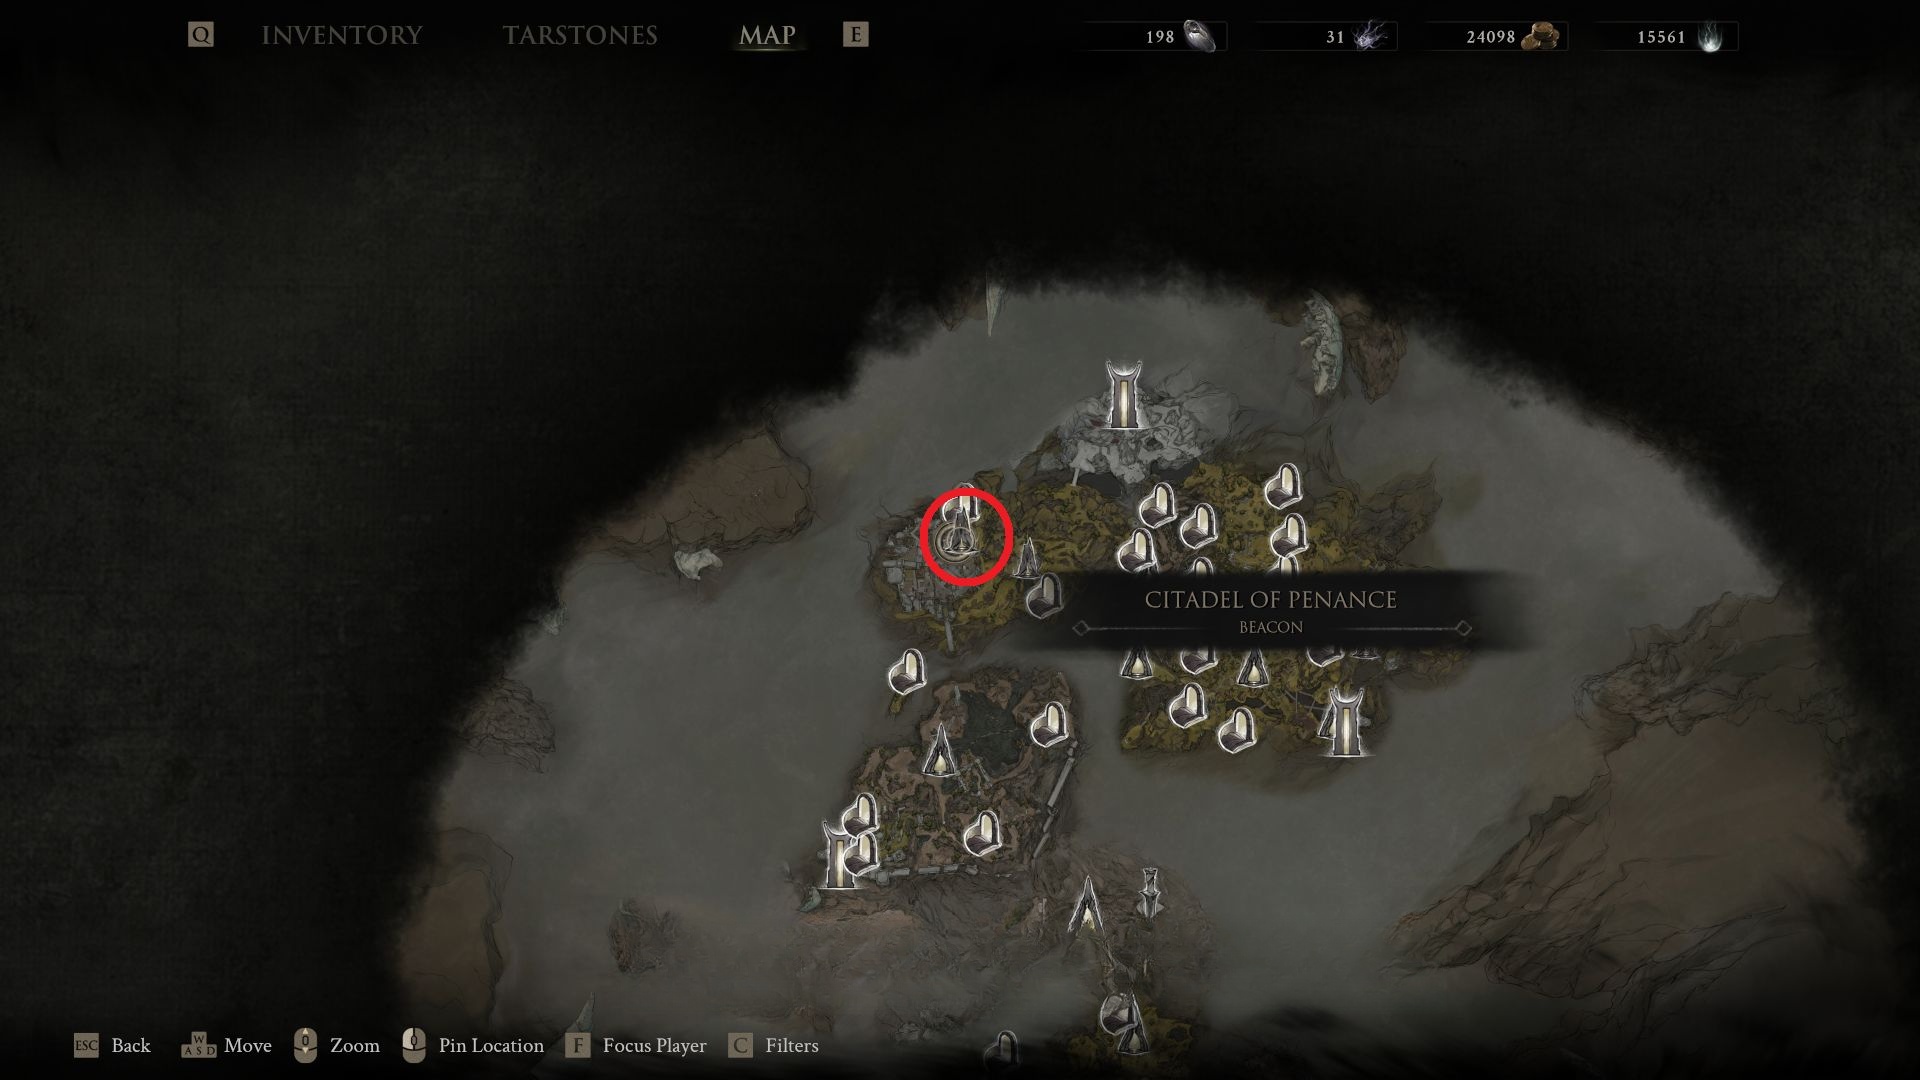
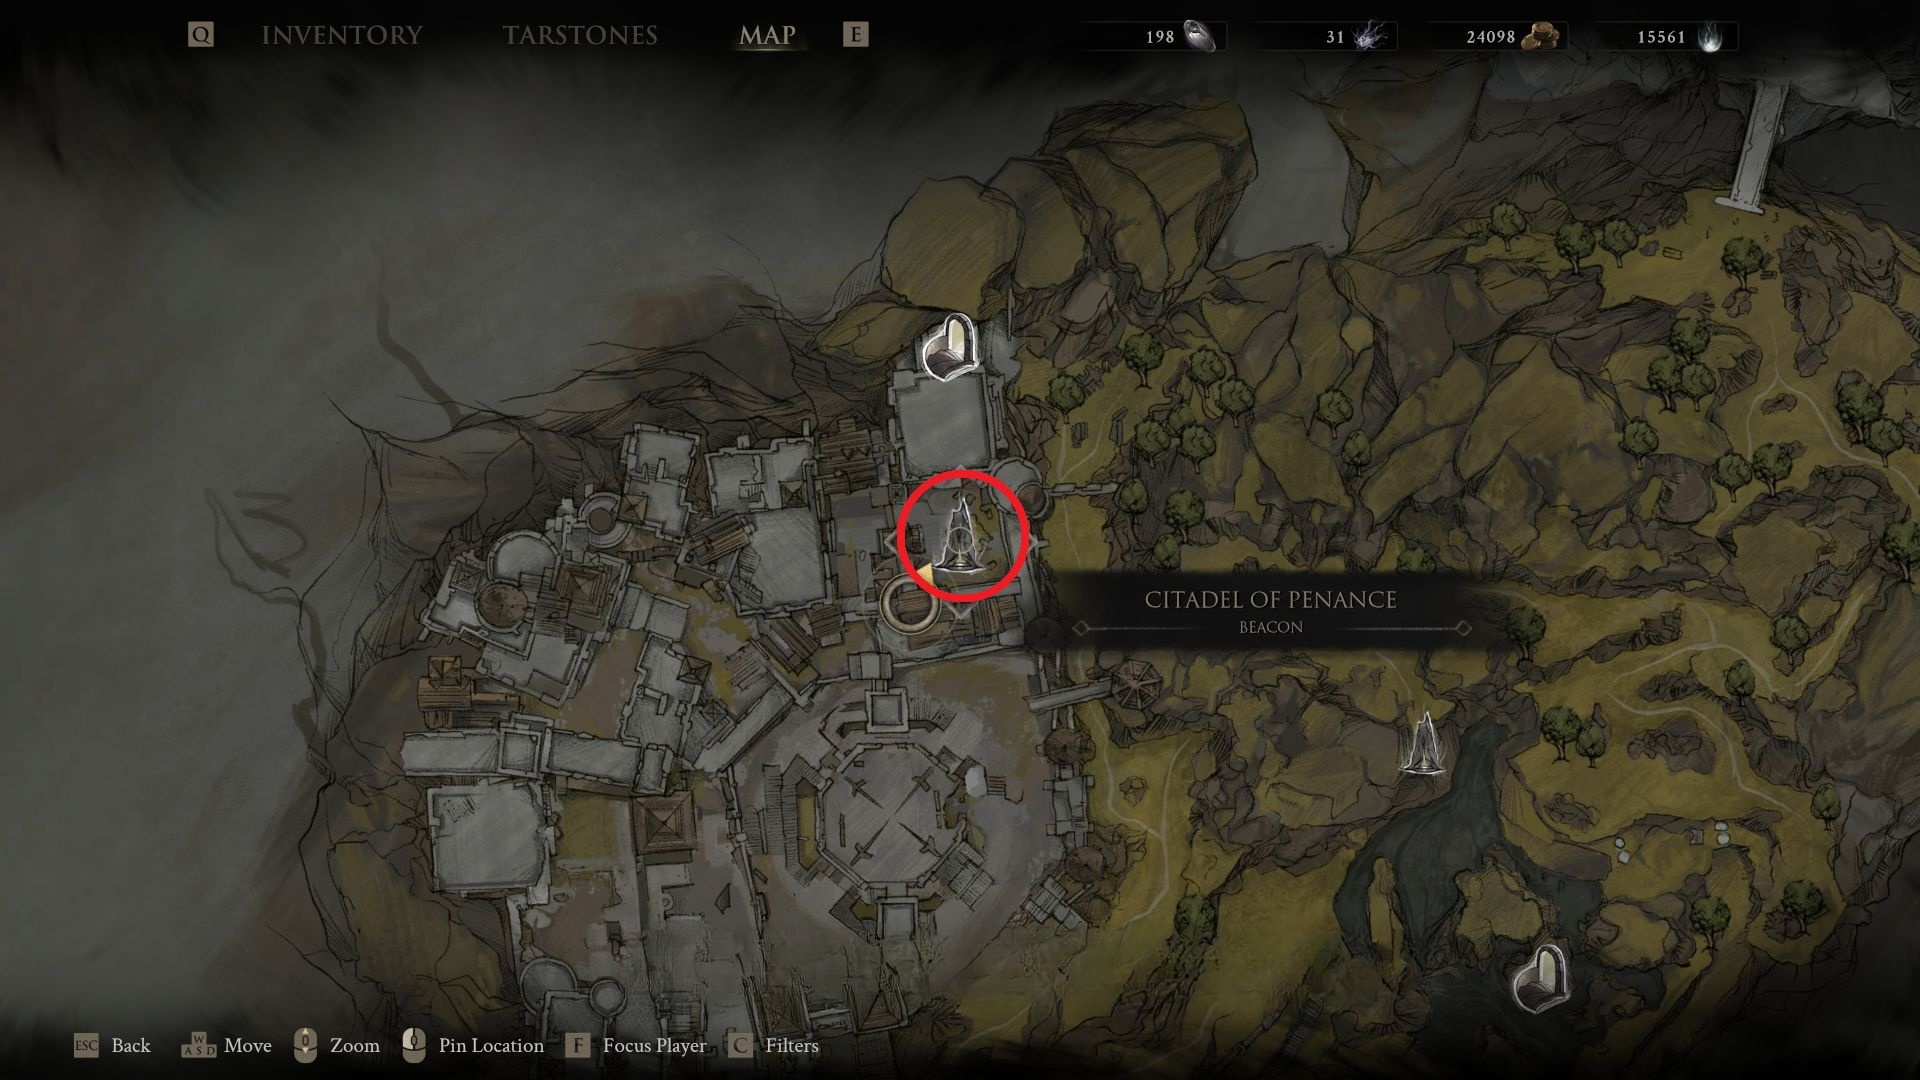
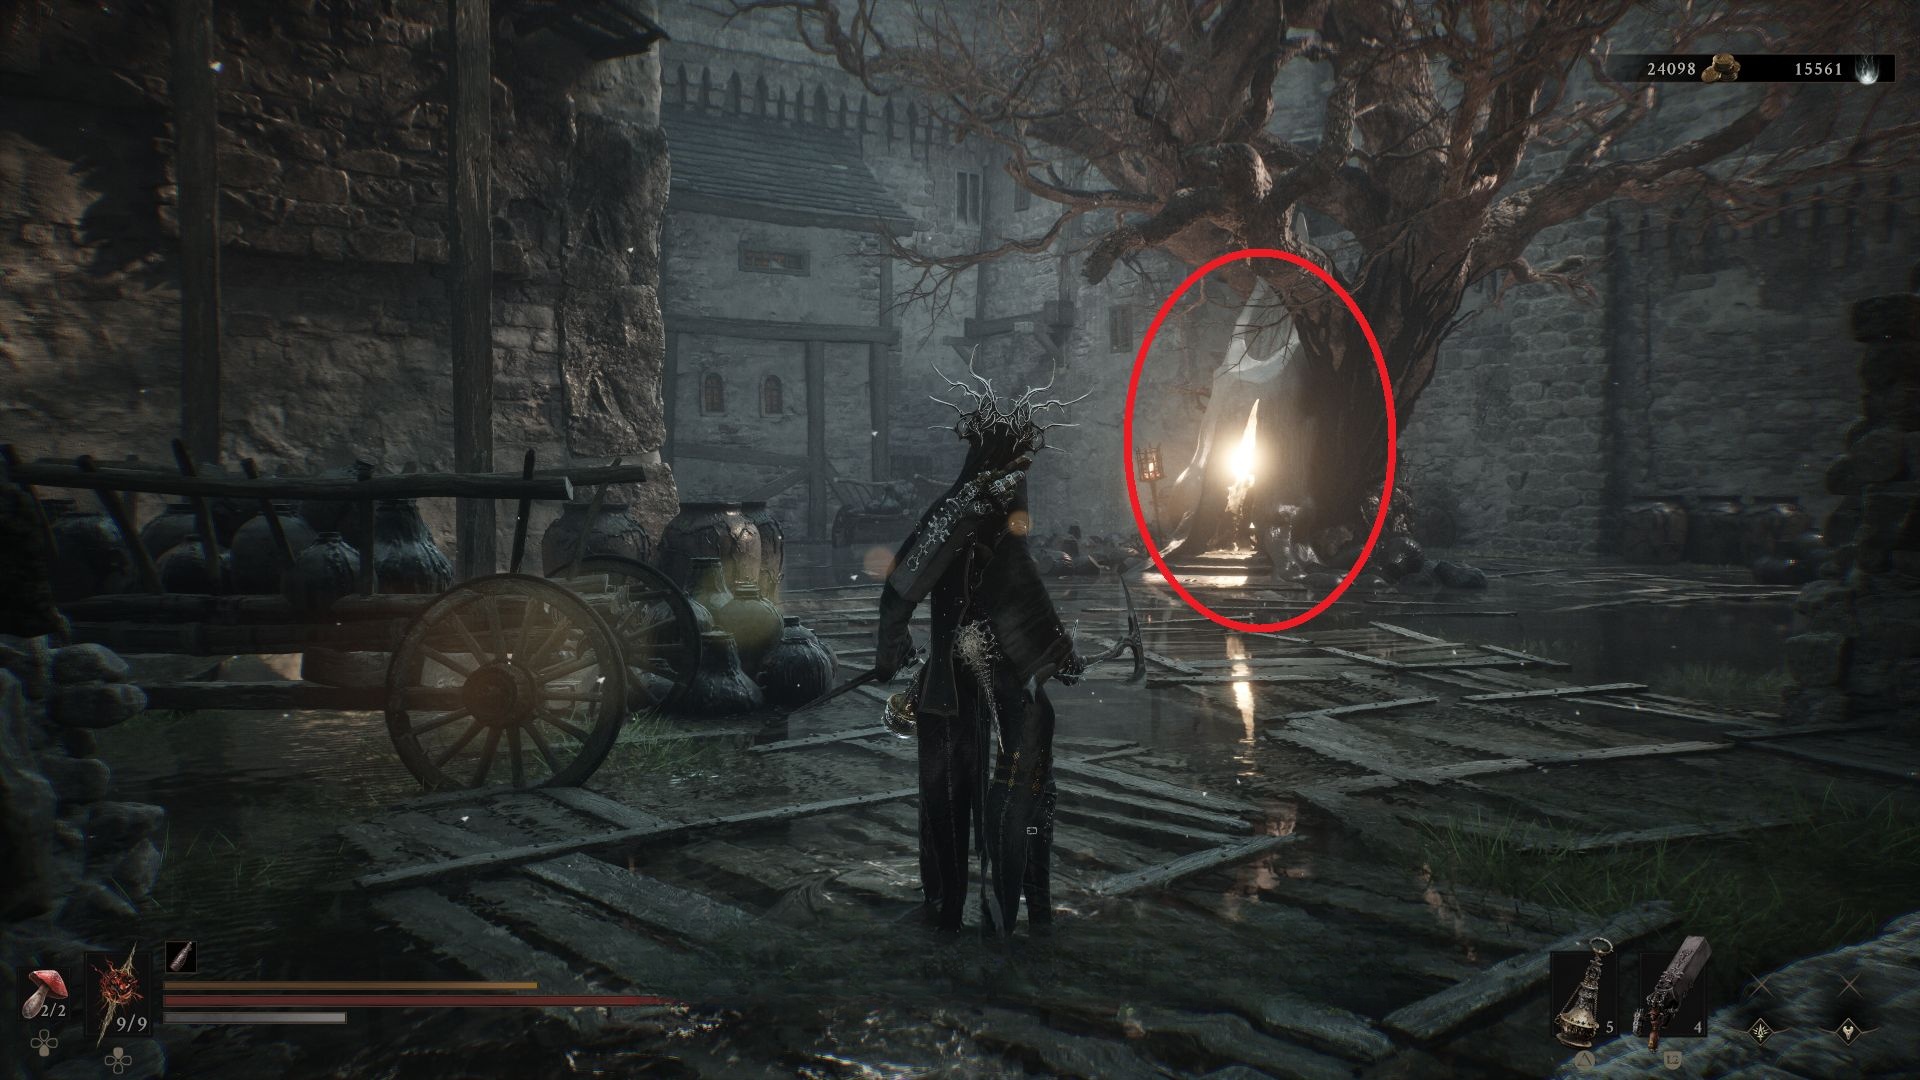
Source step 1. #10 – Citadel of Penance. Images sit immediately after this beacon name. Article has no further caption. The source article does not label whether this frame is a map, a path, or a close-up.Source step 2. #10 – Citadel of Penance. Images sit immediately after this beacon name. Article has no further caption. The source article does not label whether this frame is a map, a path, or a close-up.Source step 3. #10 – Citadel of Penance. Images sit immediately after this beacon name. Article has no further caption. The source article does not label whether this frame is a map, a path, or a close-up.
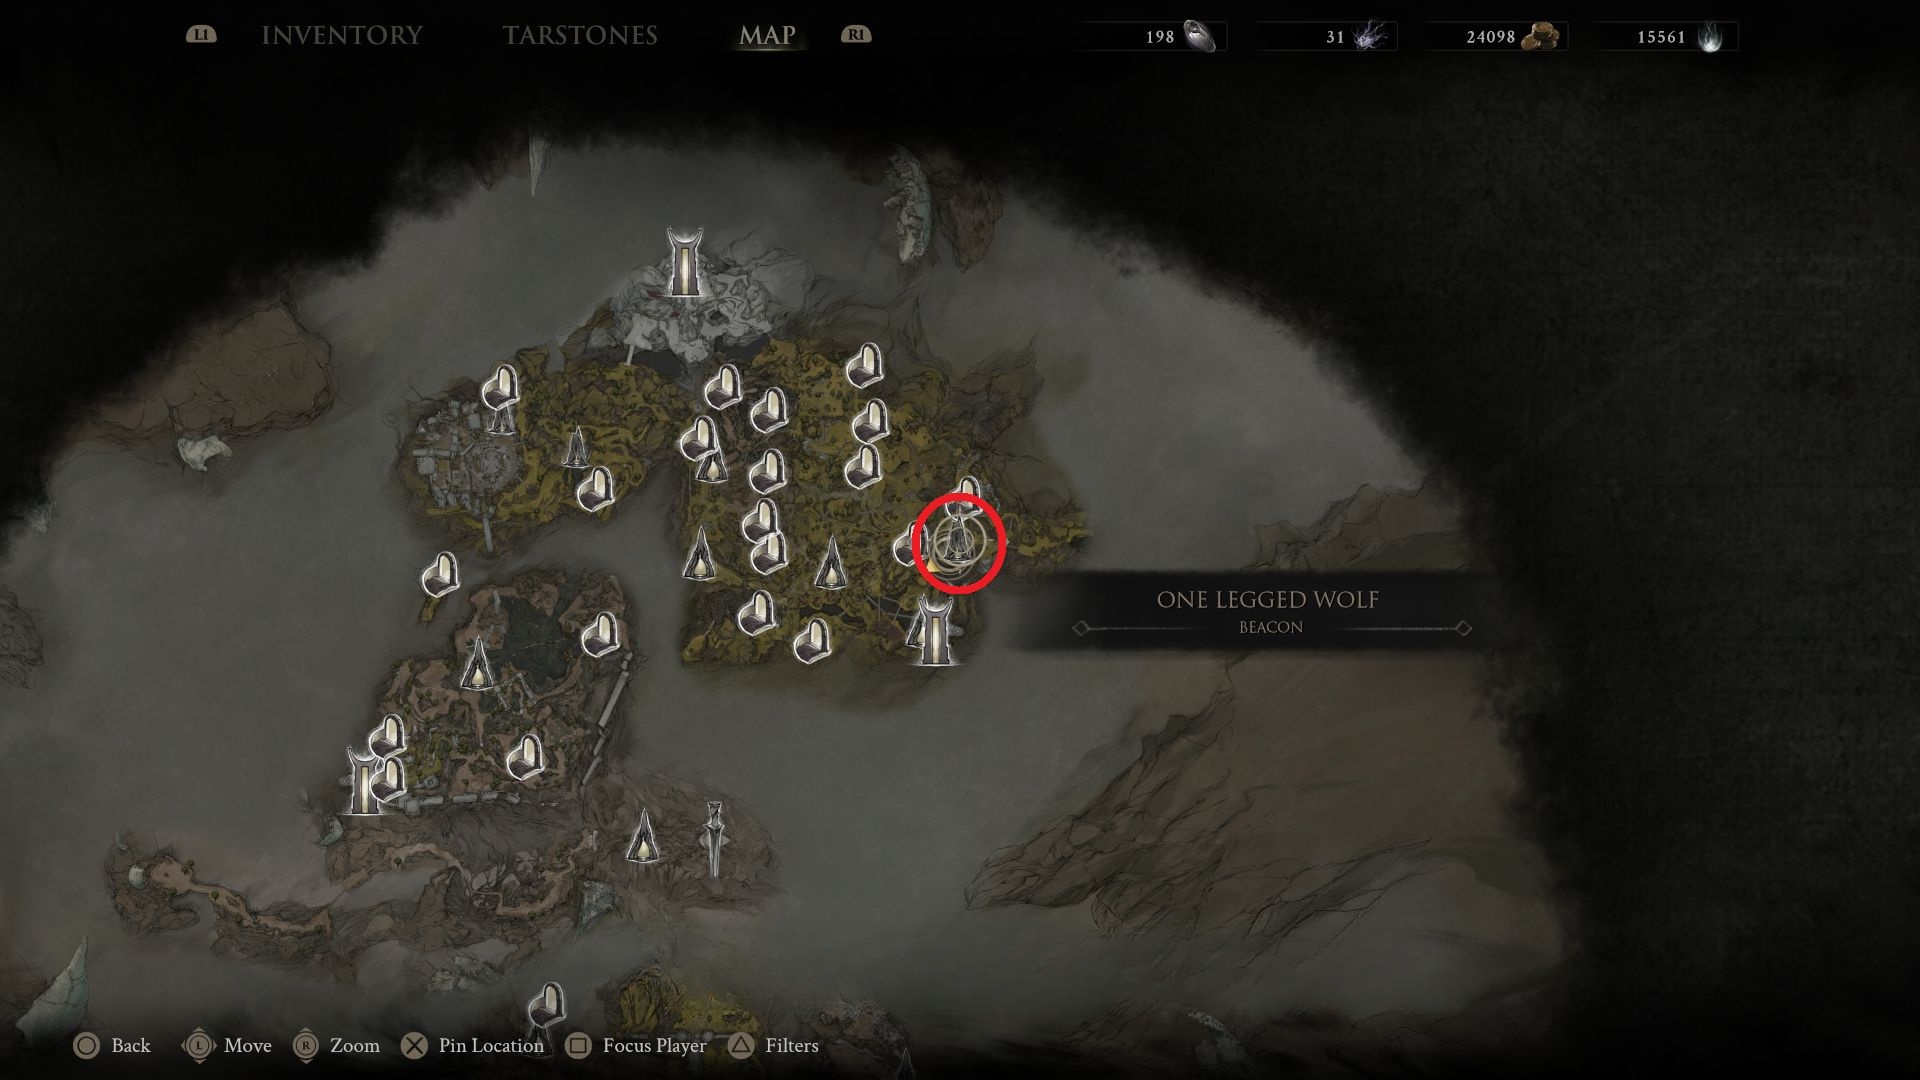
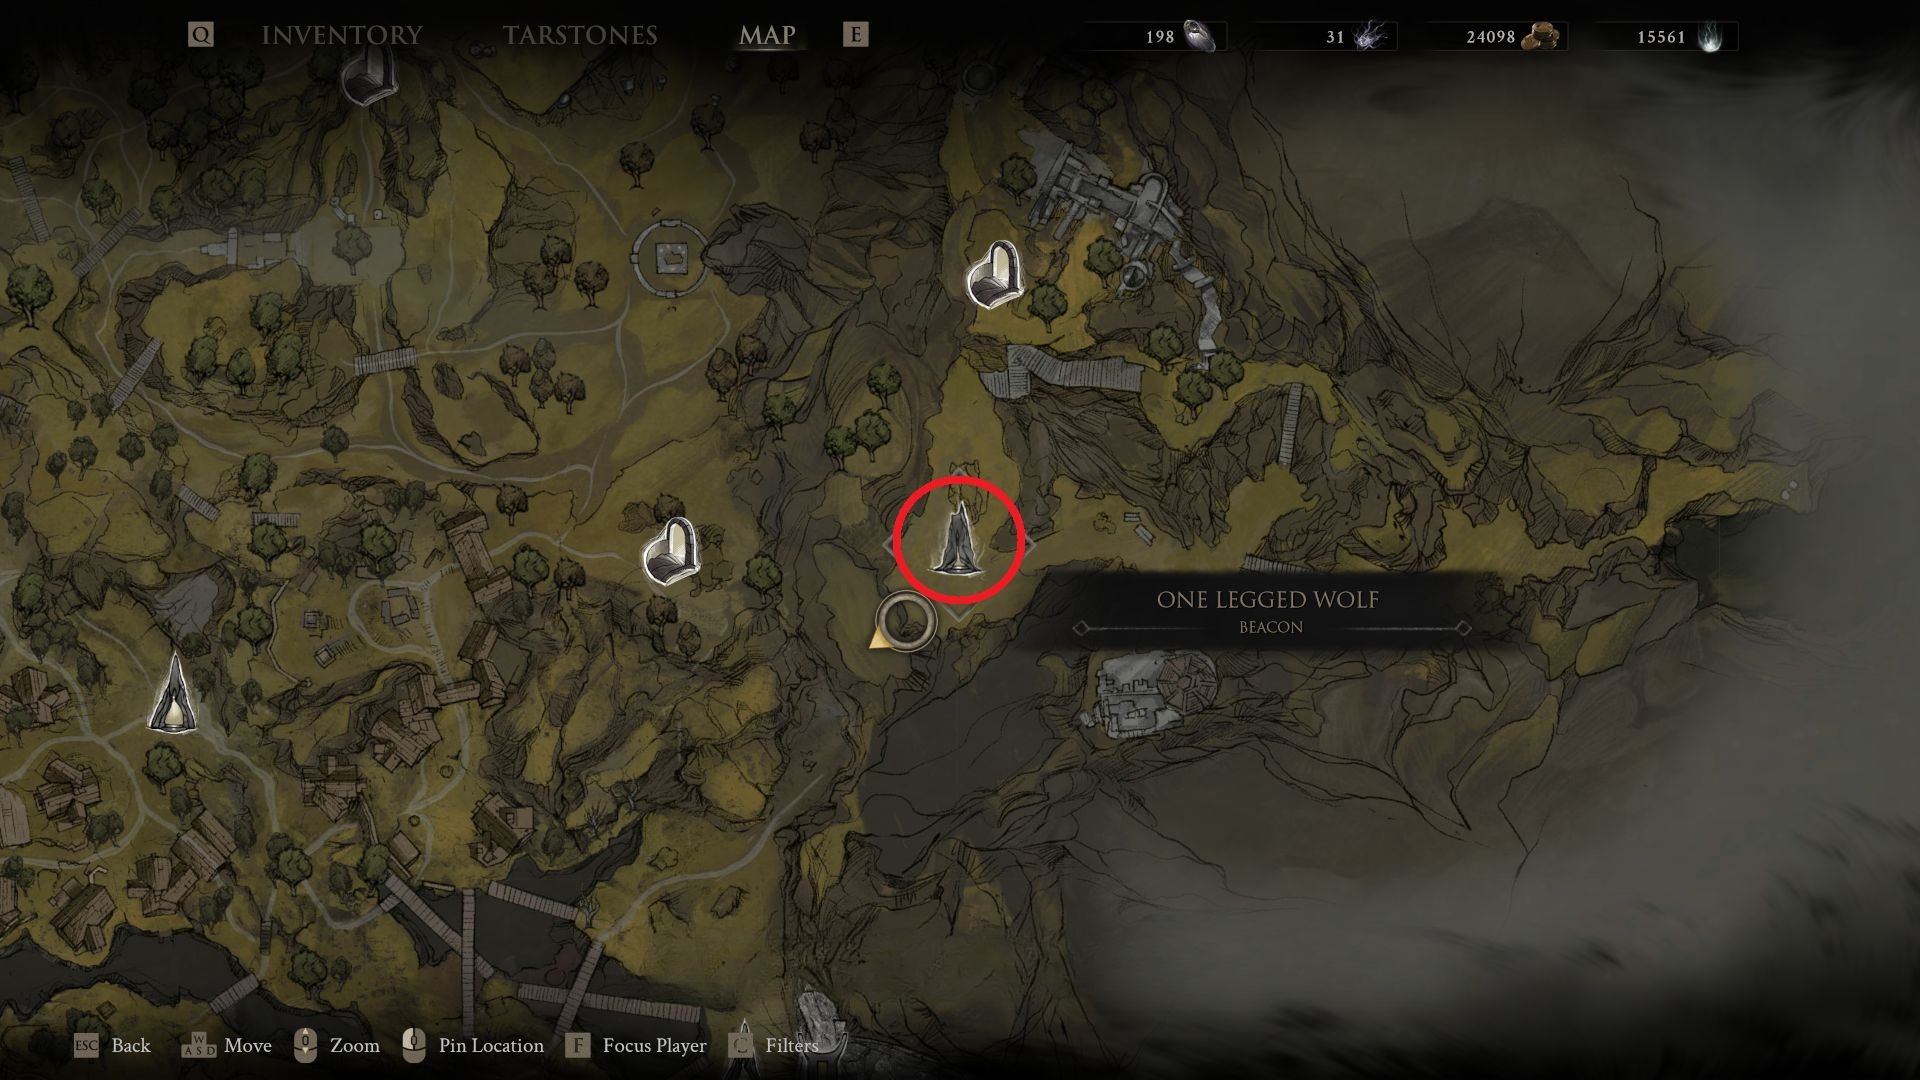
Source step 1. #11 – One Legged Wolf. Images sit immediately after this beacon name. Article has no further caption. The source article does not label whether this frame is a map, a path, or a close-up.Source step 2. #11 – One Legged Wolf. Images sit immediately after this beacon name. Article has no further caption. The source article does not label whether this frame is a map, a path, or a close-up.Source step 3. #11 – One Legged Wolf. Images sit immediately after this beacon name. Article has no further caption. The source article does not label whether this frame is a map, a path, or a close-up.
Ruins of Mammon
Screenshots sit in the published Beacon-list order. The source article does not label map versus in-world frames.
Source step 1. #12 – Outskirts of Mammon. Images sit immediately after this beacon name. Article has no further caption. The source article does not label whether this frame is a map, a path, or a close-up.Source step 2. #12 – Outskirts of Mammon. Images sit immediately after this beacon name. Article has no further caption. The source article does not label whether this frame is a map, a path, or a close-up.Source step 3. #12 – Outskirts of Mammon. Images sit immediately after this beacon name. Article has no further caption. The source article does not label whether this frame is a map, a path, or a close-up.
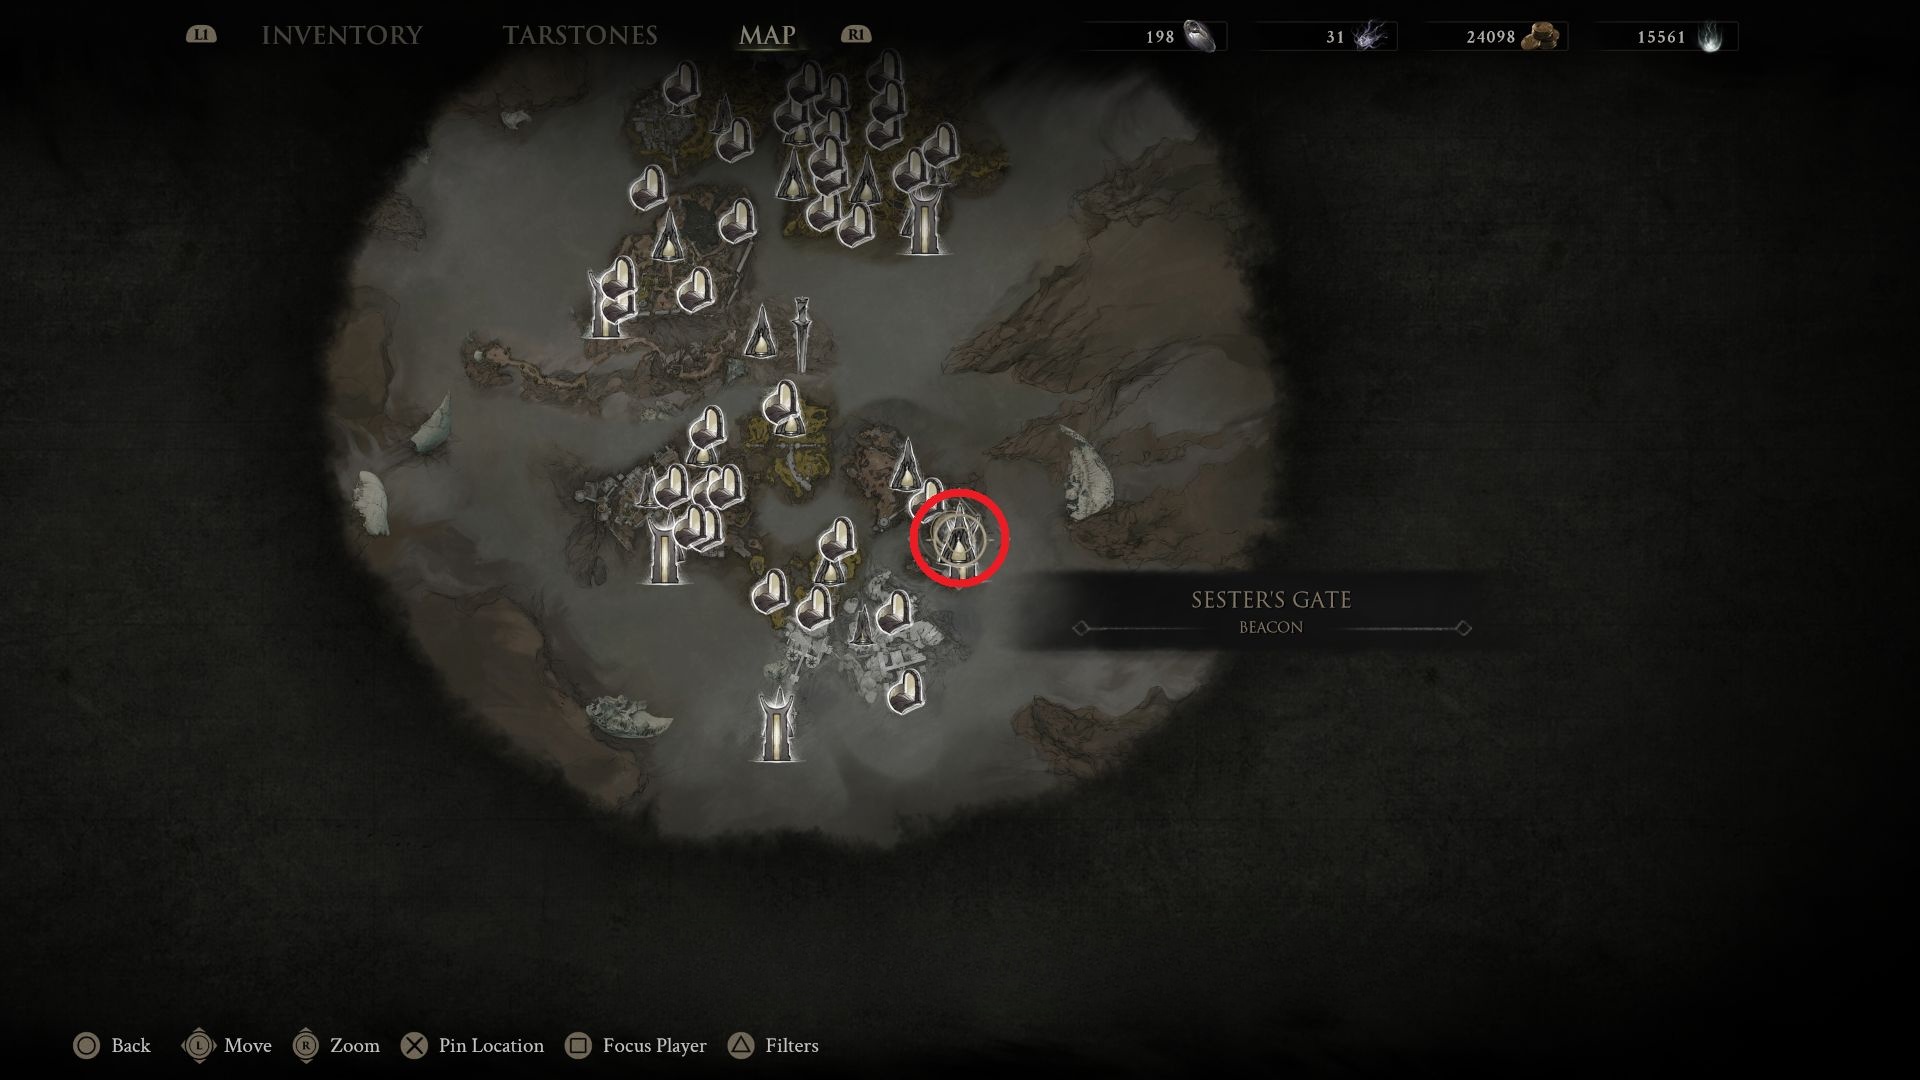
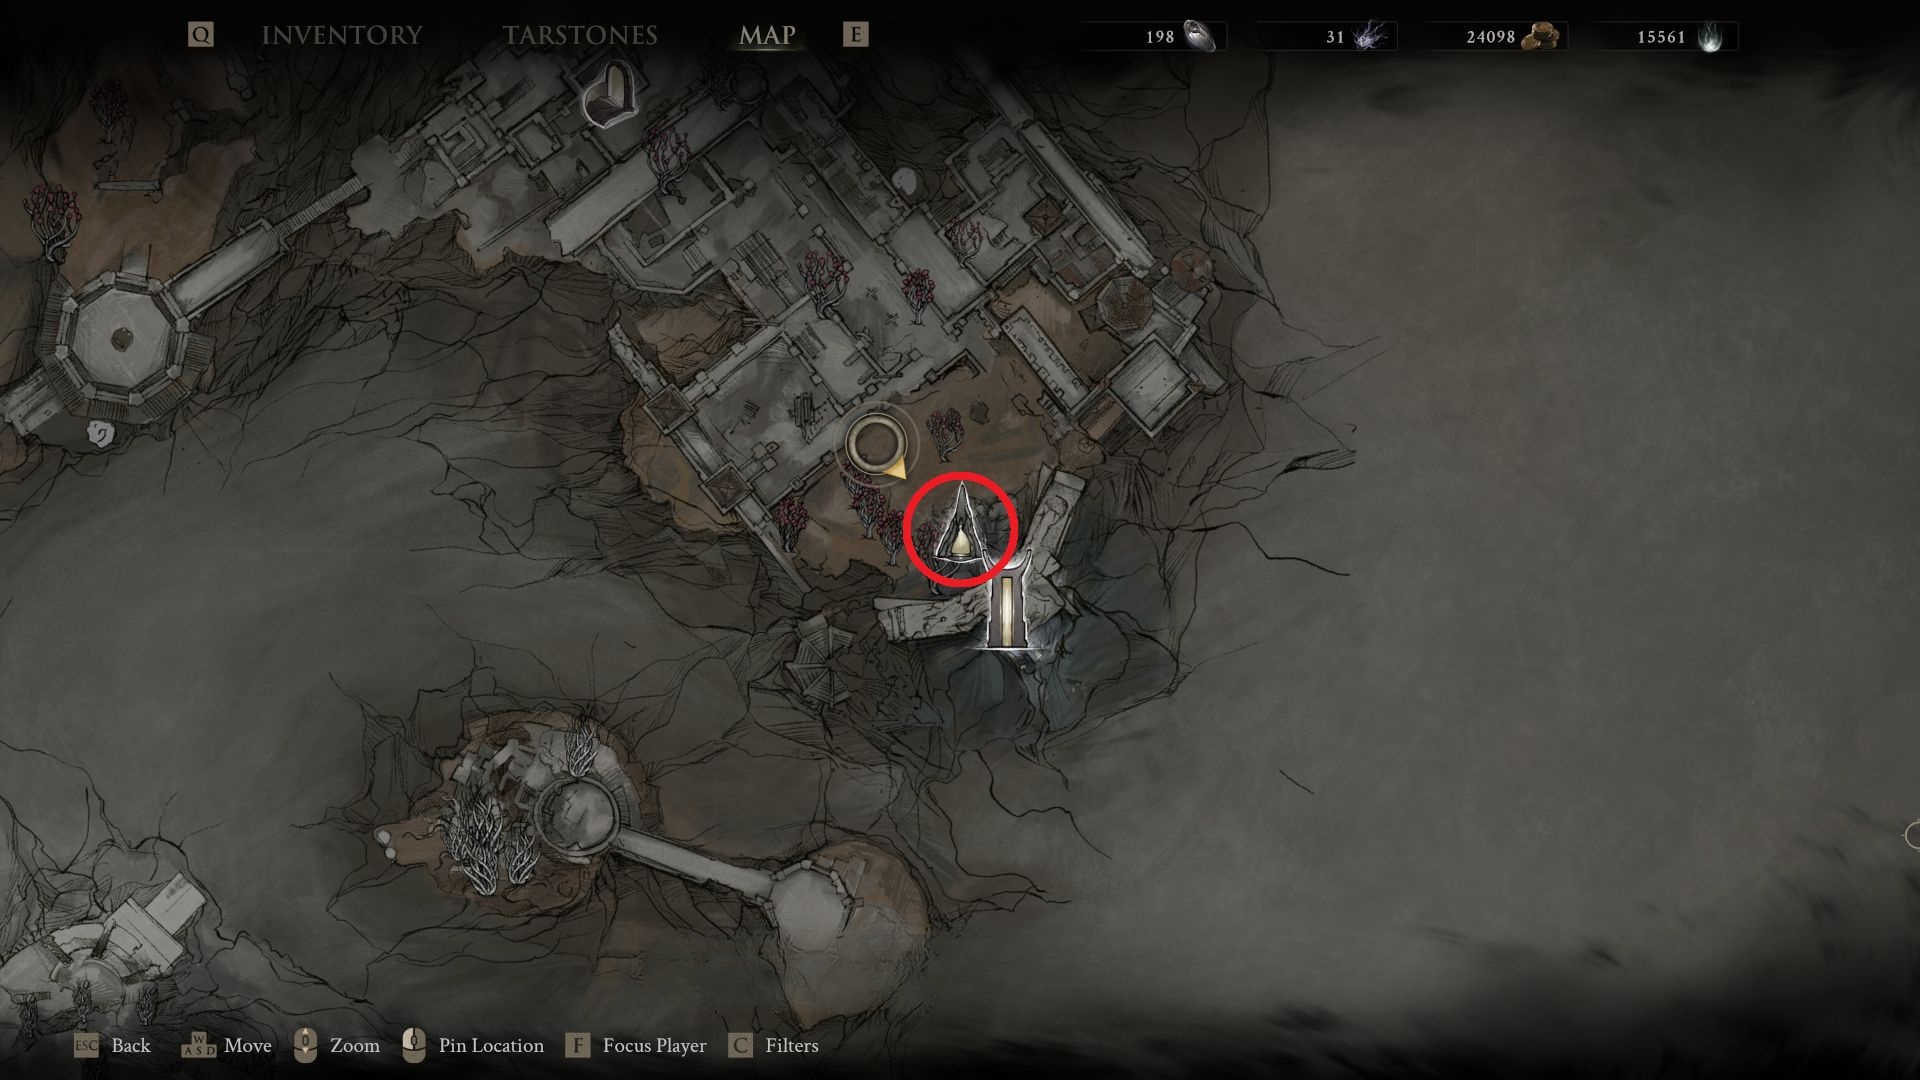
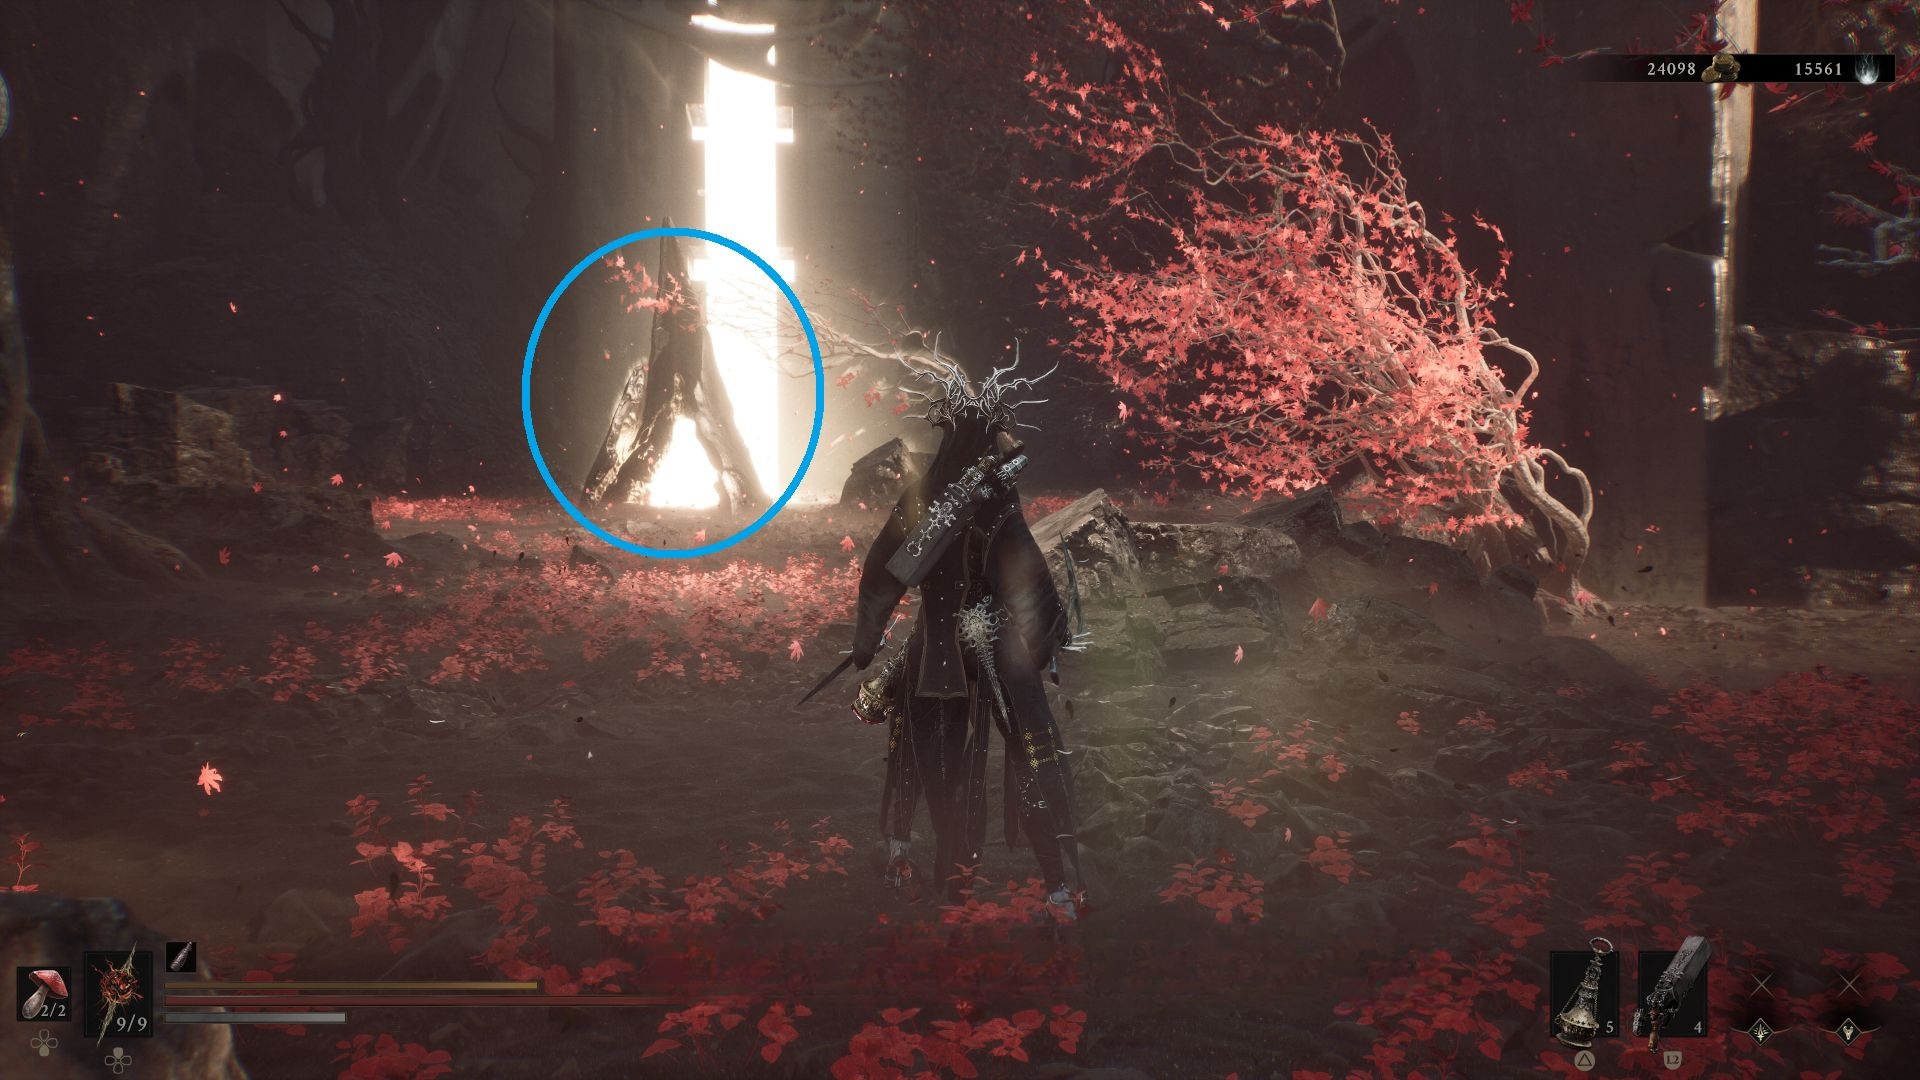
Source step 1. #13 – Sester's Gate. Images sit immediately after this beacon name. Article has no further caption. The source article does not label whether this frame is a map, a path, or a close-up.Source step 2. #13 – Sester's Gate. Images sit immediately after this beacon name. Article has no further caption. The source article does not label whether this frame is a map, a path, or a close-up.Source step 3. #13 – Sester's Gate. Images sit immediately after this beacon name. Article has no further caption. The source article does not label whether this frame is a map, a path, or a close-up.
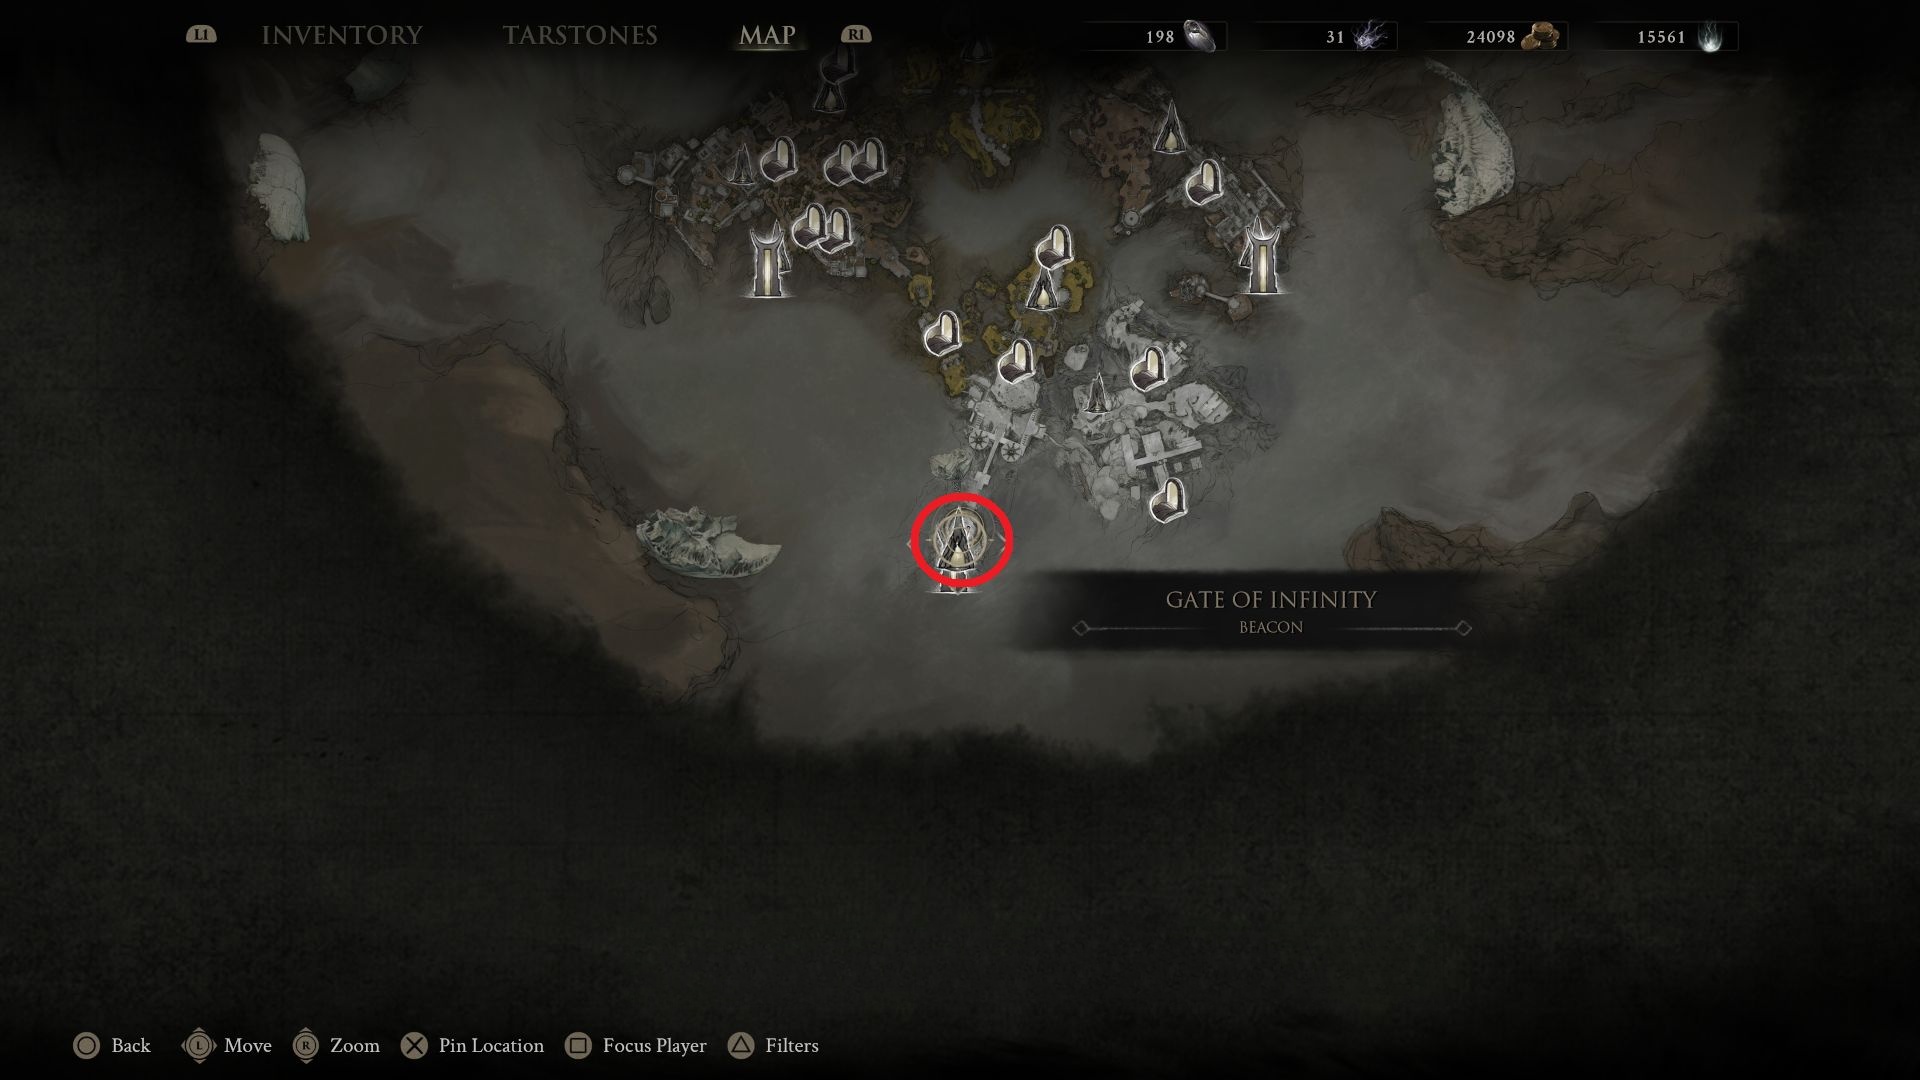
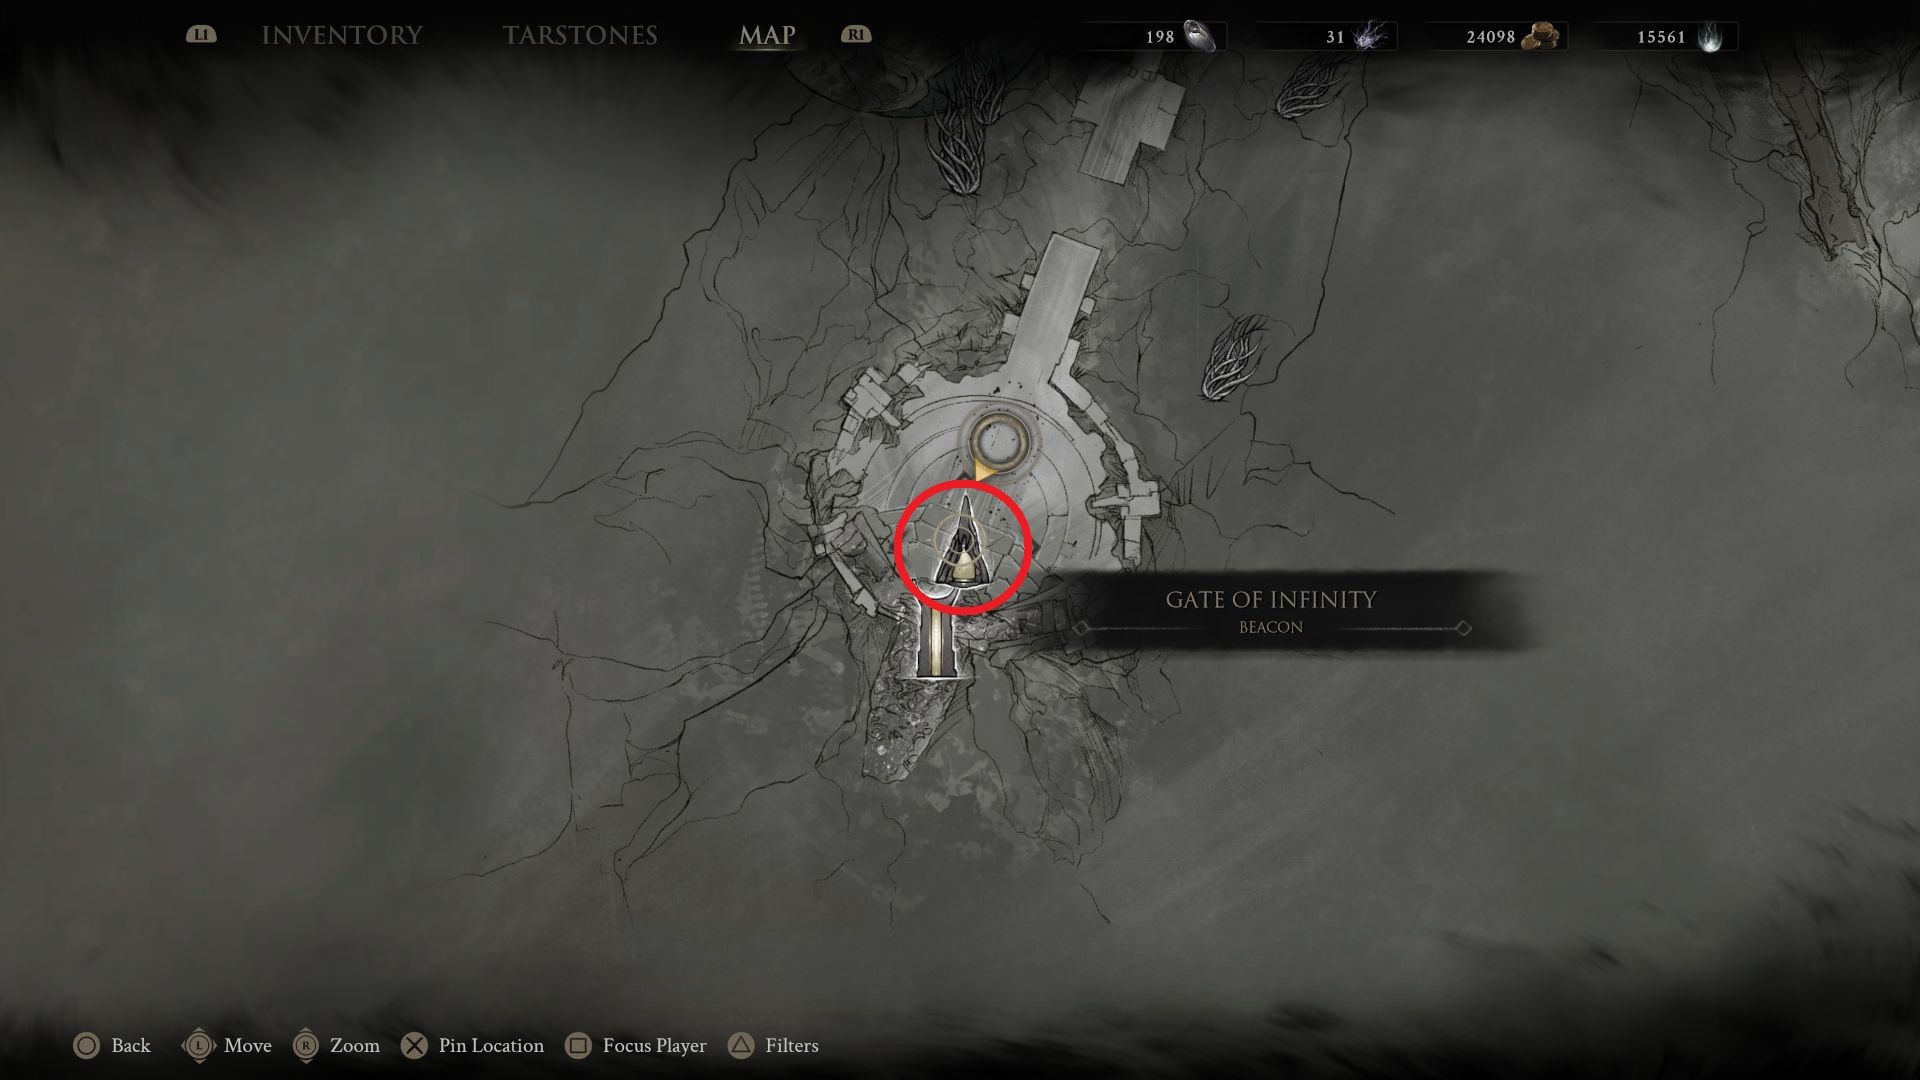
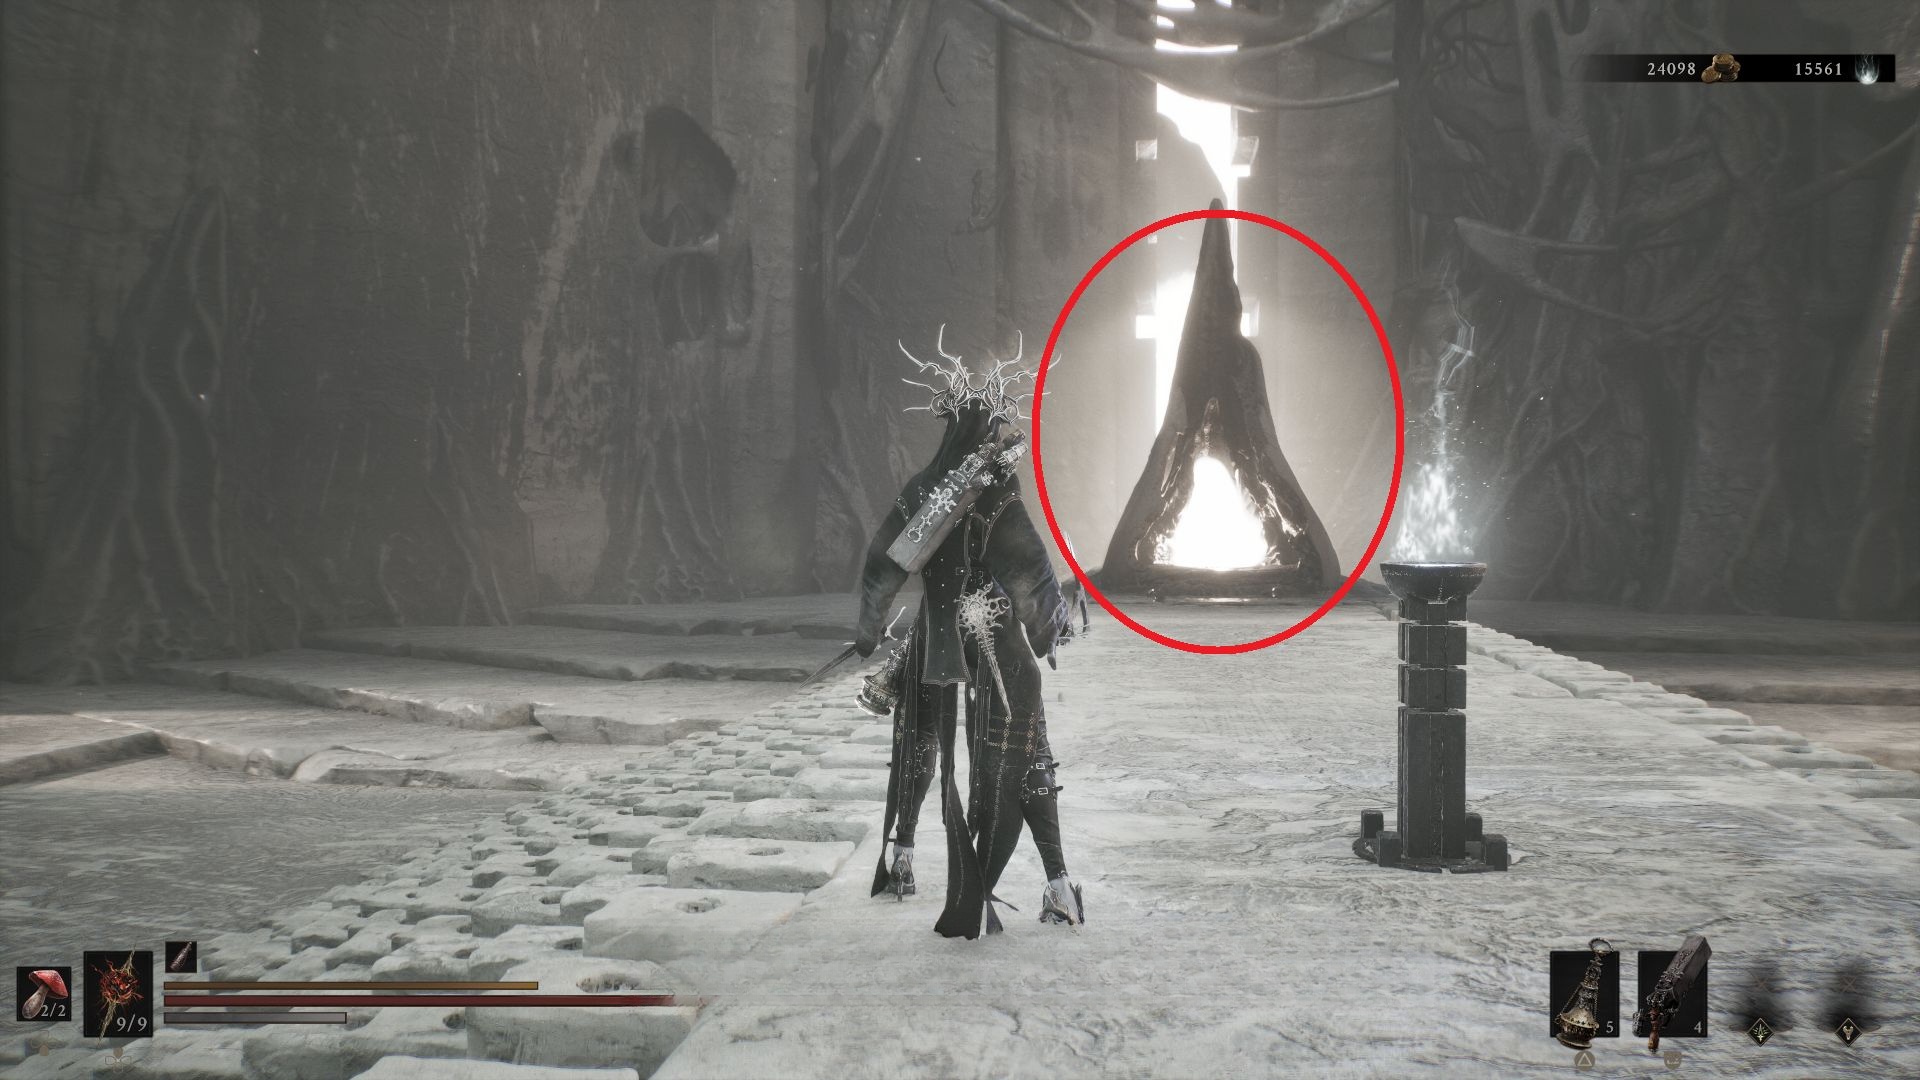
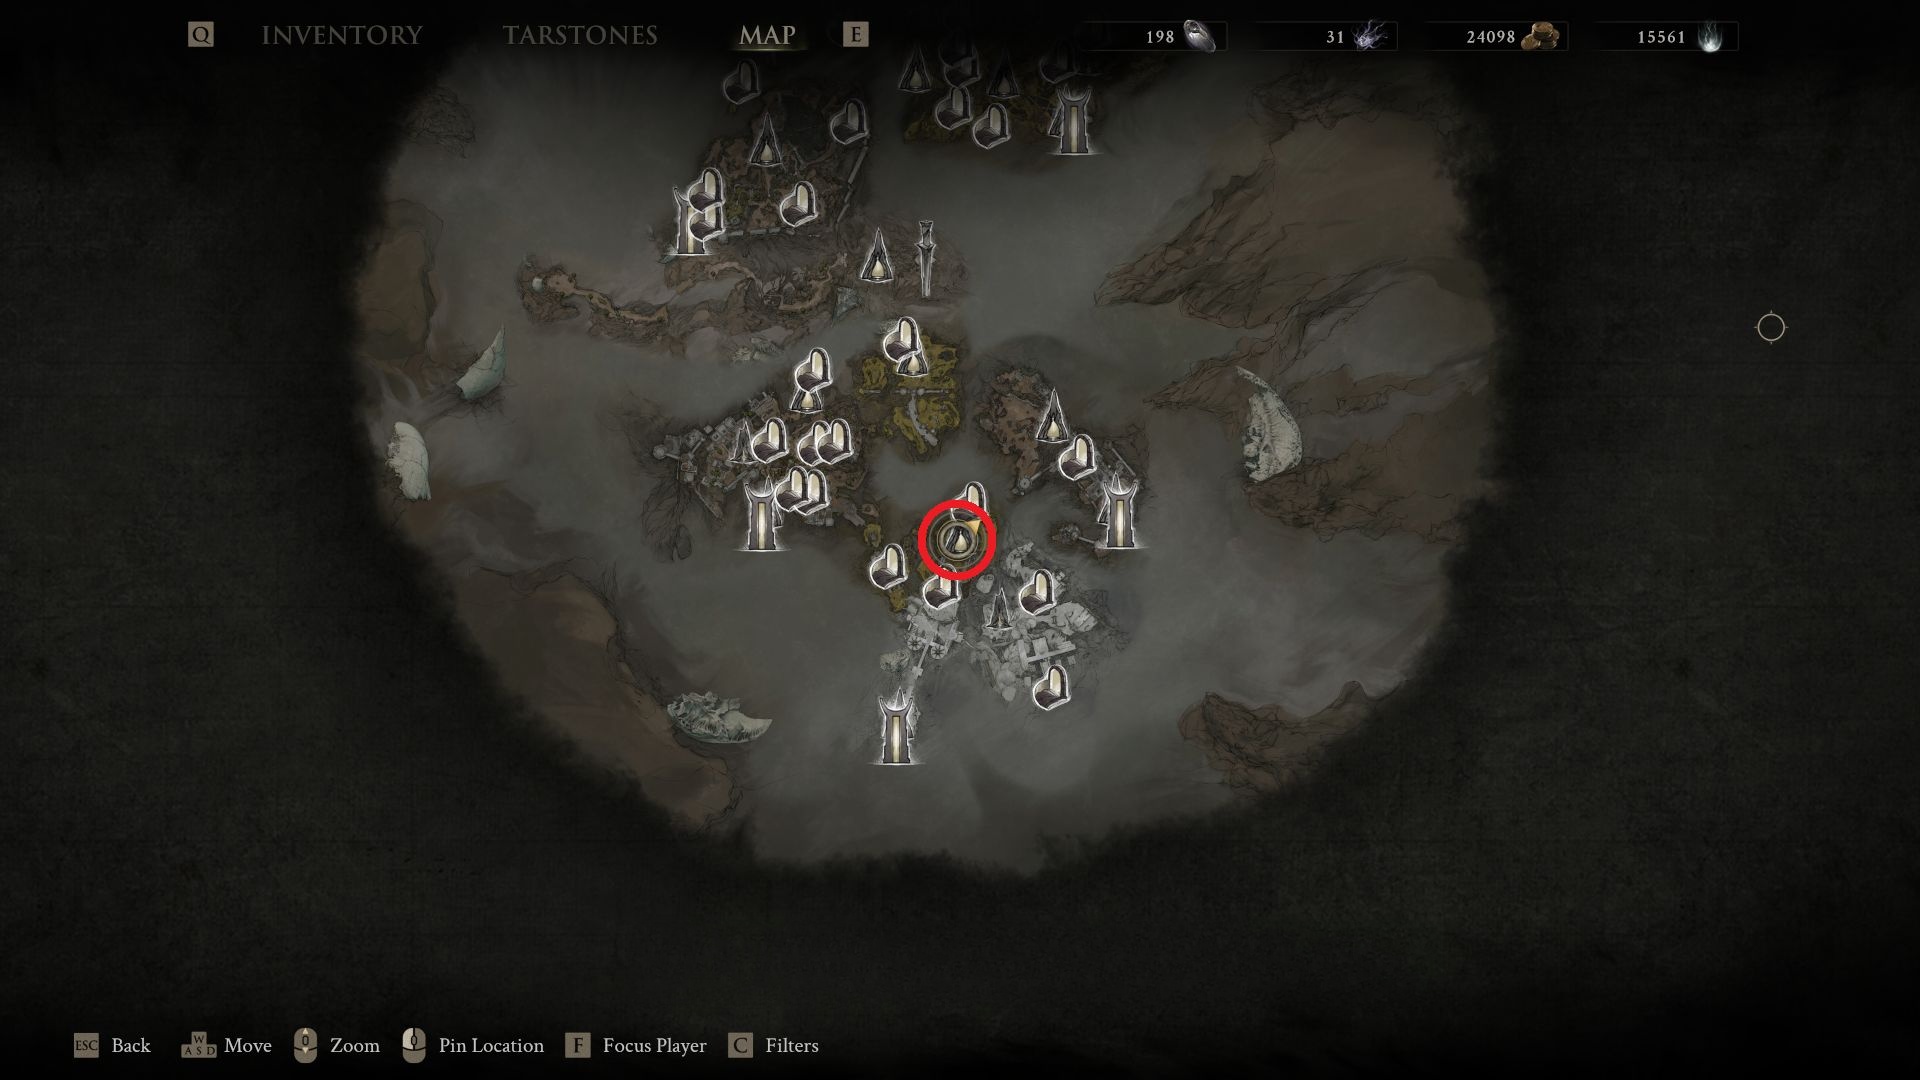
#14 – Gate of Infinity
Source step 1. #14 – Gate of Infinity. Images sit immediately after this beacon name. Article has no further caption. The source article does not label whether this frame is a map, a path, or a close-up.Source step 2. #14 – Gate of Infinity. Images sit immediately after this beacon name. Article has no further caption. The source article does not label whether this frame is a map, a path, or a close-up.Source step 3. #14 – Gate of Infinity. Images sit immediately after this beacon name. Article has no further caption. The source article does not label whether this frame is a map, a path, or a close-up.
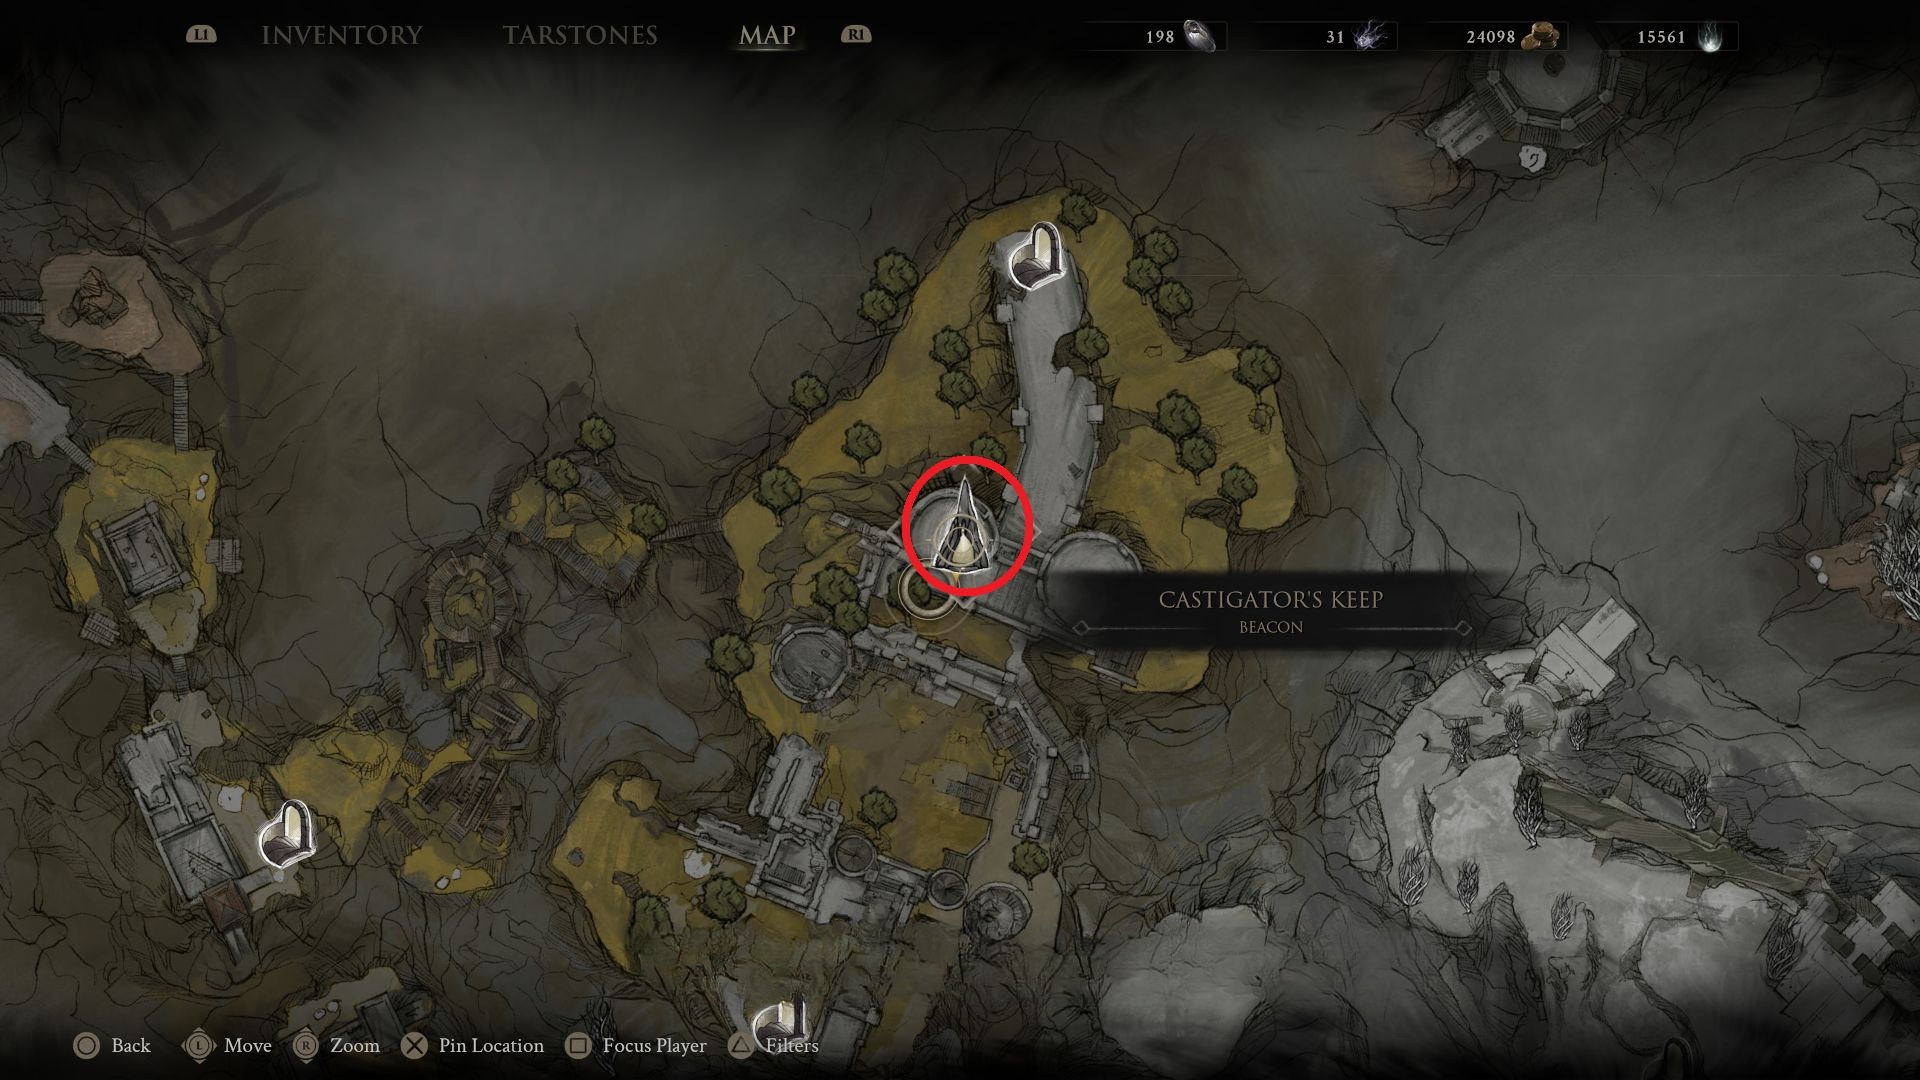
#15 – Castigator's Keep
Source step 1. #15 – Castigator's Keep. Images sit immediately after this beacon name. Article has no further caption. The source article does not label whether this frame is a map, a path, or a close-up.Source step 2. #15 – Castigator's Keep. Images sit immediately after this beacon name. Article has no further caption. The source article does not label whether this frame is a map, a path, or a close-up.Source step 3. #15 – Castigator's Keep. Images sit immediately after this beacon name. Article has no further caption. The source article does not label whether this frame is a map, a path, or a close-up.
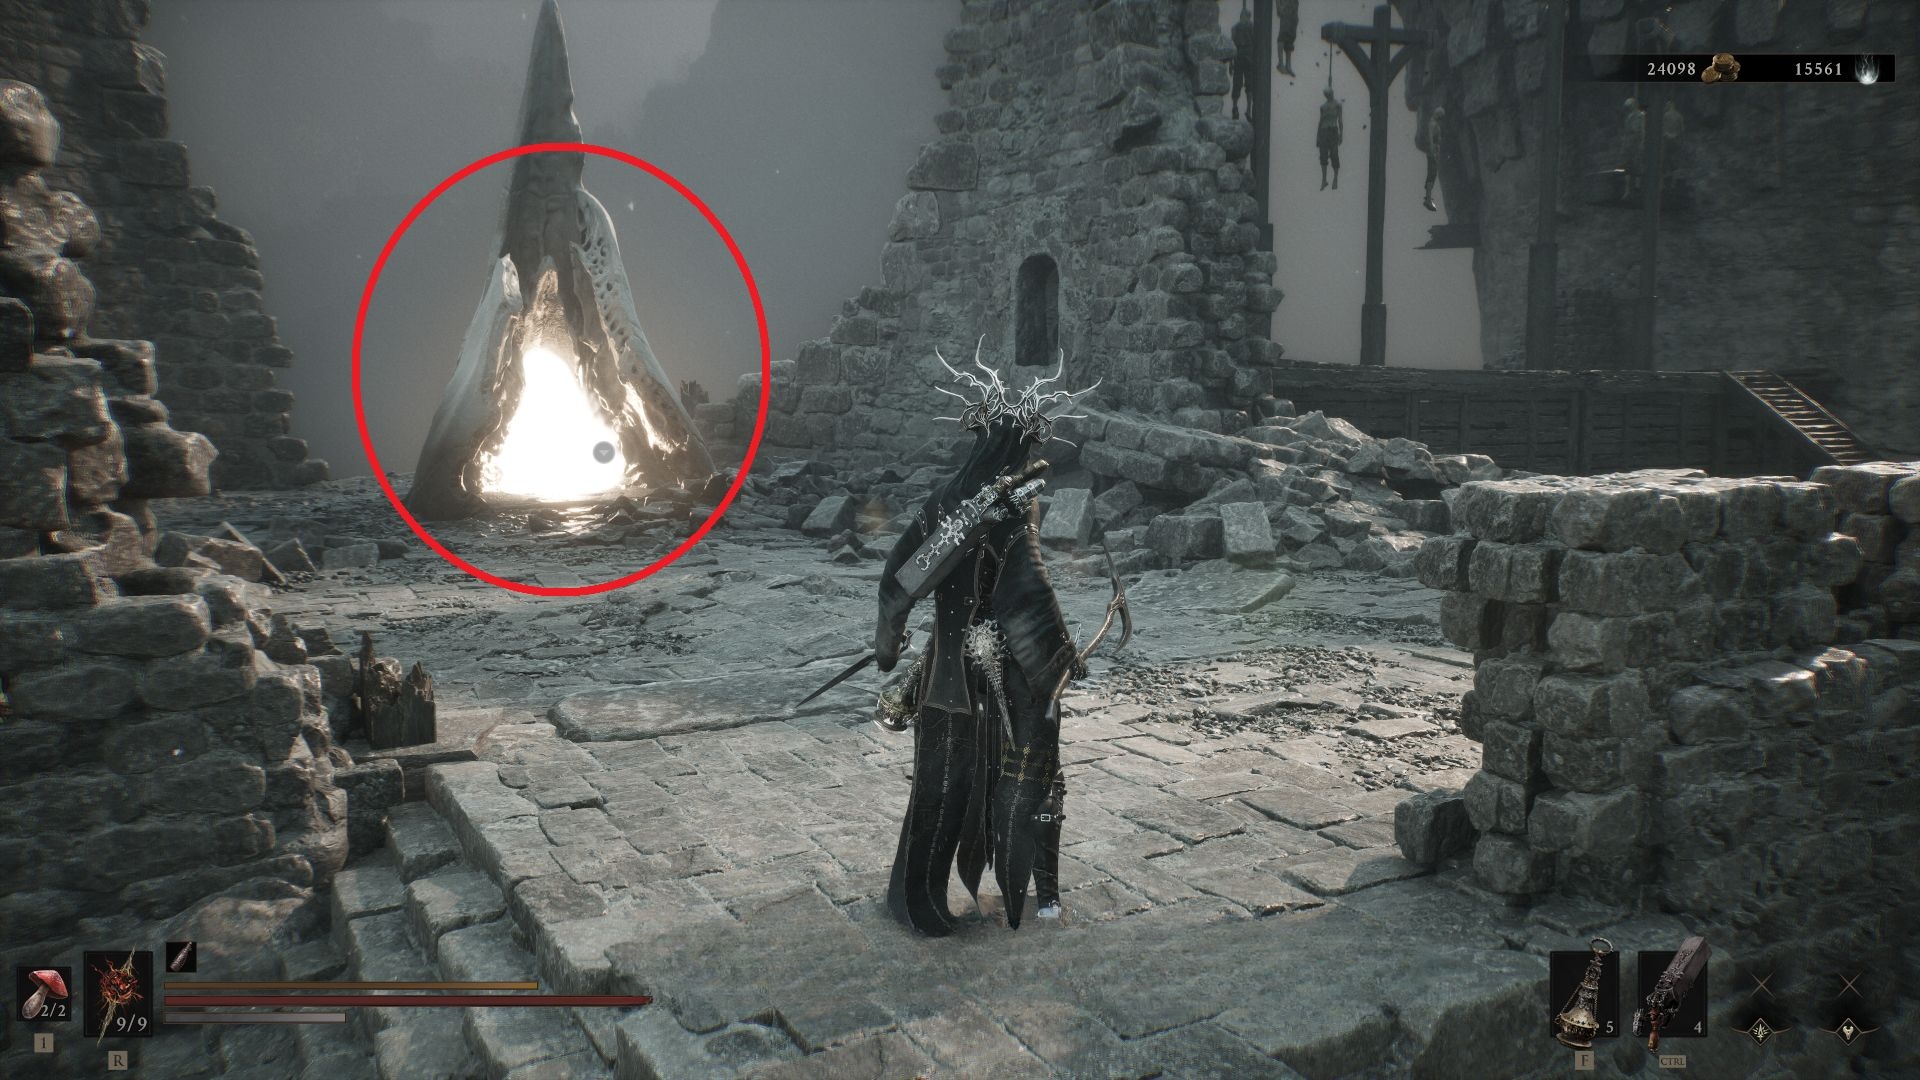
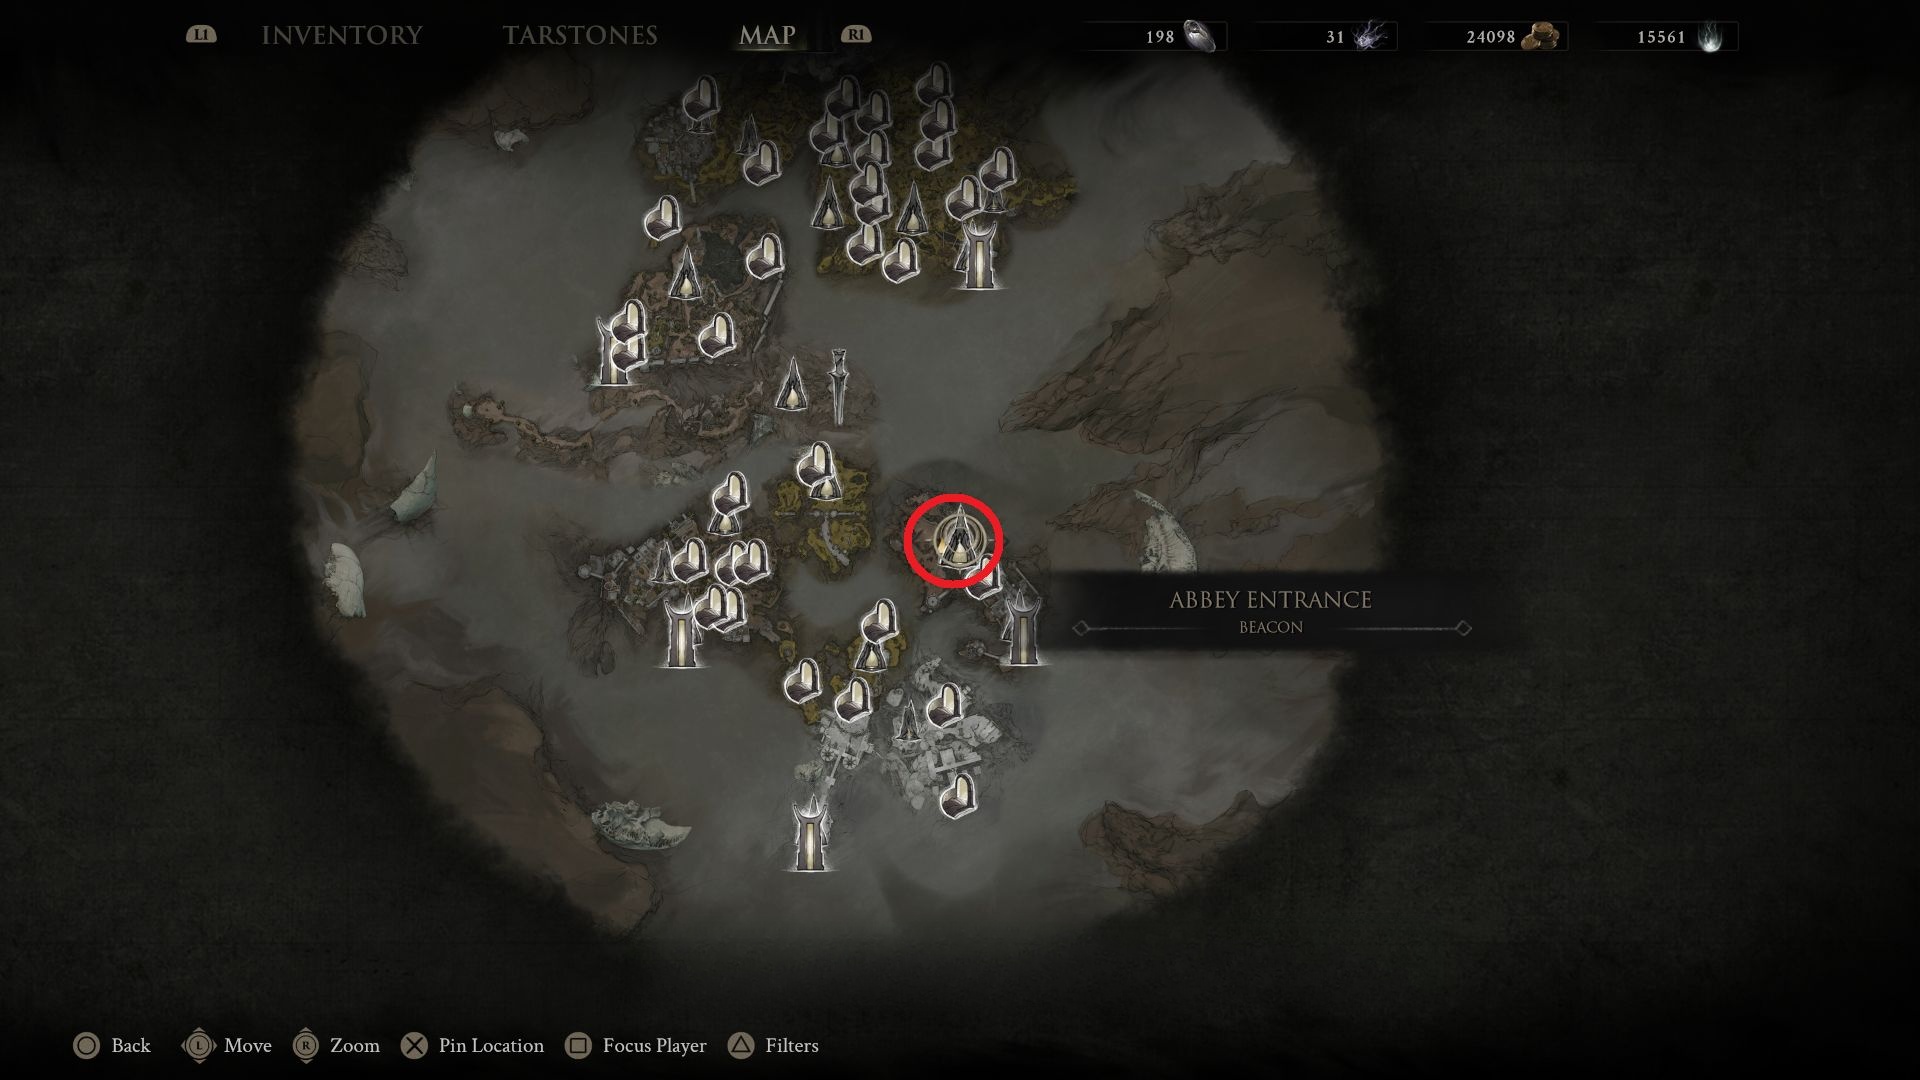
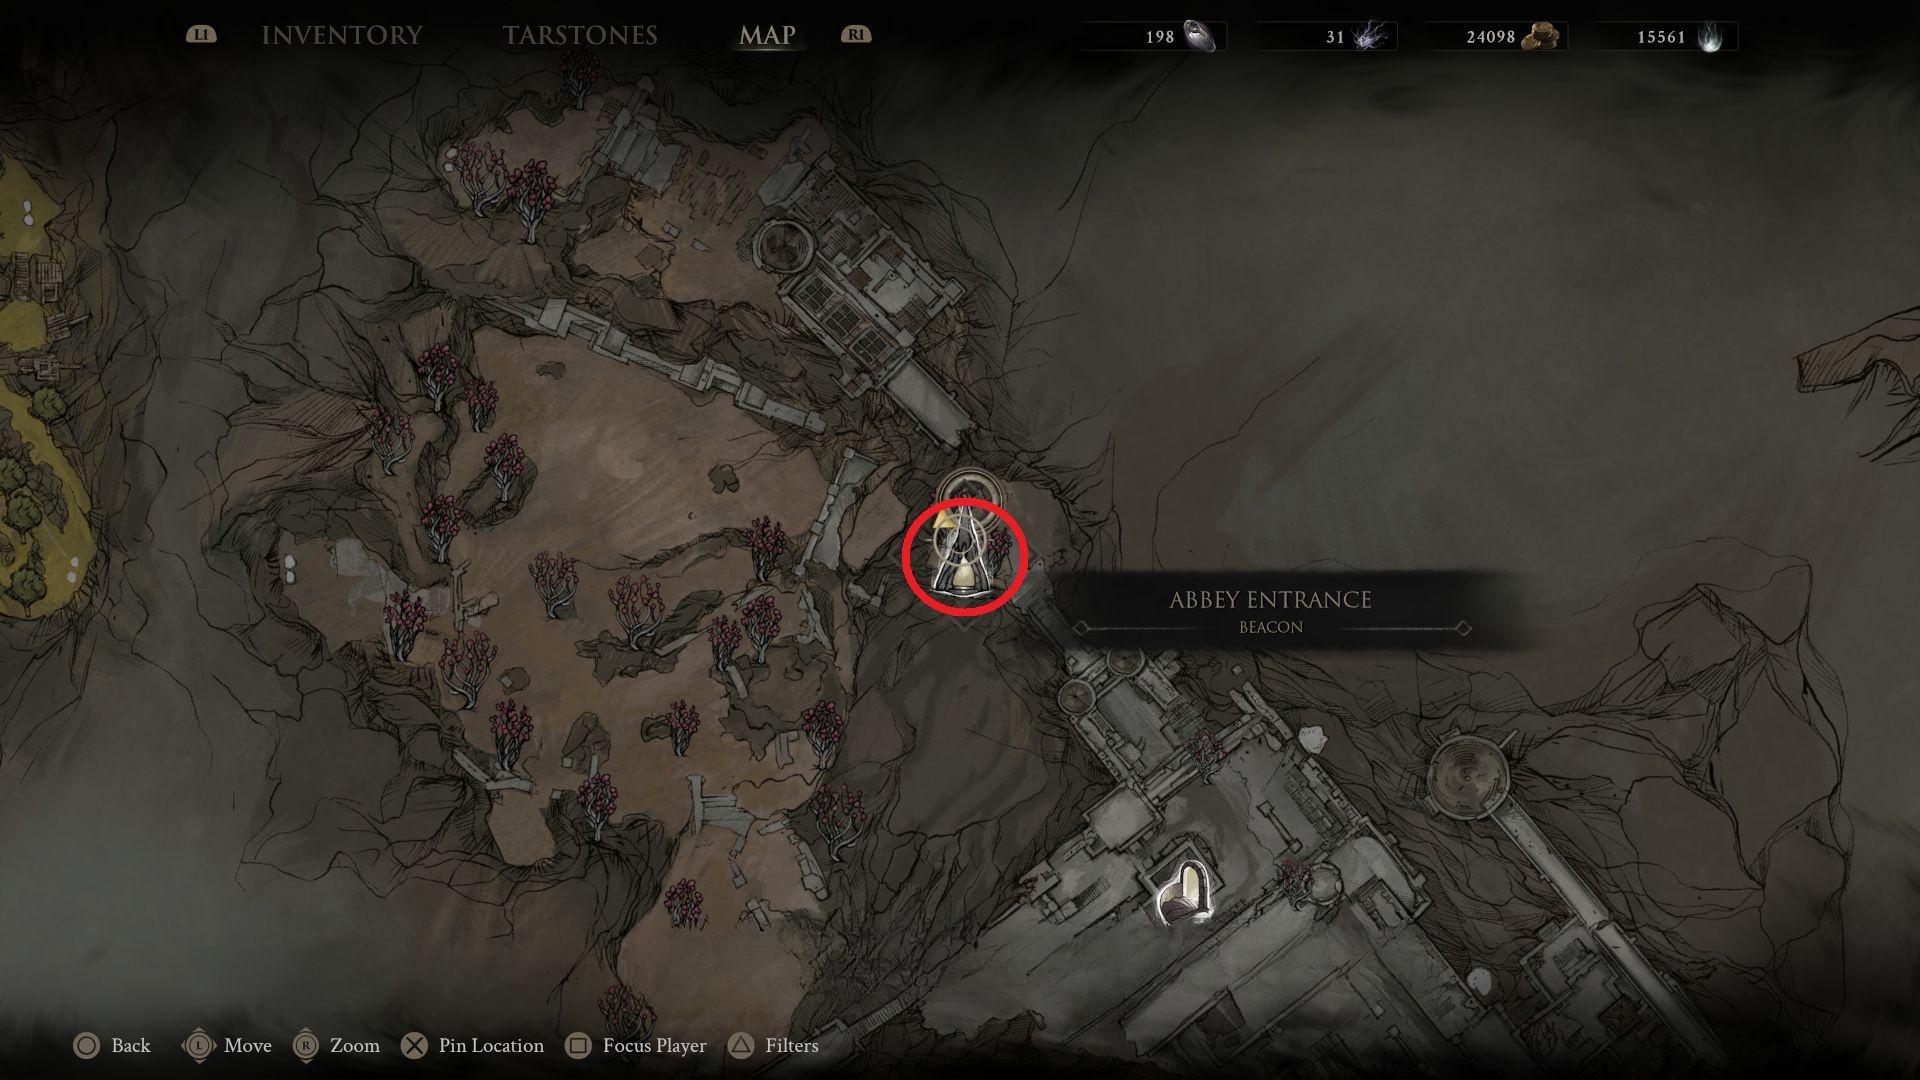
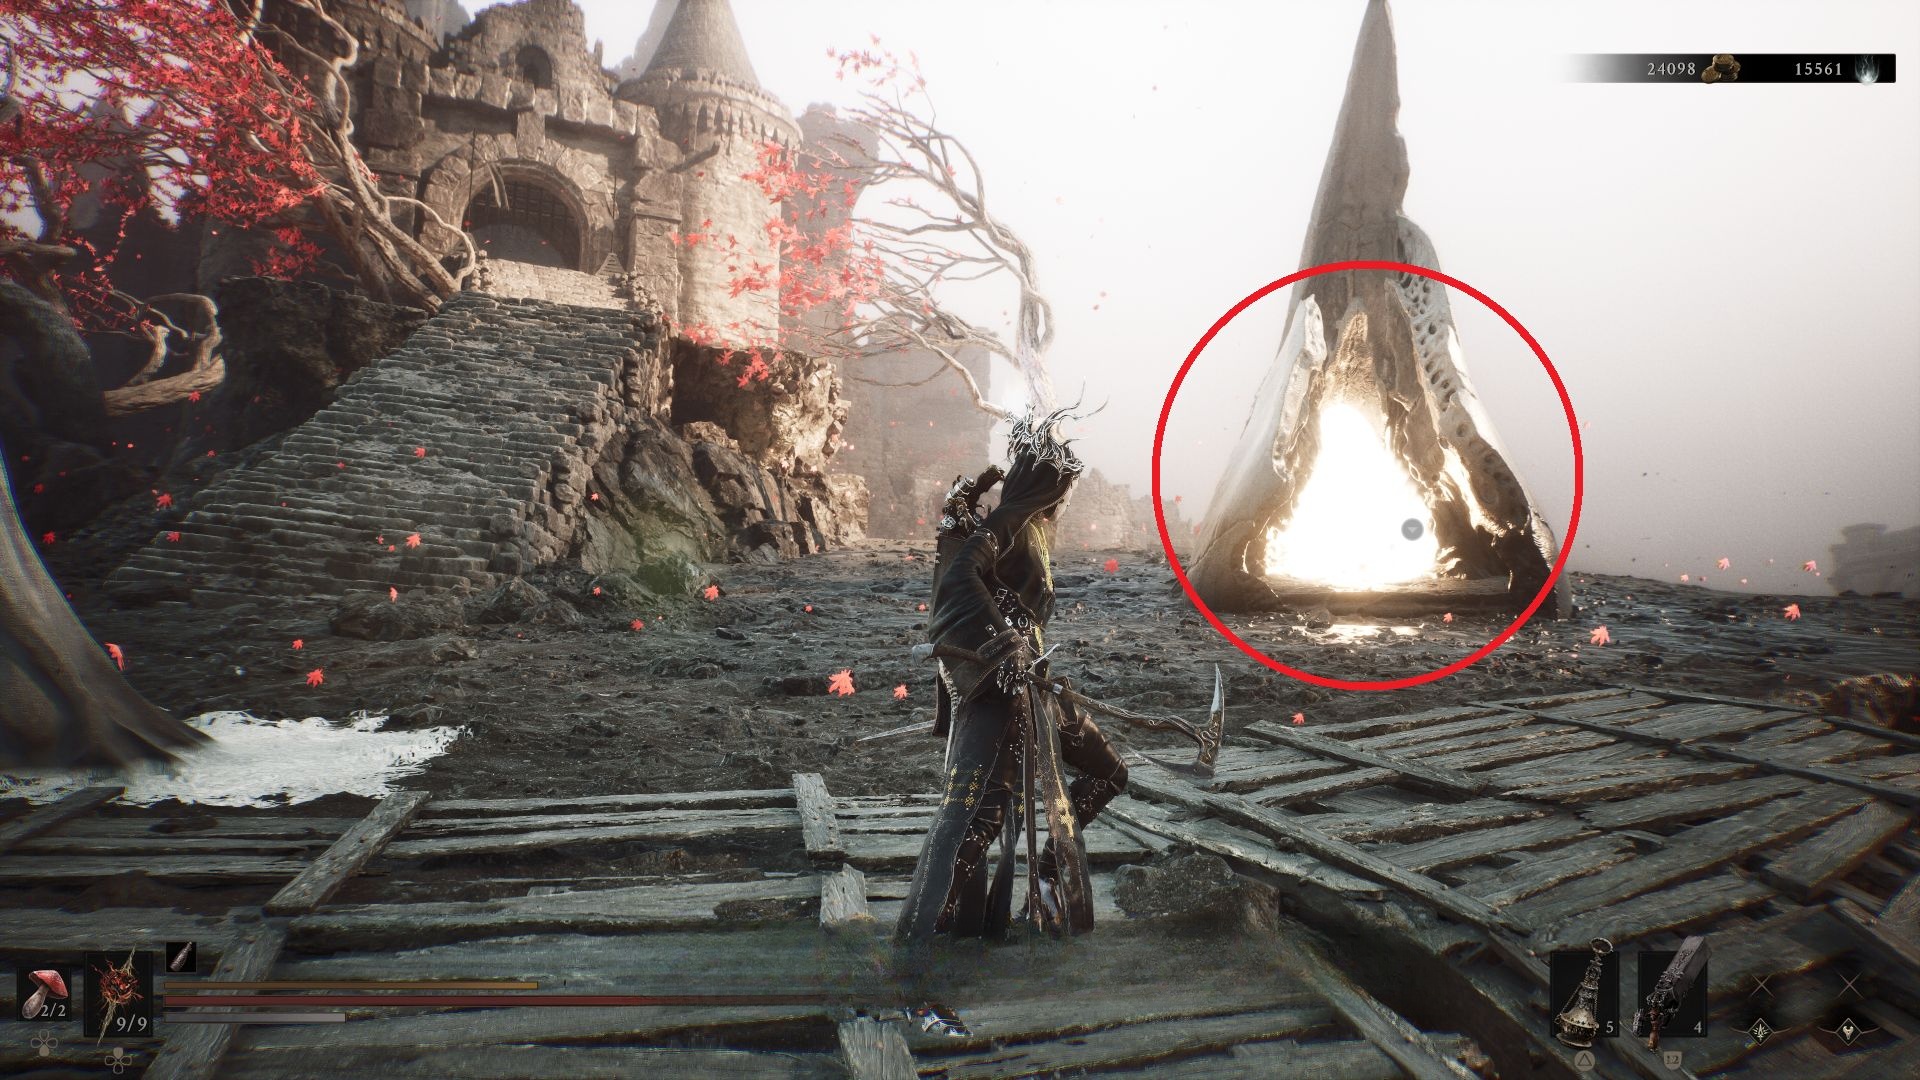
#16 – Abbey Entrance
Source step 1. #16 – Abbey Entrance. Images sit immediately after this beacon name. Article has no further caption. The source article does not label whether this frame is a map, a path, or a close-up.Source step 2. #16 – Abbey Entrance. Images sit immediately after this beacon name. Article has no further caption. The source article does not label whether this frame is a map, a path, or a close-up.Source step 3. #16 – Abbey Entrance. Images sit immediately after this beacon name. Article has no further caption. The source article does not label whether this frame is a map, a path, or a close-up.
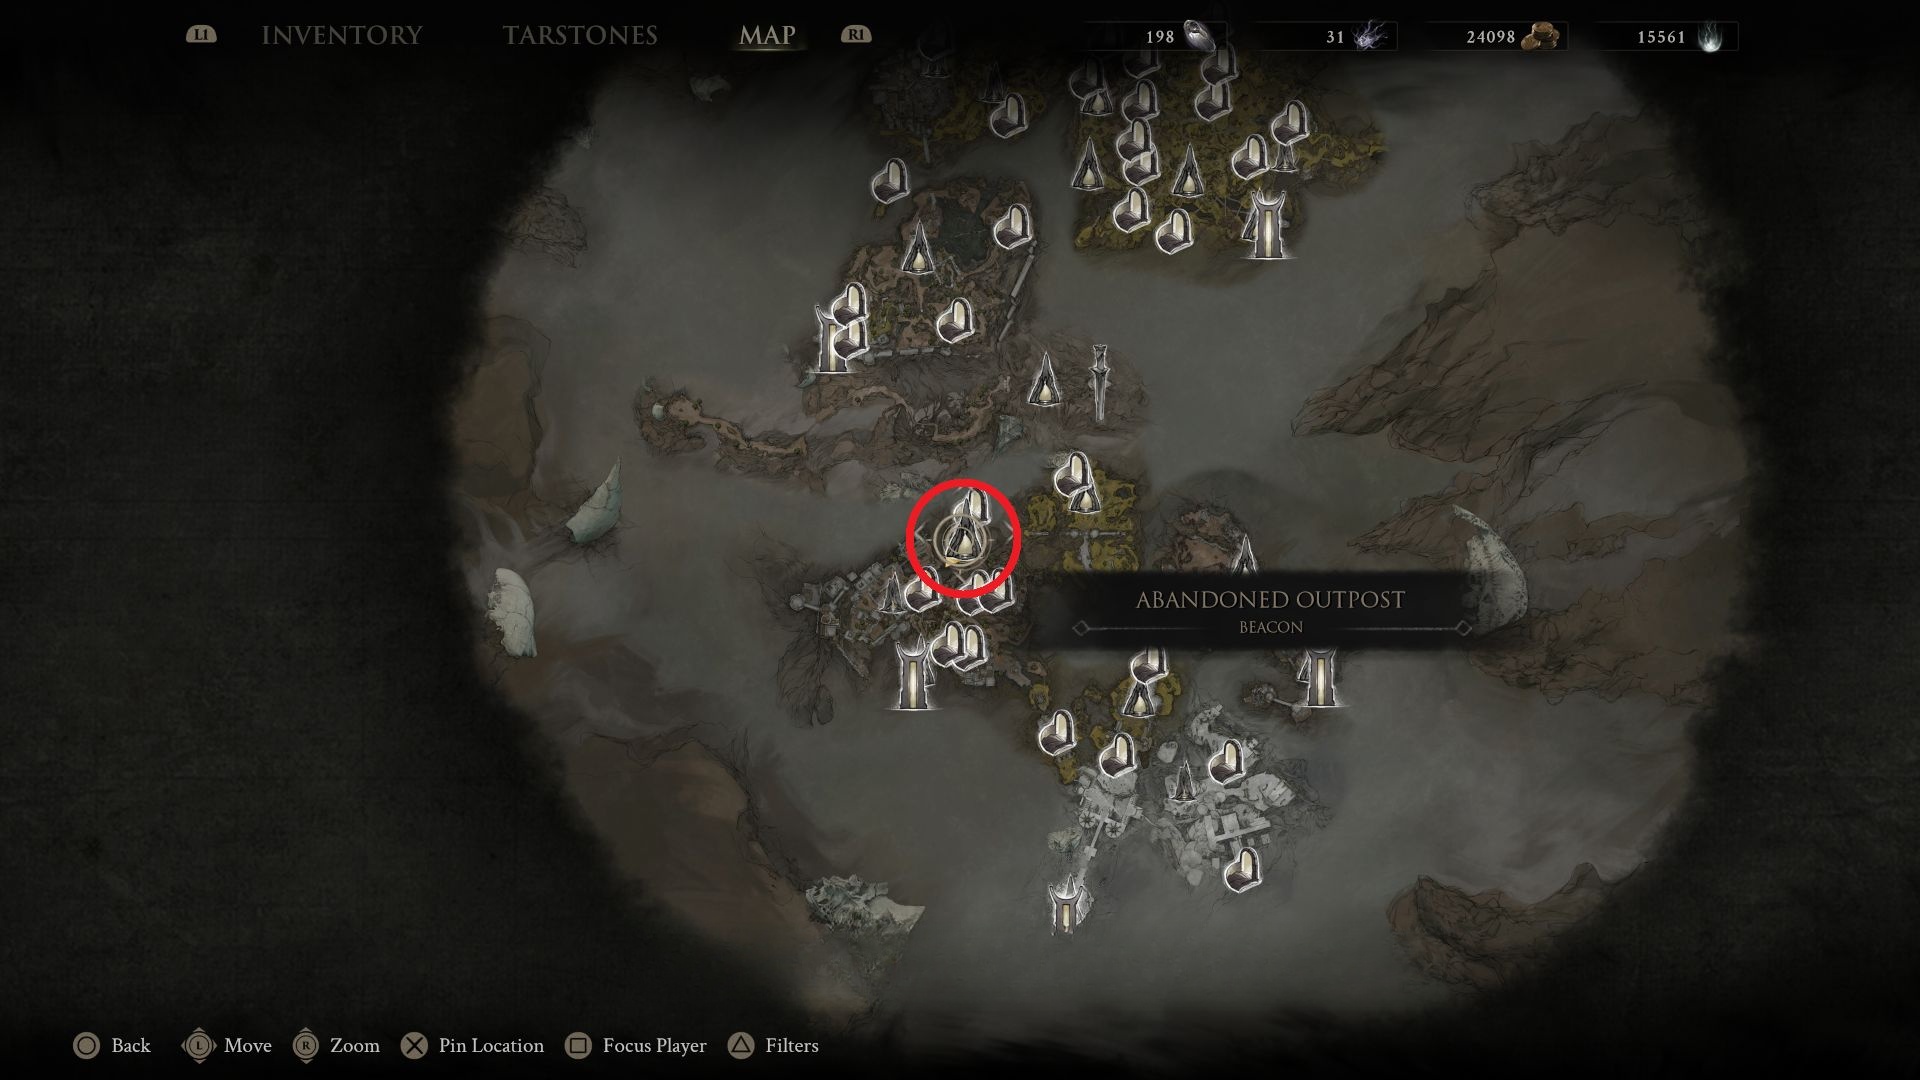
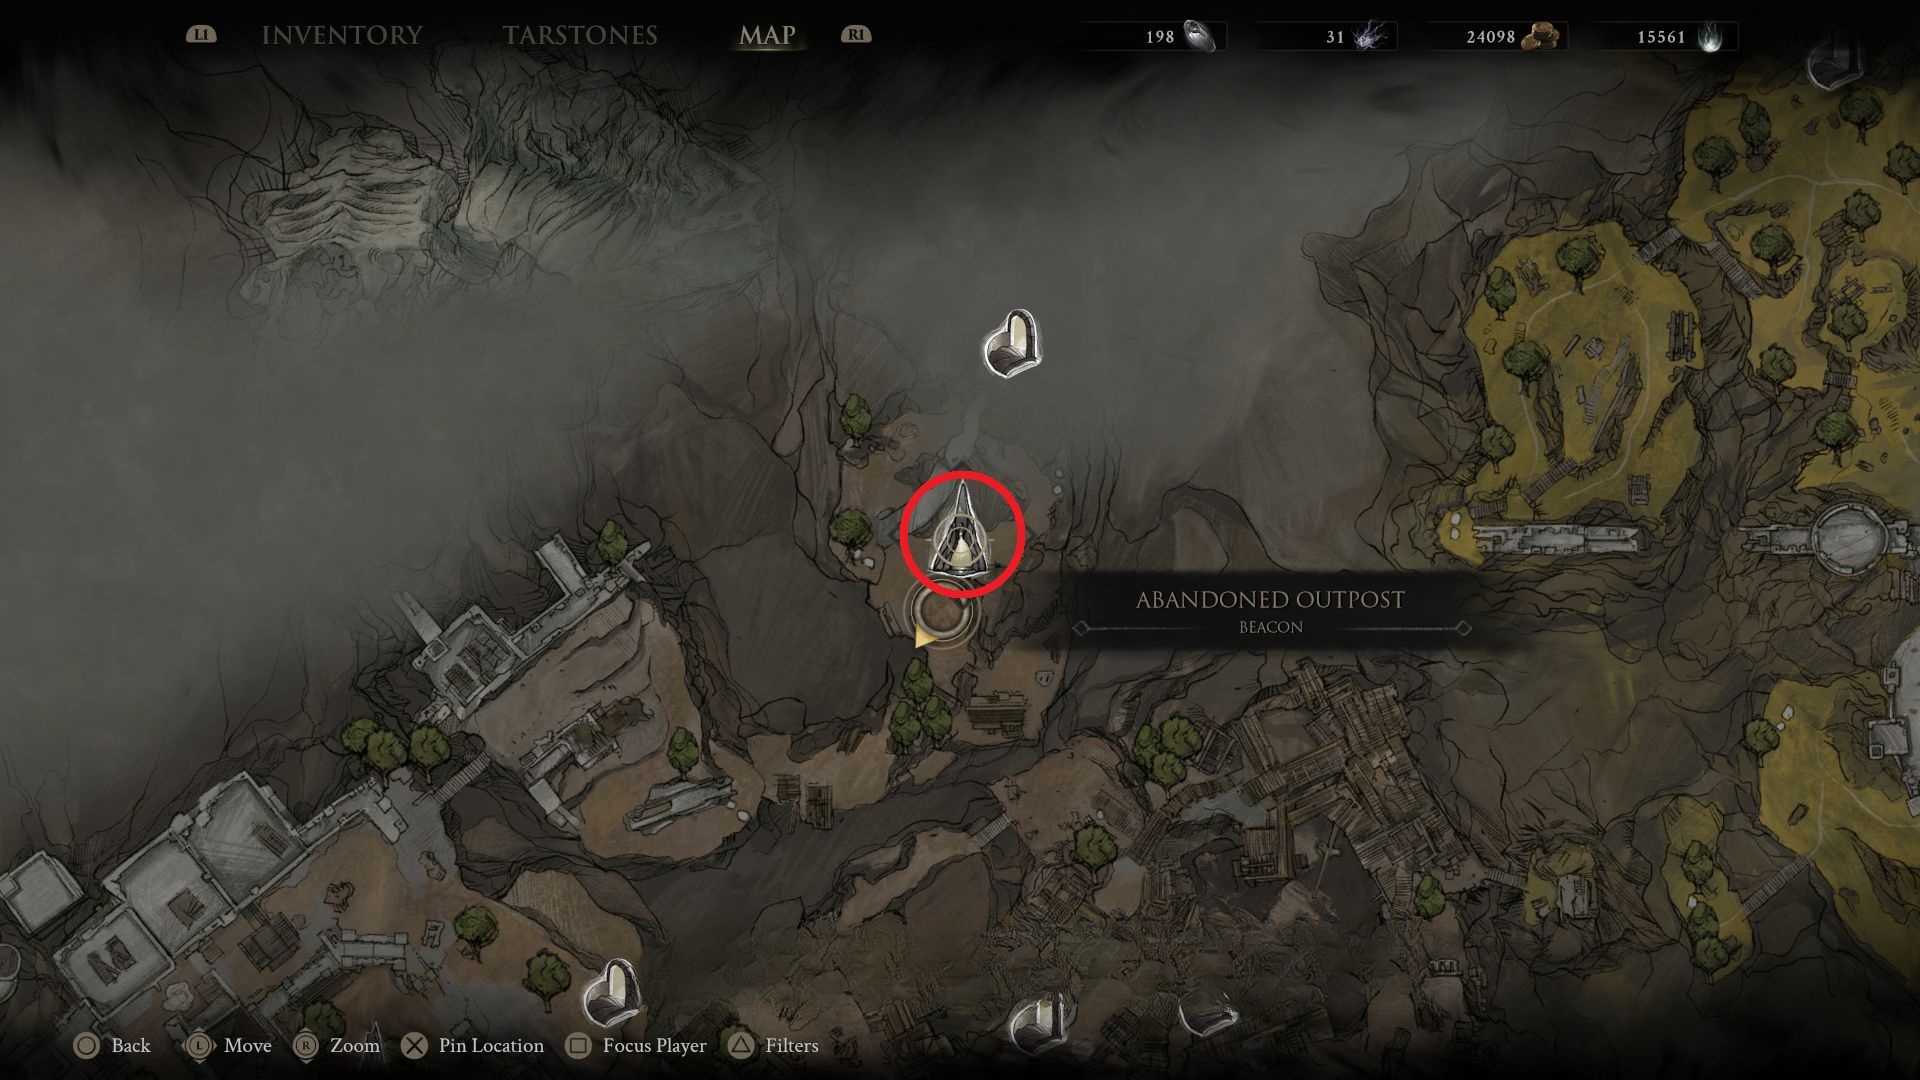
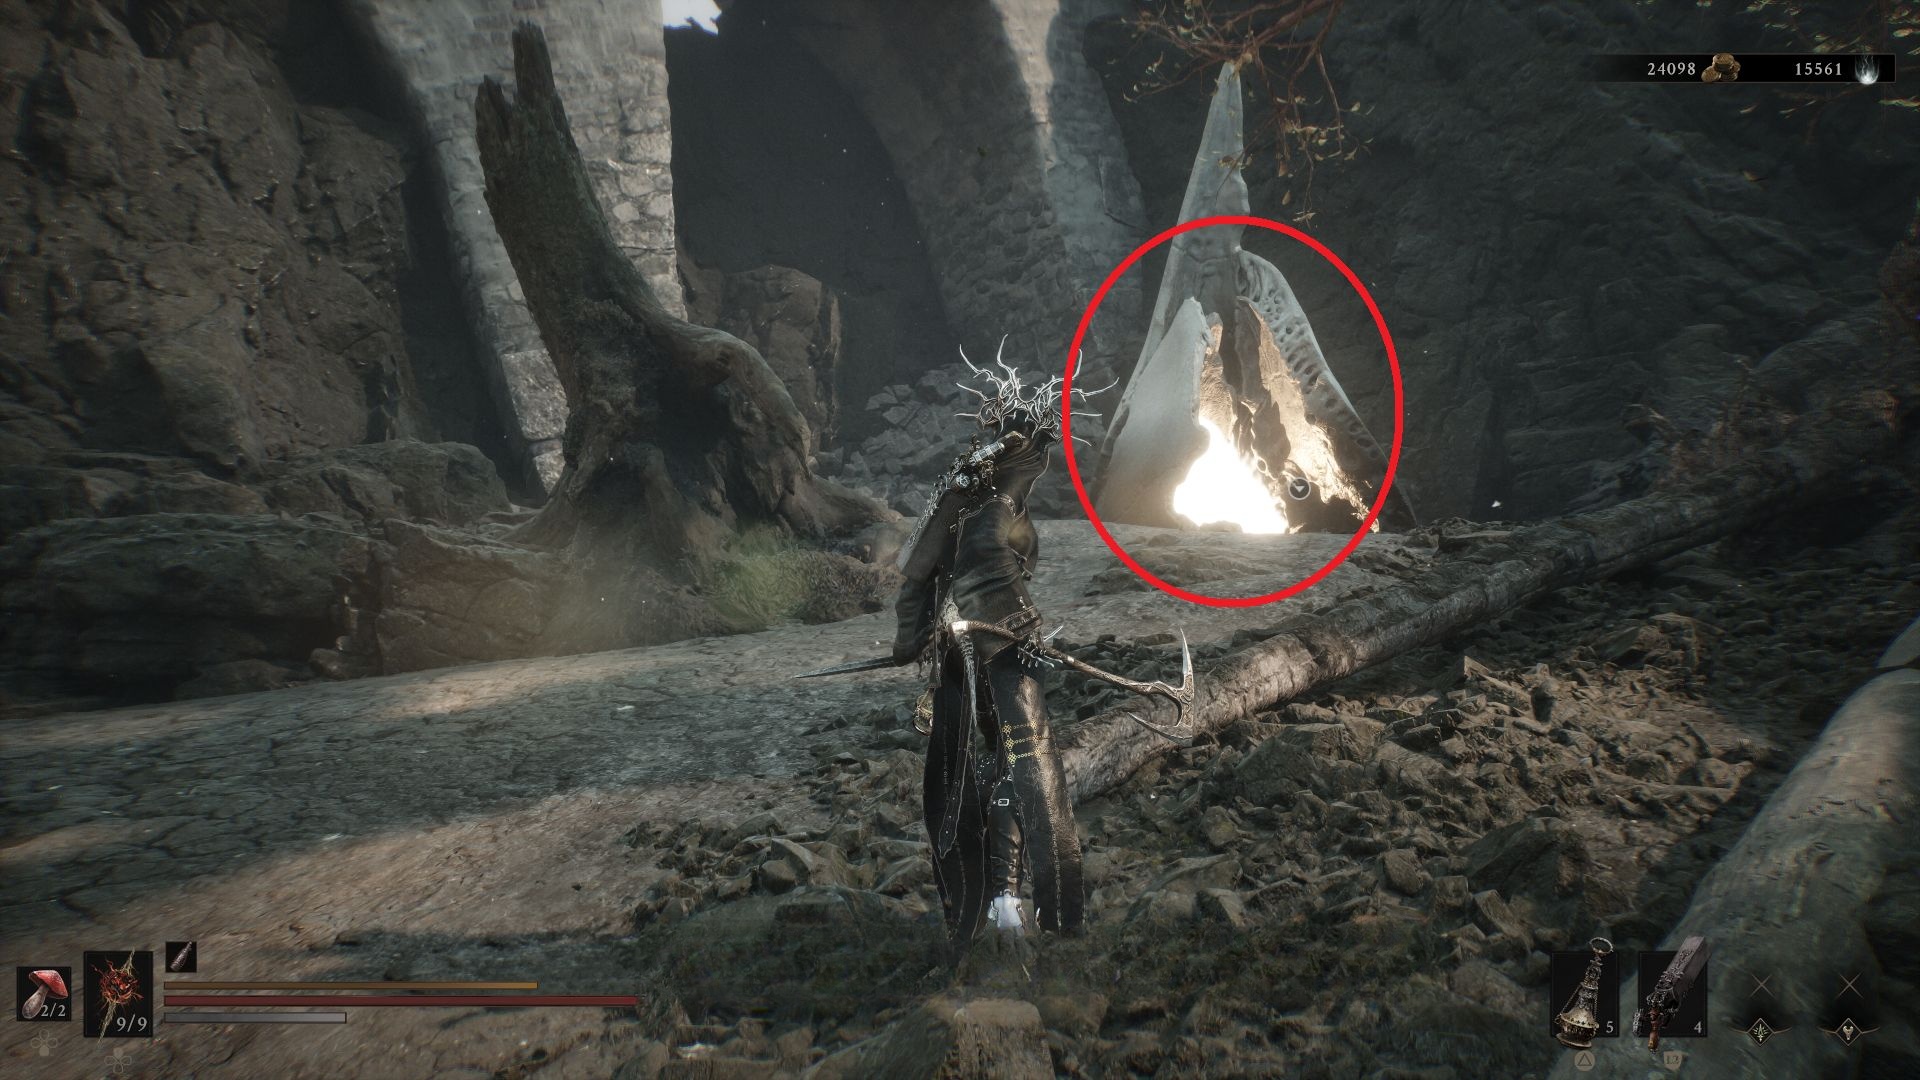
#17 – Abandoned Outpost
Source step 1. #17 – Abandoned Outpost. Images sit immediately after this beacon name. Article has no further caption. The source article does not label whether this frame is a map, a path, or a close-up.Source step 2. #17 – Abandoned Outpost. Images sit immediately after this beacon name. Article has no further caption. The source article does not label whether this frame is a map, a path, or a close-up.Source step 3. #17 – Abandoned Outpost. Images sit immediately after this beacon name. Article has no further caption. The source article does not label whether this frame is a map, a path, or a close-up.
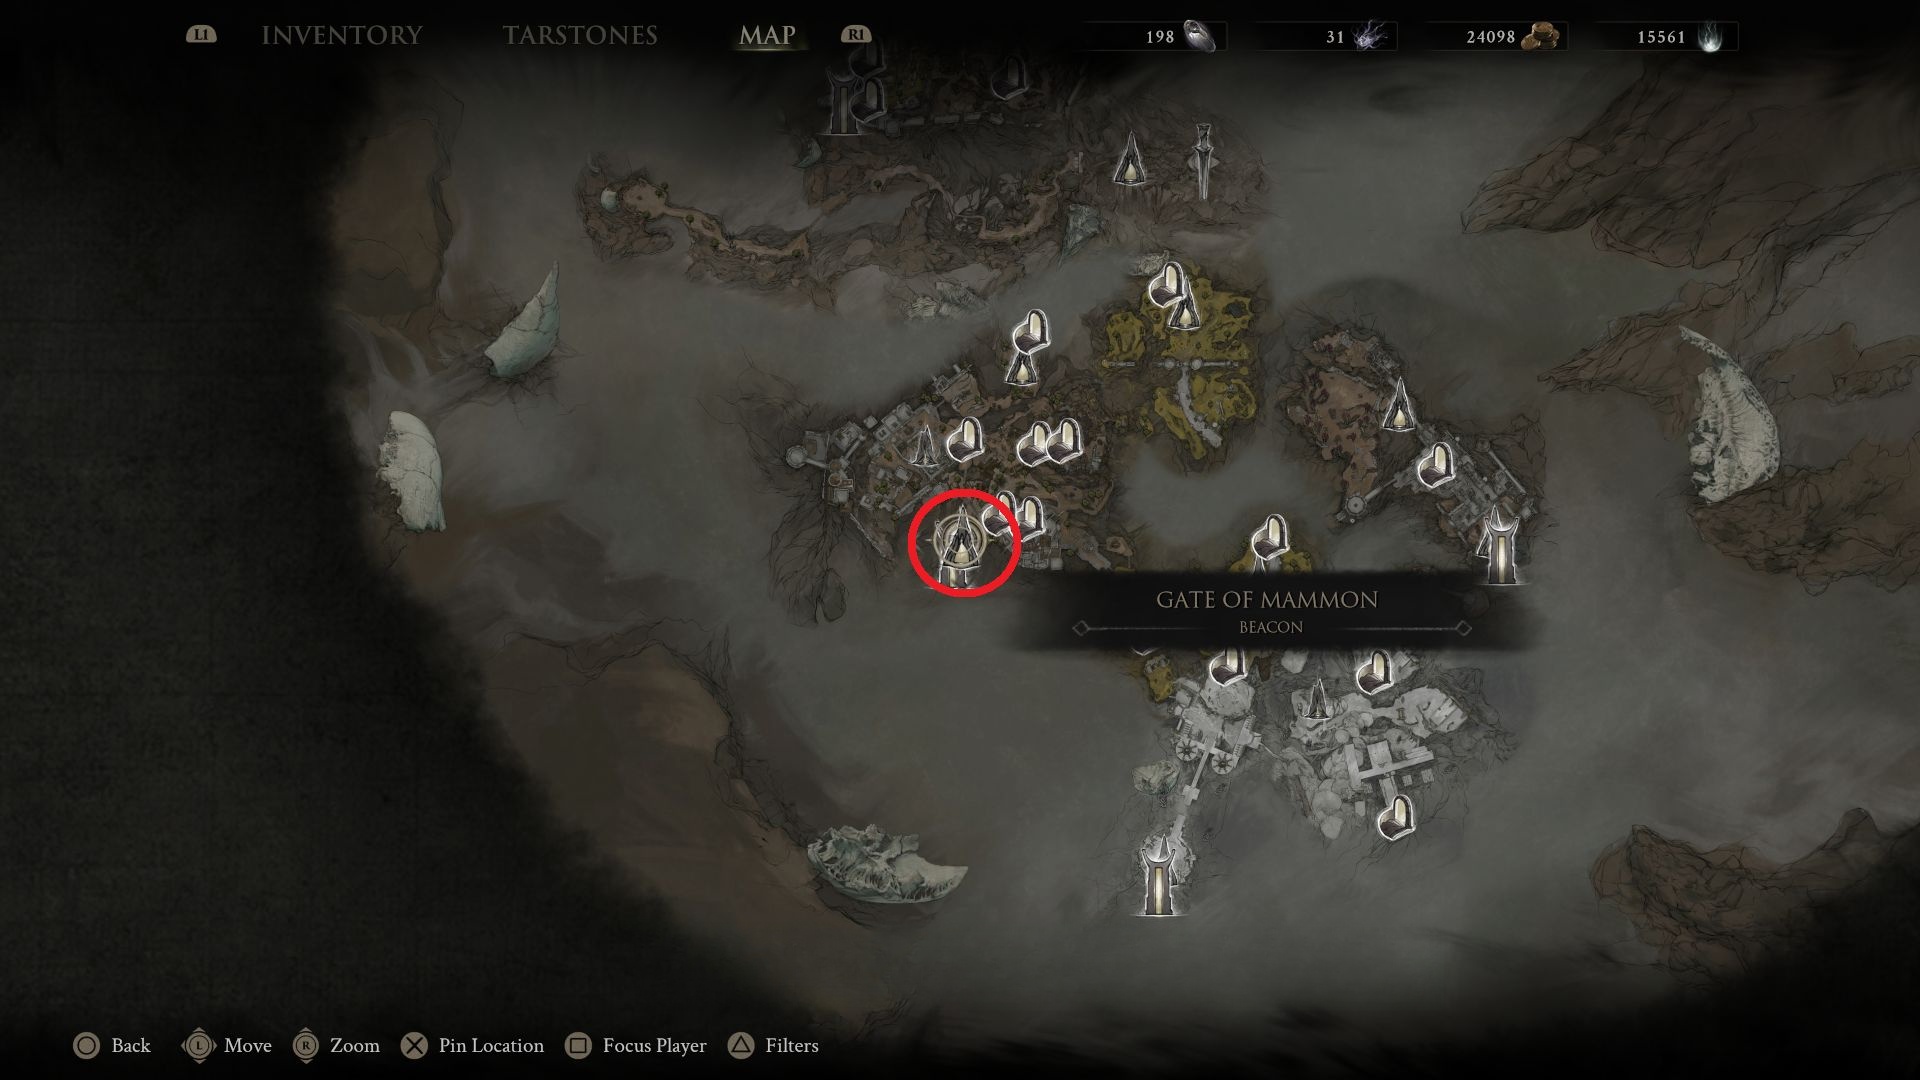
#18 – Gate of Mammon
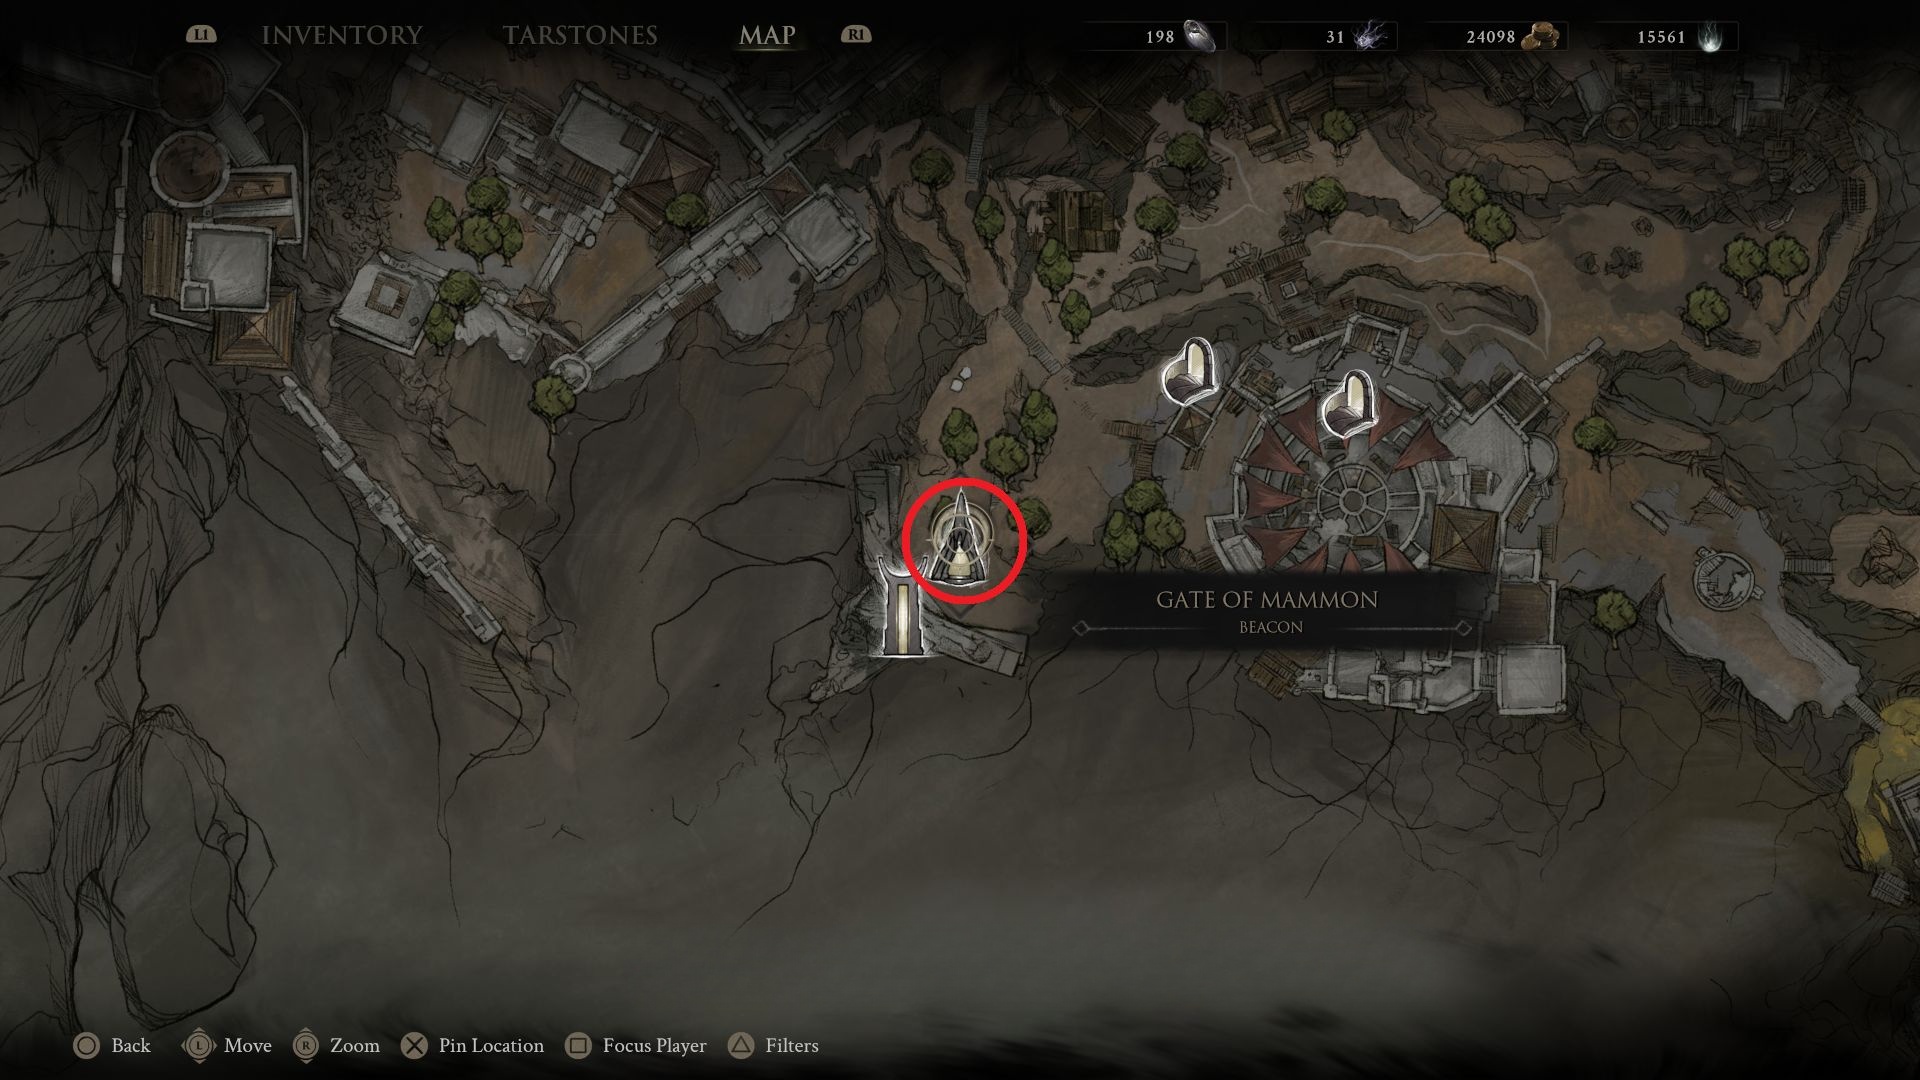
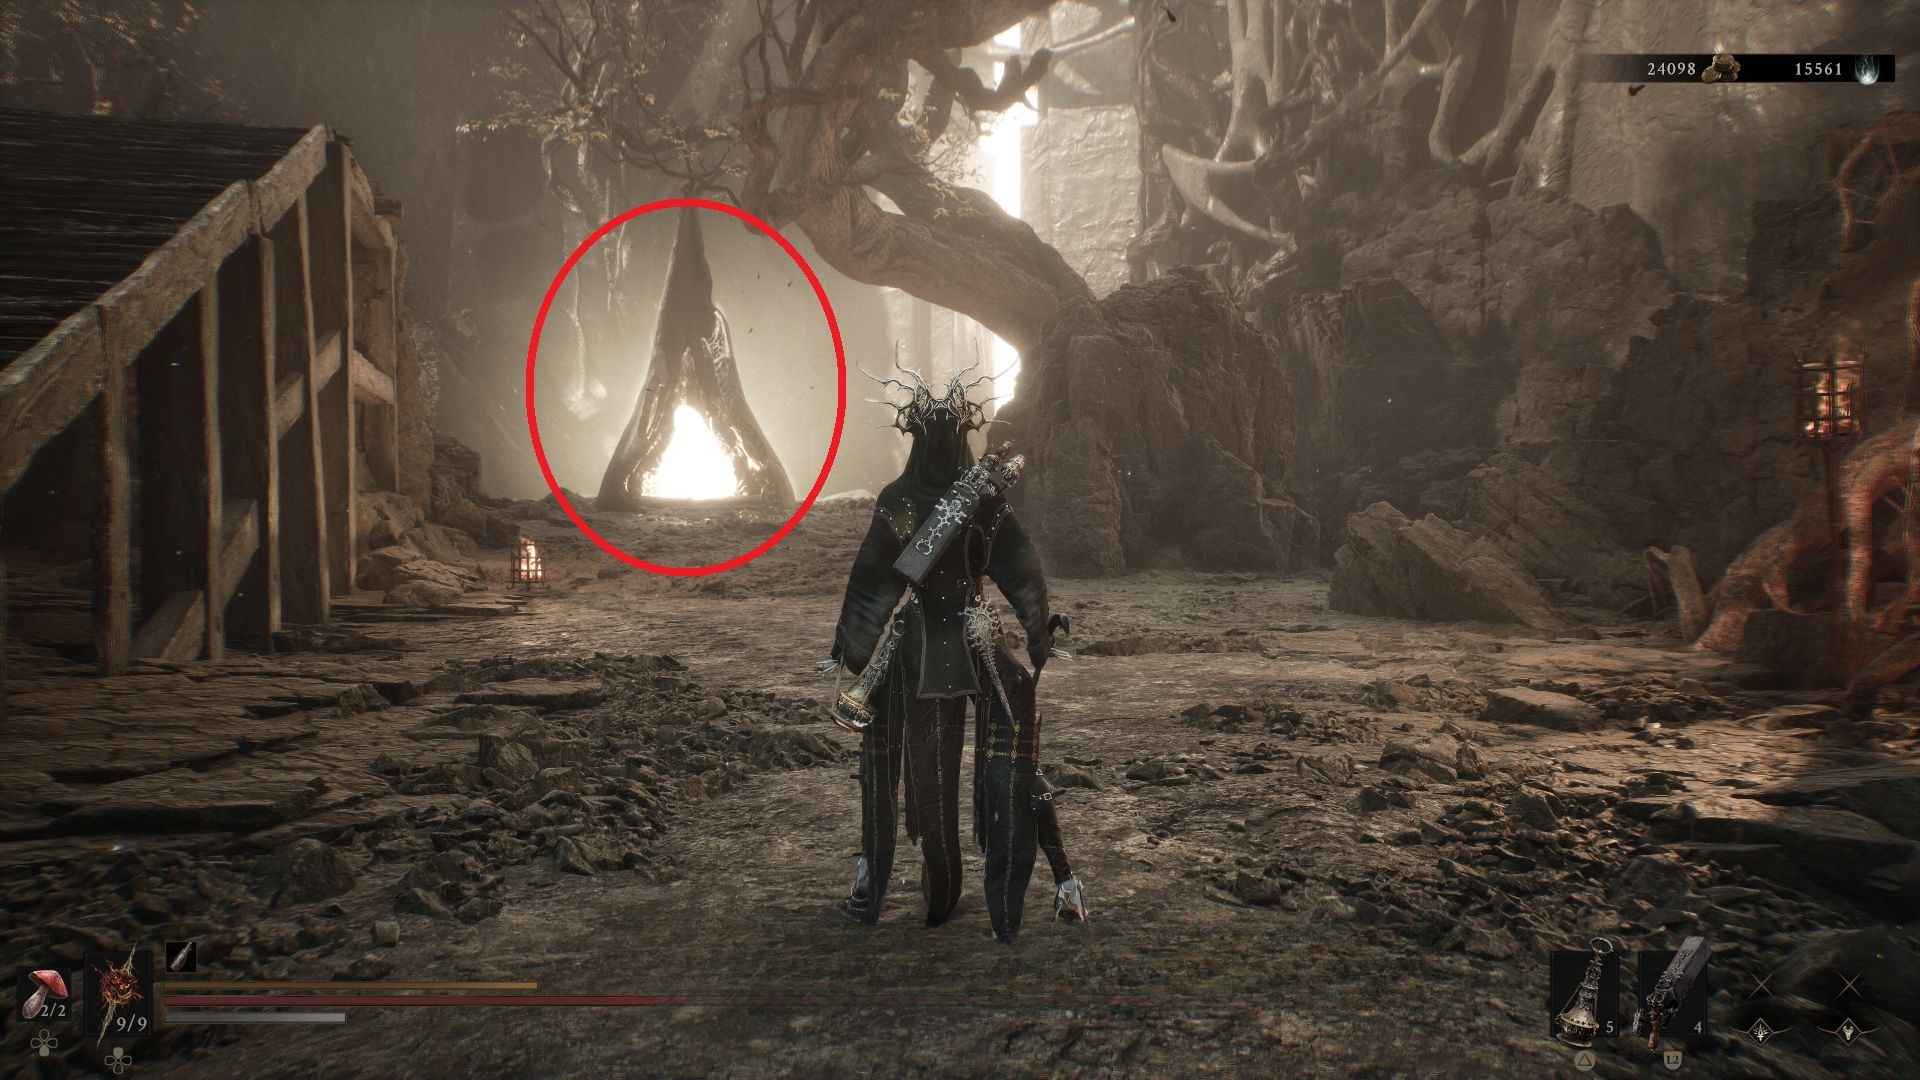
Source step 1. #18 – Gate of Mammon. Images sit immediately after this beacon name. Article has no further caption. The source article does not label whether this frame is a map, a path, or a close-up.Source step 2. #18 – Gate of Mammon. Images sit immediately after this beacon name. Article has no further caption. The source article does not label whether this frame is a map, a path, or a close-up.Source step 3. #18 – Gate of Mammon. Images sit immediately after this beacon name. Article has no further caption. The source article does not label whether this frame is a map, a path, or a close-up.
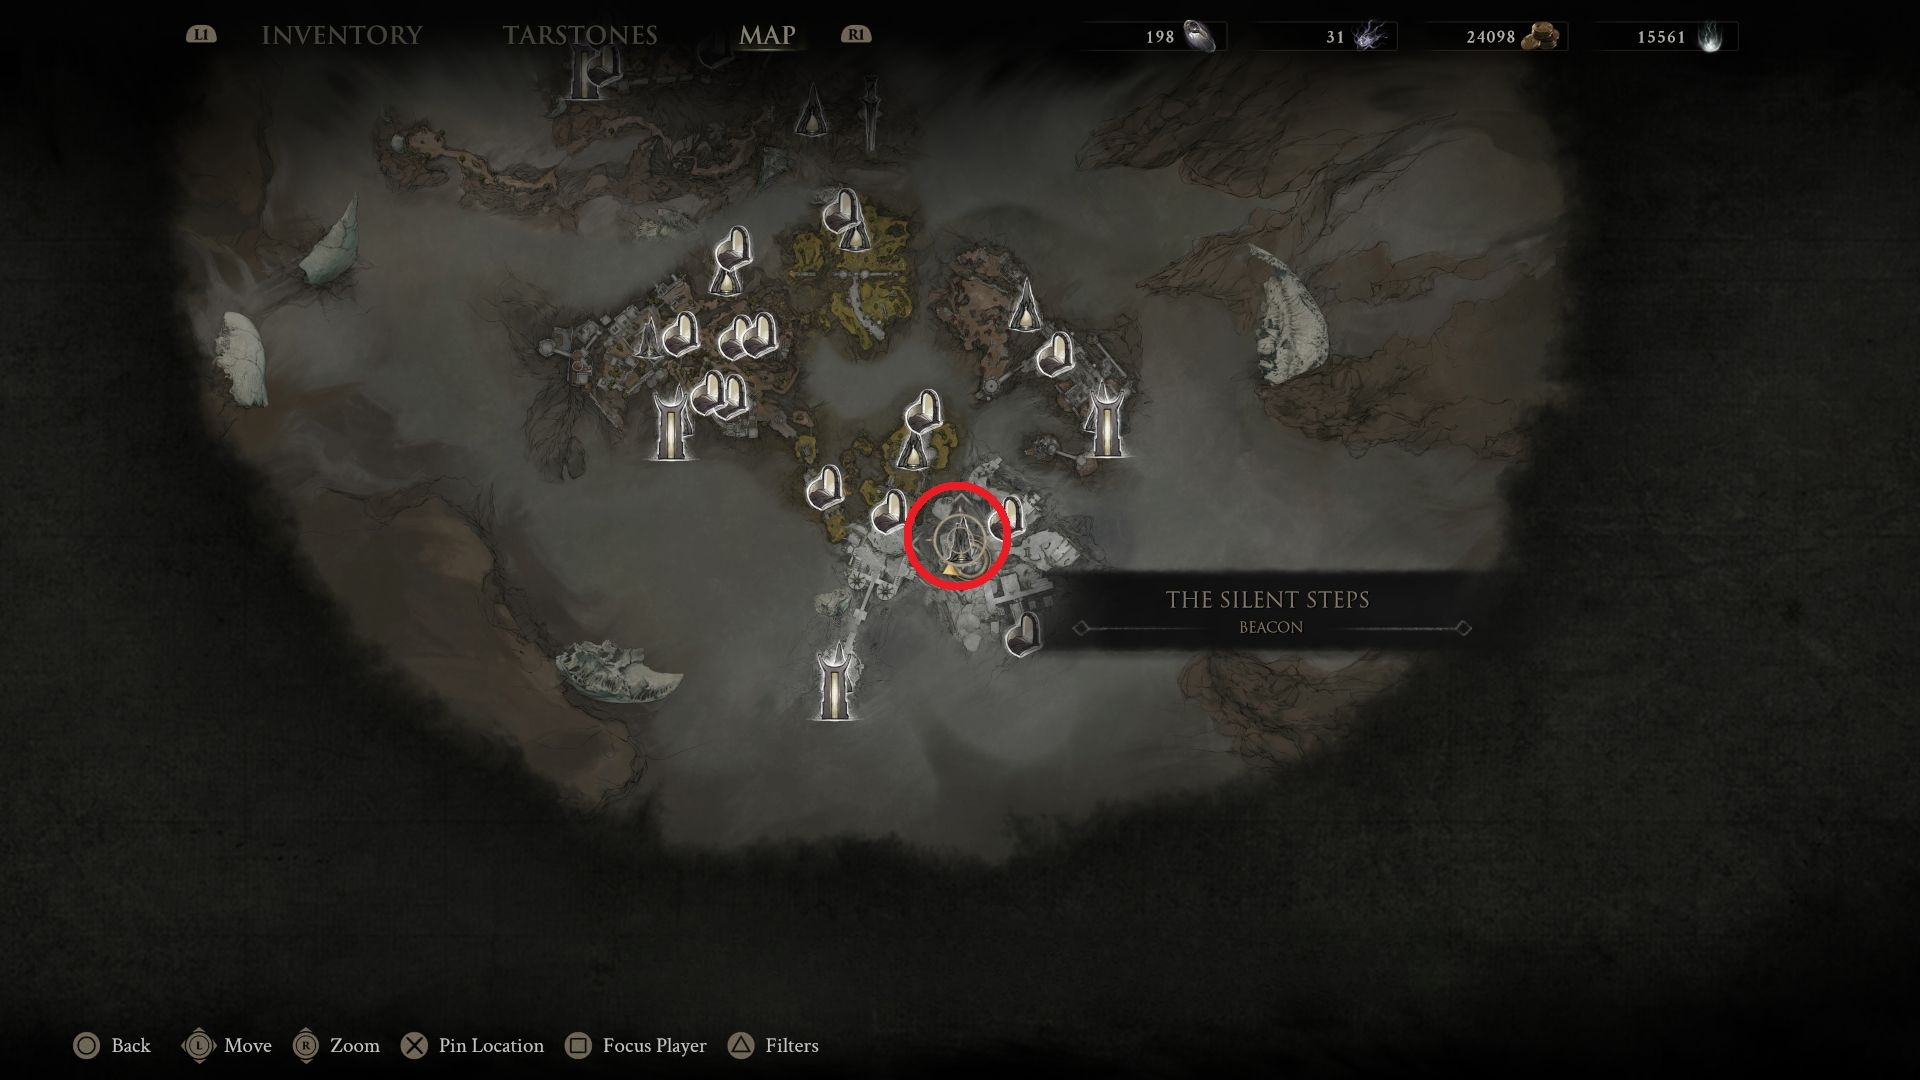
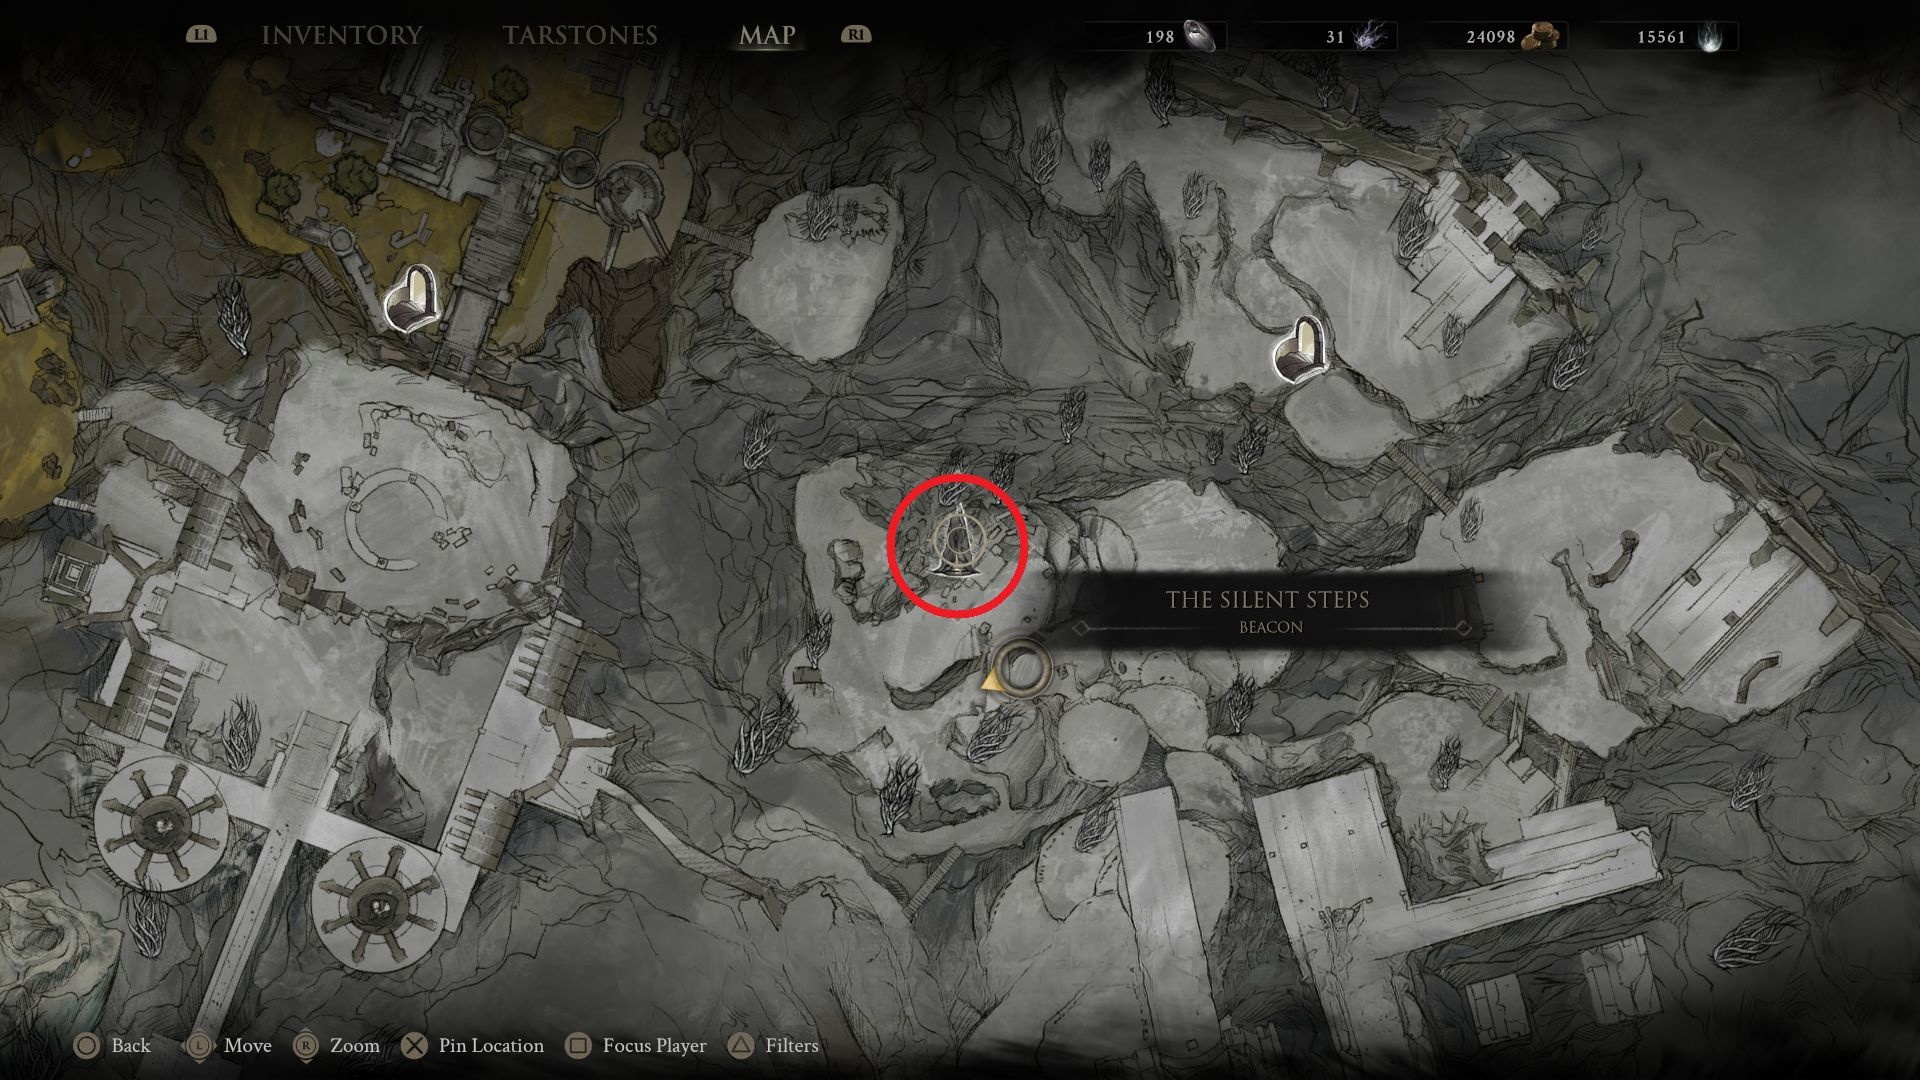
Source step 1. #19 – The Silent Steps. Images sit immediately after this beacon name. Article has no further caption. The source article does not label whether this frame is a map, a path, or a close-up.Source step 2. #19 – The Silent Steps. Images sit immediately after this beacon name. Article has no further caption. The source article does not label whether this frame is a map, a path, or a close-up.Source step 3. #19 – The Silent Steps. Images sit immediately after this beacon name. Article has no further caption. The source article does not label whether this frame is a map, a path, or a close-up.
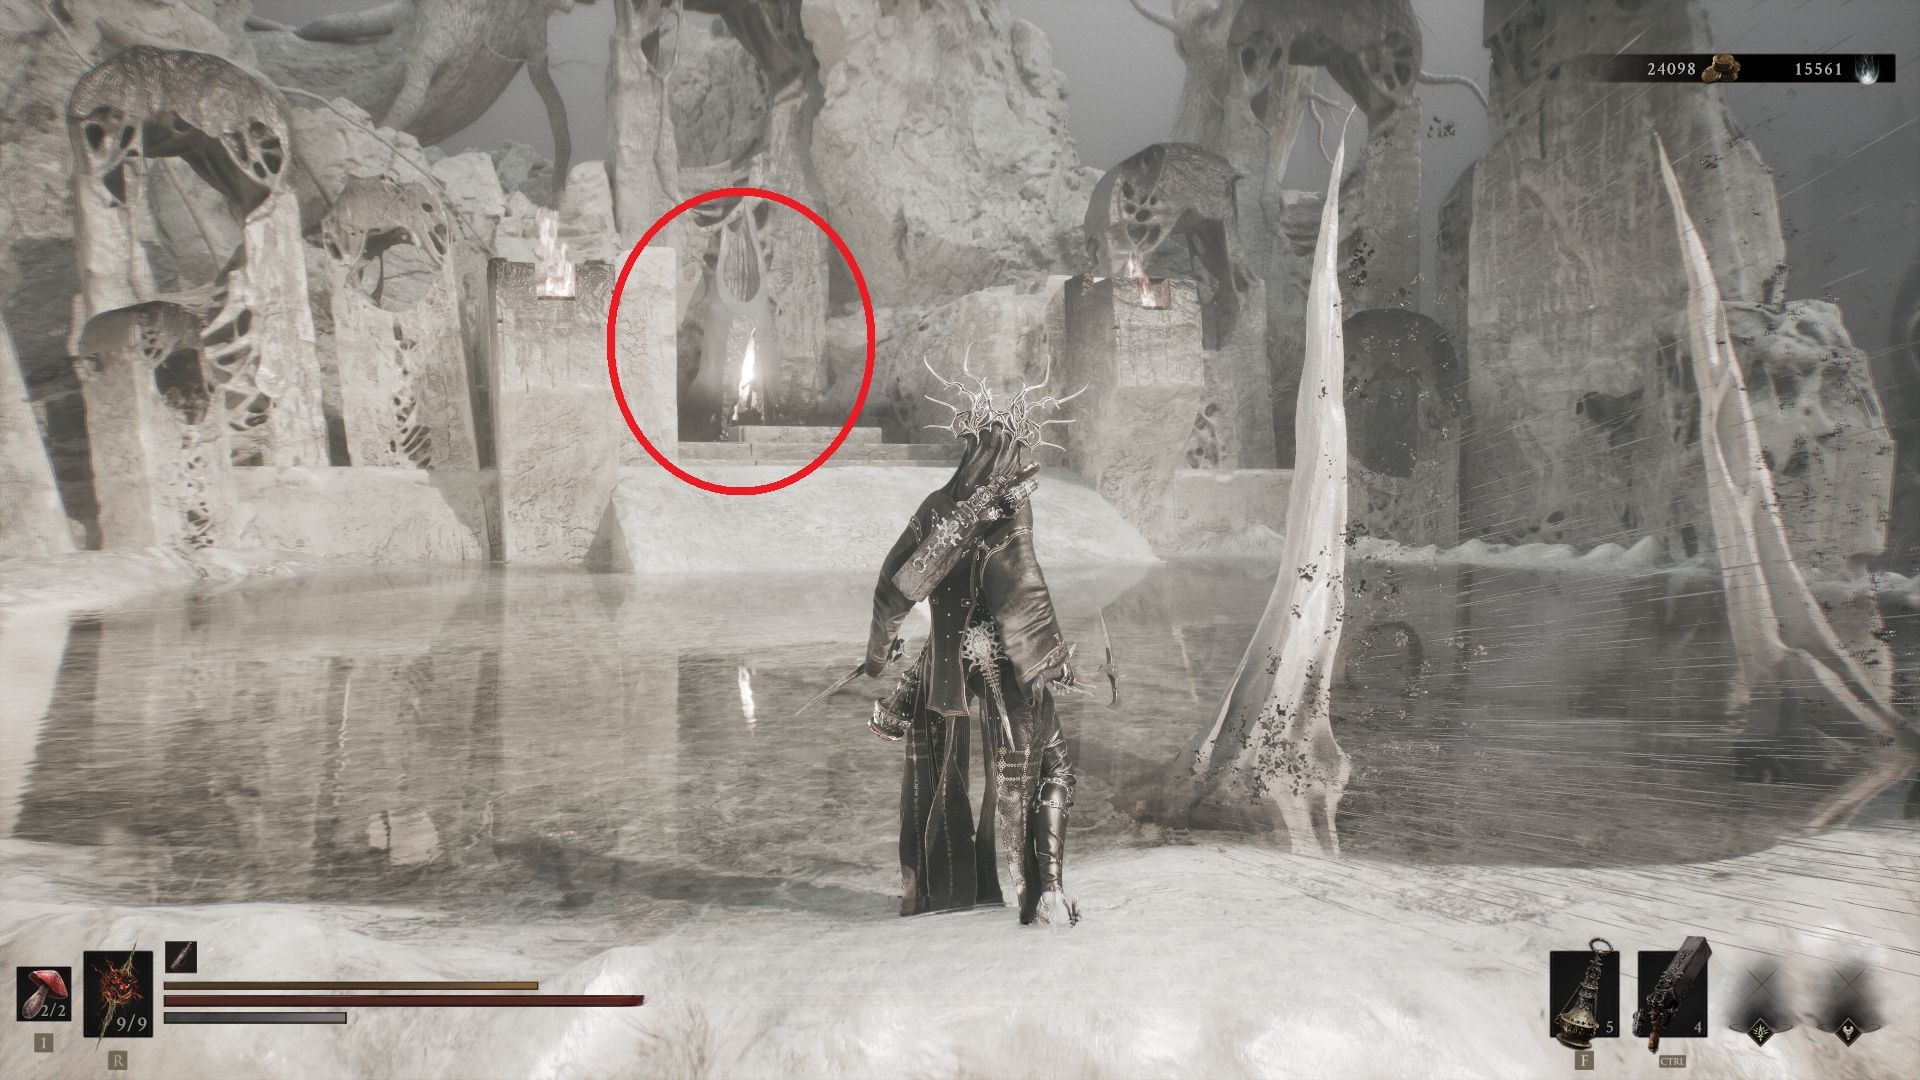
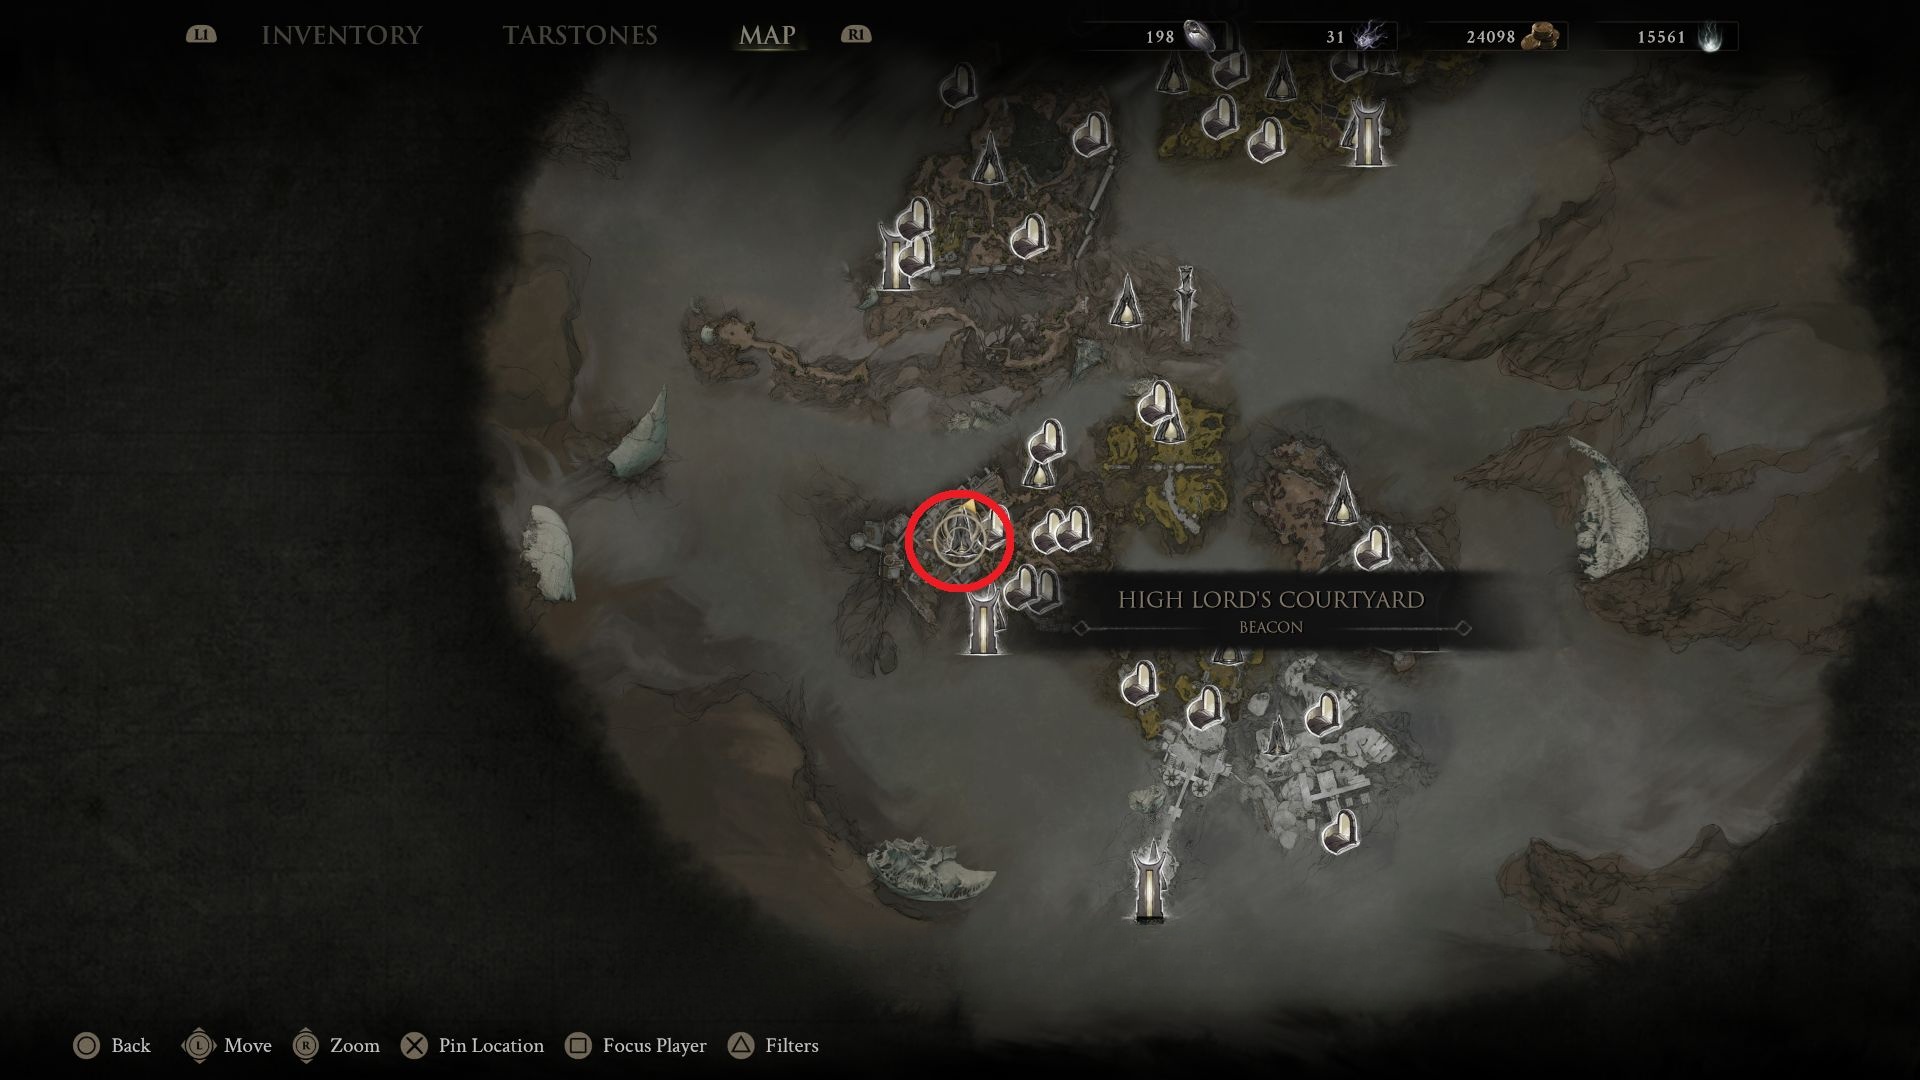
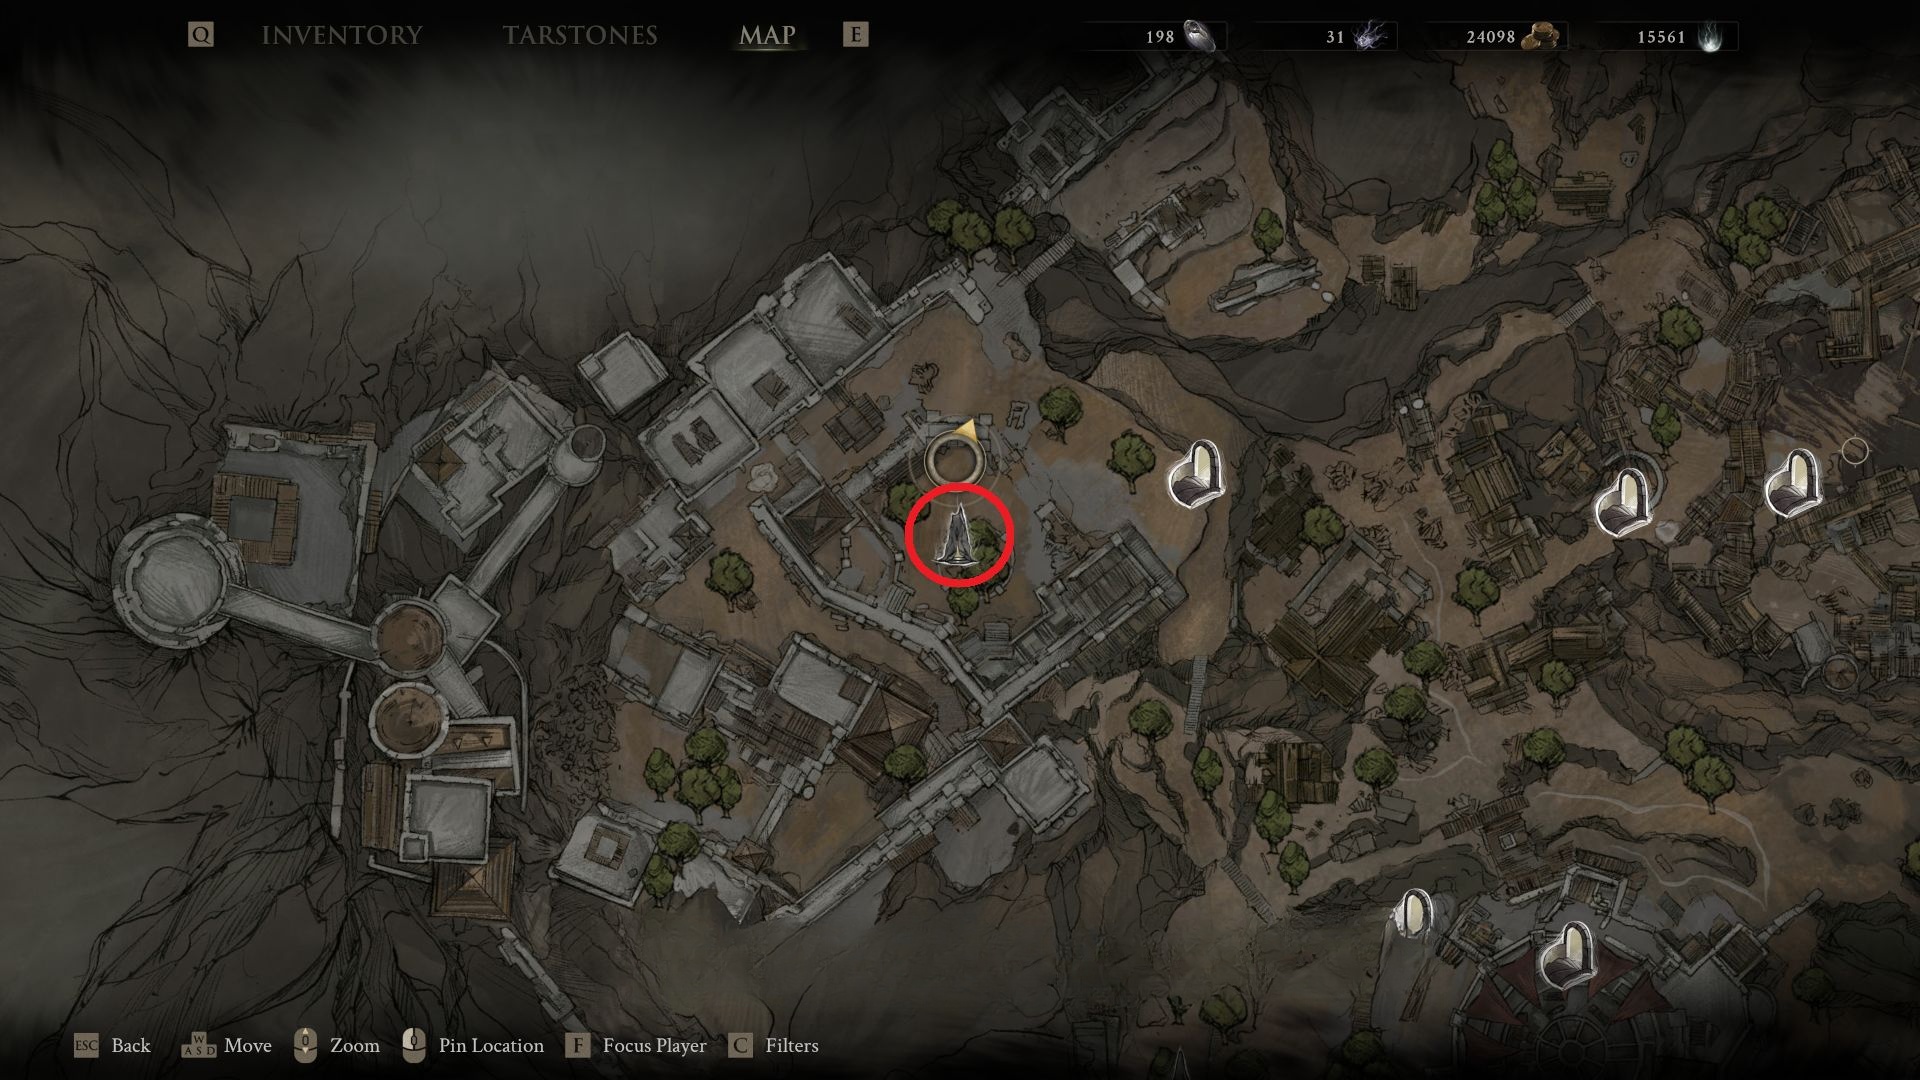
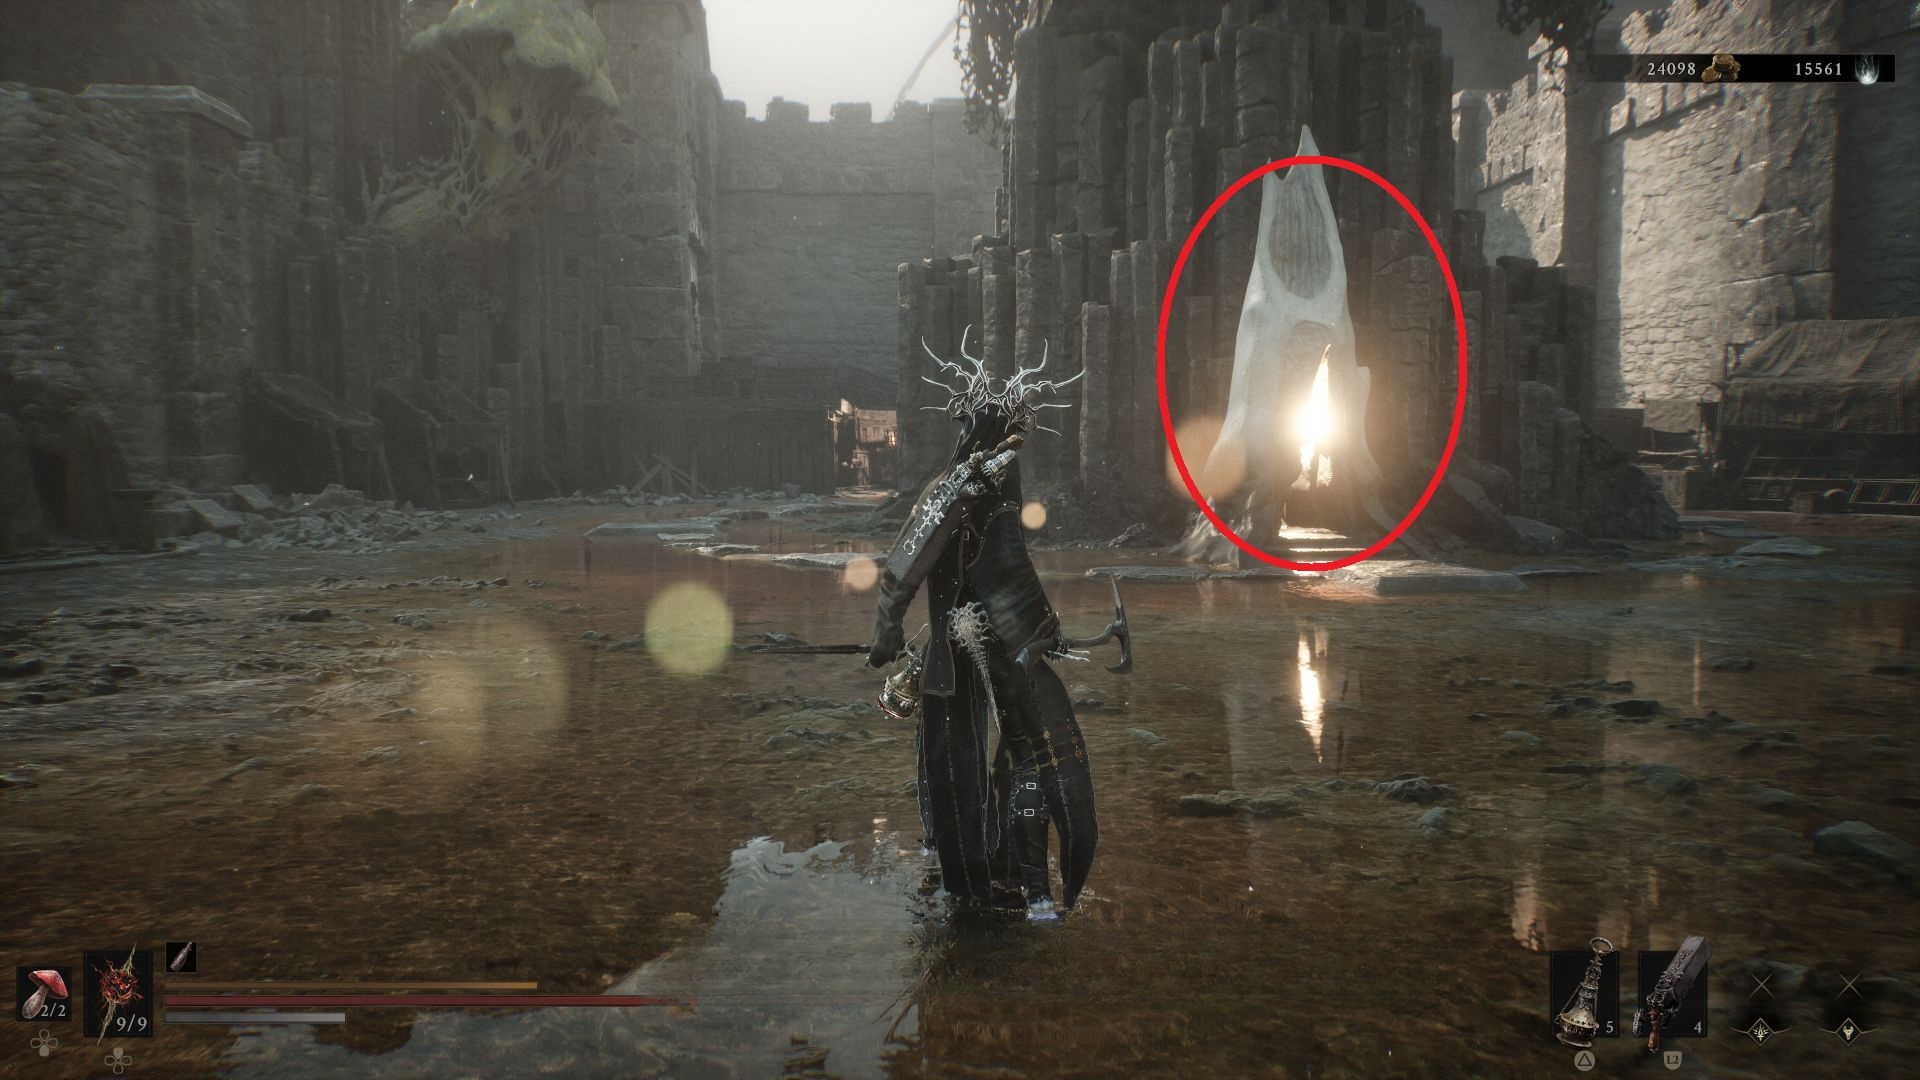
Source step 1. #20 – High Lord's Courtyard. Images sit immediately after this beacon name. Article has no further caption. The source article does not label whether this frame is a map, a path, or a close-up.Source step 2. #20 – High Lord's Courtyard. Images sit immediately after this beacon name. Article has no further caption. The source article does not label whether this frame is a map, a path, or a close-up.Source step 3. #20 – High Lord's Courtyard. Images sit immediately after this beacon name. Article has no further caption. The source article does not label whether this frame is a map, a path, or a close-up.
Glutted Mire
Screenshots sit in the published Beacon-list order. The source article does not label map versus in-world frames.
#21 – Seeping Mire
Source step 1. #21 – Seeping Mire. Images sit immediately after this beacon name. Article has no further caption. The source article does not label whether this frame is a map, a path, or a close-up.
#22 – Sunken Village
Source step 1. #22 – Sunken Village. Images sit immediately after this beacon name. Article has no further caption. The source article does not label whether this frame is a map, a path, or a close-up.
#23 – Magdalena's Glade
Source step 1. #23 – Magdalena's Glade. Images sit immediately after this beacon name. Article has no further caption. The source article does not label whether this frame is a map, a path, or a close-up.
Prisoners' Domain
Screenshots sit in the published Beacon-list order. The source article does not label map versus in-world frames.
#24 – Hangman's Scaffold
Source step 1. #24 – Hangman's Scaffold. Images sit immediately after this beacon name. Article has no further caption. The source article does not label whether this frame is a map, a path, or a close-up.
#25 – Executioner's Pulpit
Source step 1. #25 – Executioner's Pulpit. Images sit immediately after this beacon name. Article has no further caption. The source article does not label whether this frame is a map, a path, or a close-up.
#26 – Slumwater Drain
Source step 1. #26 – Slumwater Drain. Images sit immediately after this beacon name. Article has no further caption. The source article does not label whether this frame is a map, a path, or a close-up.
#27 – Captive's End
Source step 1. #27 – Captive's End. Images sit immediately after this beacon name. Article has no further caption. The source article does not label whether this frame is a map, a path, or a close-up.
Sanguine Caverns
Screenshots sit in the published Beacon-list order. The source article does not label map versus in-world frames.
#28 – Pulsing Caves
Source step 1. #28 – Pulsing Caves. Images sit immediately after this beacon name. Article has no further caption. The source article does not label whether this frame is a map, a path, or a close-up.
#29 – Sanguine Shoreline
Source step 1. #29 – Sanguine Shoreline. Images sit immediately after this beacon name. Article has no further caption. The source article does not label whether this frame is a map, a path, or a close-up.
#30 – Child's Feeding Grounds
Source step 1. #30 – Child's Feeding Grounds. Images sit immediately after this beacon name. Article has no further caption. The source article does not label whether this frame is a map, a path, or a close-up.
Conquered Temple
Screenshots sit in the published Beacon-list order. The source article does not label map versus in-world frames.
#31 – Ovate's Chamber
Source step 1. #31 – Ovate's Chamber. Images sit immediately after this beacon name. Article has no further caption. The source article does not label whether this frame is a map, a path, or a close-up.
#32 – Winterglass Lake
Source step 1. #32 – Winterglass Lake. Images sit immediately after this beacon name. Article has no further caption. The source article does not label whether this frame is a map, a path, or a close-up.
#33 – Conqueror's Hoard
Source step 1. #33 – Conqueror's Hoard. Images sit immediately after this beacon name. Article has no further caption. The source article does not label whether this frame is a map, a path, or a close-up.
Faded Citadel
Screenshots sit in the published Beacon-list order. The source article does not label map versus in-world frames.
#34 – Citadel Annex
Source step 1. #34 – Citadel Annex. Images sit immediately after this beacon name. Article has no further caption. The source article does not label whether this frame is a map, a path, or a close-up.
#35 – Citadel Atrium
Source step 1. #35 – Citadel Atrium. Images sit immediately after this beacon name. Article has no further caption. The source article does not label whether this frame is a map, a path, or a close-up.
#36 – Scholar-Prince's Chamber
Source step 1. #36 – Scholar-Prince's Chamber. Images sit immediately after this beacon name. Article has no further caption. The source article does not label whether this frame is a map, a path, or a close-up.
Withered Shoals
Screenshots sit in the published Beacon-list order. The source article does not label map versus in-world frames.
#37 – Nameless Pass
Source step 1. #37 – Nameless Pass. Images sit immediately after this beacon name. Article has no further caption. The source article does not label whether this frame is a map, a path, or a close-up.
#38 – Ossinite Falls
Source step 1. #38 – Ossinite Falls. Images sit immediately after this beacon name. Article has no further caption. The source article does not label whether this frame is a map, a path, or a close-up.
#39 – Hexapod's Burrow
Source step 1. #39 – Hexapod's Burrow. Images sit immediately after this beacon name. Article has no further caption. The source article does not label whether this frame is a map, a path, or a close-up.
The Unfound Path
Screenshots sit in the published Beacon-list order. The source article does not label map versus in-world frames.
#40 – The Hidden Nave
Source step 1. #40 – The Hidden Nave. Images sit immediately after this beacon name. Article has no further caption. The source article does not label whether this frame is a map, a path, or a close-up.
#41 – Receiving Hall
Source step 1. #41 – Receiving Hall. Images sit immediately after this beacon name. Article has no further caption. The source article does not label whether this frame is a map, a path, or a close-up.
#42 – Faithful's Shelter
Source step 1. #42 – Faithful's Shelter. Images sit immediately after this beacon name. Article has no further caption. The source article does not label whether this frame is a map, a path, or a close-up.
#43 – Brether's Court
Source step 1. #43 – Brether's Court. Images sit immediately after this beacon name. Article has no further caption. The source article does not label whether this frame is a map, a path, or a close-up.
#44 – Obsidian Vault
Source step 1. #44 – Obsidian Vault. Images sit immediately after this beacon name. Article has no further caption. The source article does not label whether this frame is a map, a path, or a close-up.
#45 – Bridge of Procession
Source step 1. #45 – Bridge of Procession. Images sit immediately after this beacon name. Article has no further caption. The source article does not label whether this frame is a map, a path, or a close-up.
#46 – Empty Cradle
Source step 1. #46 – Empty Cradle. Images sit immediately after this beacon name. Article has no further caption. The source article does not label whether this frame is a map, a path, or a close-up.
#47 – Chamber of the Forsaken
Source step 1. #47 – Chamber of the Forsaken. Images sit immediately after this beacon name. Article has no further caption. The source article does not label whether this frame is a map, a path, or a close-up.
Disciple's Pass
Screenshots sit in the published Beacon-list order. The source article does not label map versus in-world frames.
#48 – Disciple's Grotto
Source step 1. #48 – Disciple's Grotto. Images sit immediately after this beacon name. Article has no further caption. The source article does not label whether this frame is a map, a path, or a close-up.
#49 – Village Outskirts
Source step 1. #49 – Village Outskirts. Images sit immediately after this beacon name. Article has no further caption. The source article does not label whether this frame is a map, a path, or a close-up.
Quick answers
Why is my cleanse total stuck at 46?
Because 46 is the achievement target. Three Beacons never needed a cleanse.